We’ve officially moved our site over to dorseydesigns.com – so be sure to update your bookmarks!! It’s been a long time in the making – we’ve been planning to move it for a long time and decided to finally go for it! I’m sure there will be a few glitches along the way, so thanks for bearing with me!
—
This post was brought to you by the Delta Faucet Company. I received free product from Delta Faucet to write this post, but all opinions expressed are my own.
You got a glimpse of our bathroom progress several weeks ago, and I’m so excited to share a few more progress pictures! We’ve been delayed while finishing the kitchen (well worth it!) and figuring out the plumbing for the bathroom upstairs, and having a baby! Before finishing the ceiling, we needed to finish the plumbing for the upstairs master bathroom.
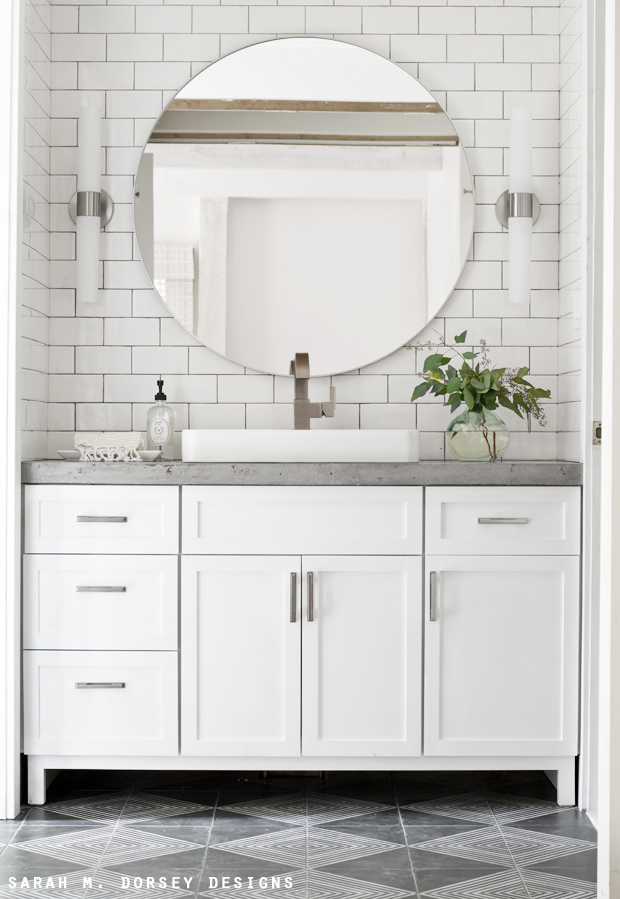
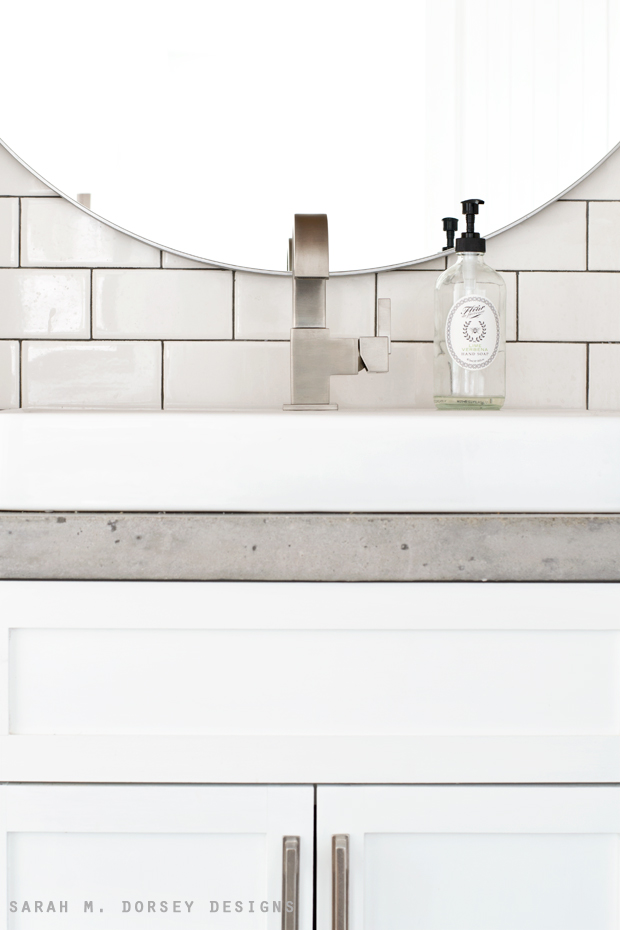
You may remember this half of the bath. We refaced the cabinet doors (let me know if you would like a tutorial on that) DIYed a concrete countertop (lots of requests for this, so I’ll be doing a more detailed post soon!) and tiled the wall. Tiling that wall lead to tiling ALL the walls. Love it, but it is time consuming!!
We got the plumbing layout upstairs wrapped up and we’re so so close to being done with this space! I wanted to share our progress.
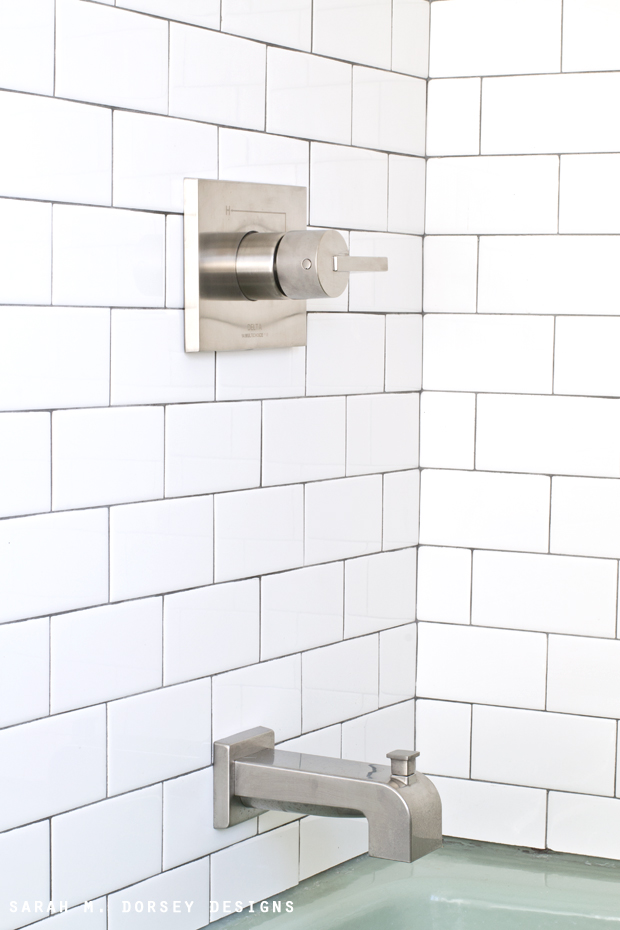
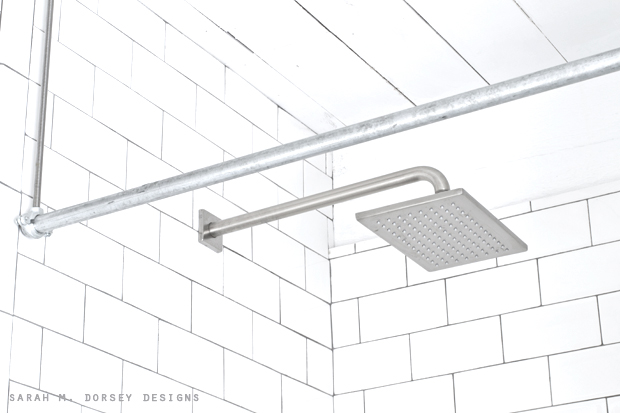
All fixtures are from Delta’s Vero line! We love the clean, contemporary look!
The sleek controls are easy to use and adjust the temperature. Nothing worse than making it too hot or cold and fumbling with that!
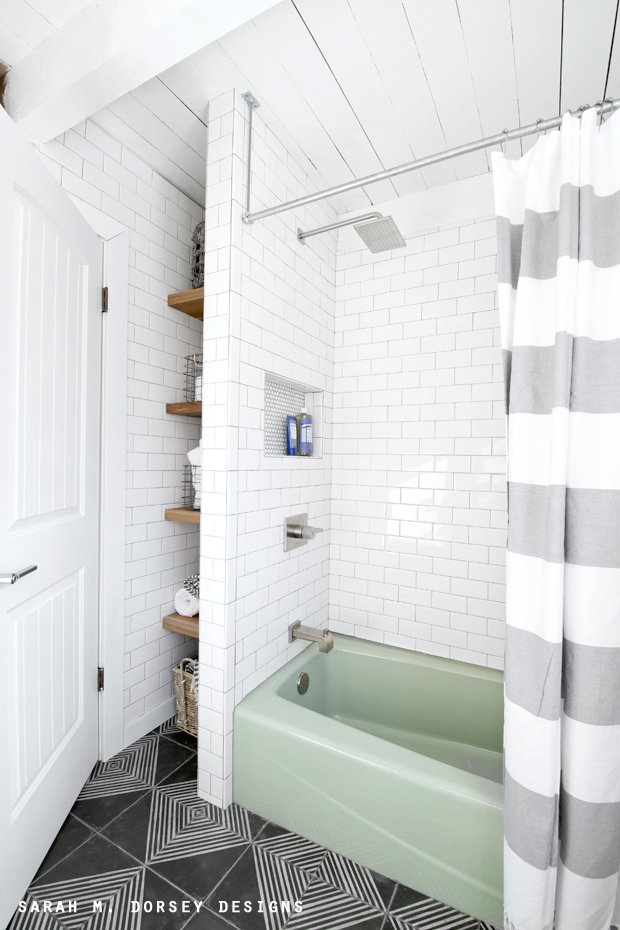
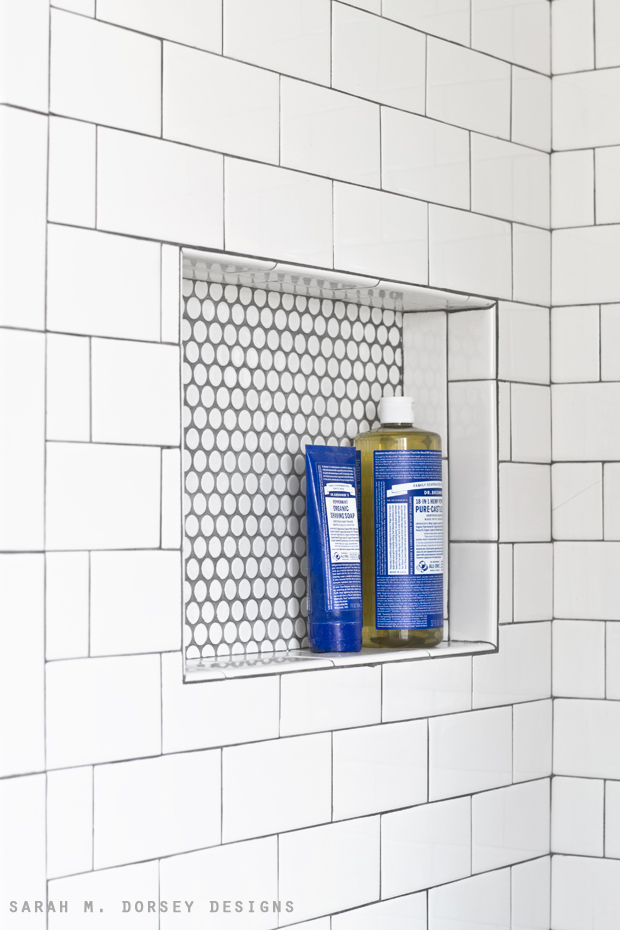
We added a shower niche – love having items within easy reach! Round penny tile is a favorite of mine! I’m thinking maybe a penny tile floor upstairs.
Love the stainless finish and square edges of the Delta Vero faucet!
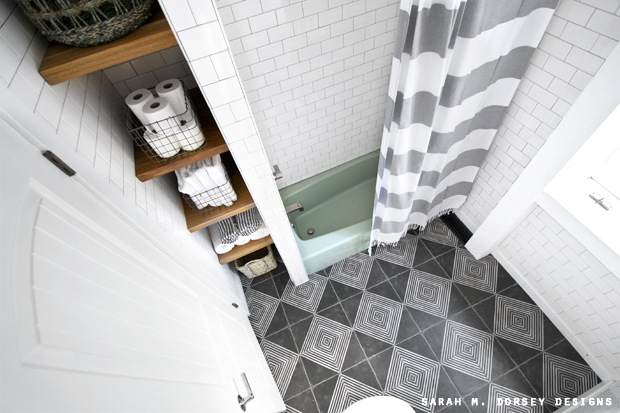
The shelves are made from extra wood from our shelves from the kitchen – 2″ thick oak
You can see in the mirror that we still need to relocate some plumbing and finish the ceiling. We’re planning to move all of the plumbing to the wall so we don’t have to have a false panel ceiling, like before.
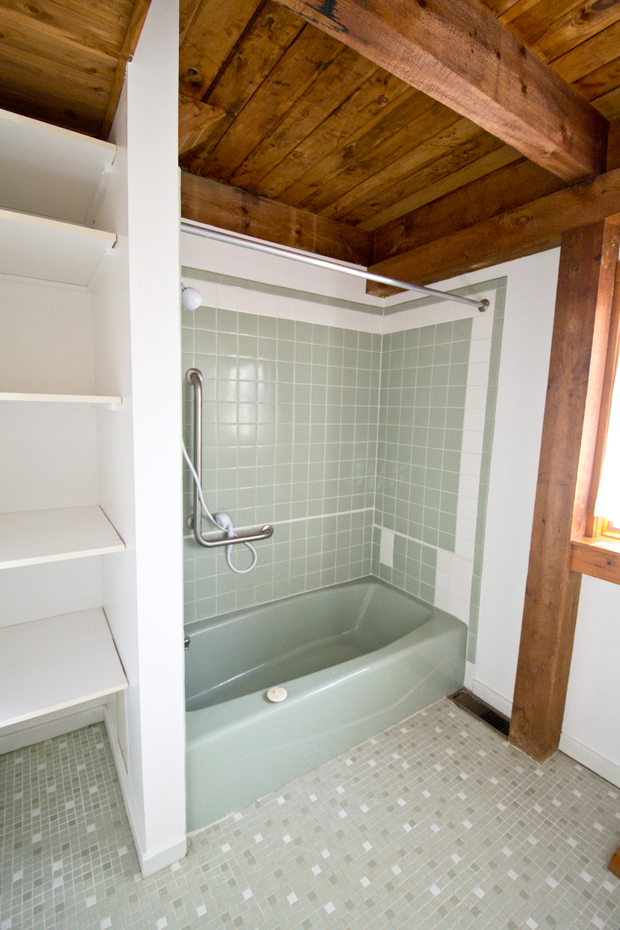
And a few more before photos.
I love how bright and fresh it now feels.
We still need to finish drywall (the closet from the bedroom opens into this room!), a little more tile and the ceiling, but we are so so close!
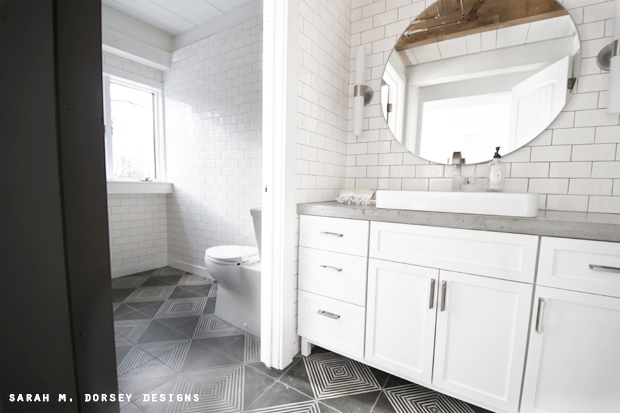
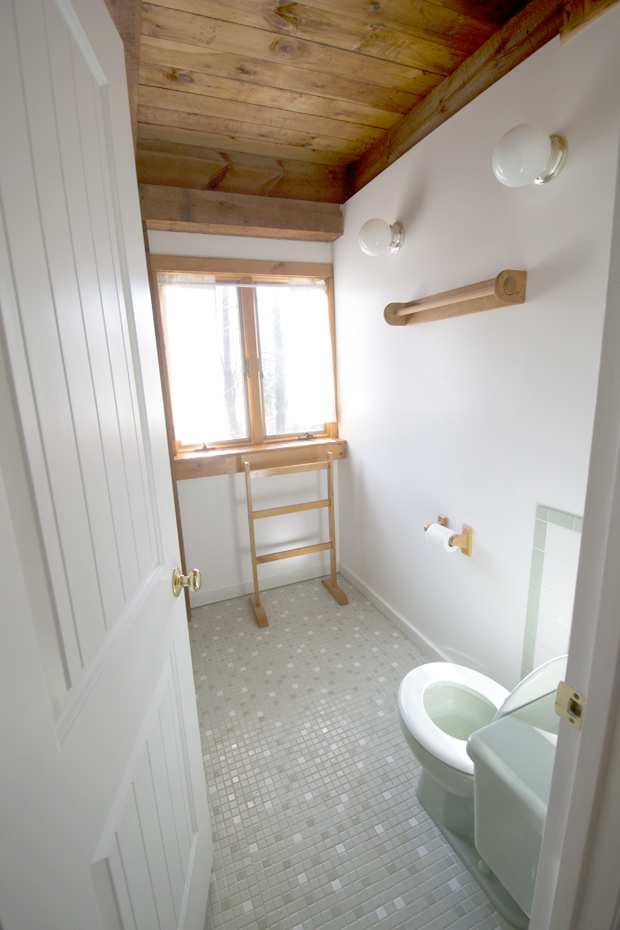
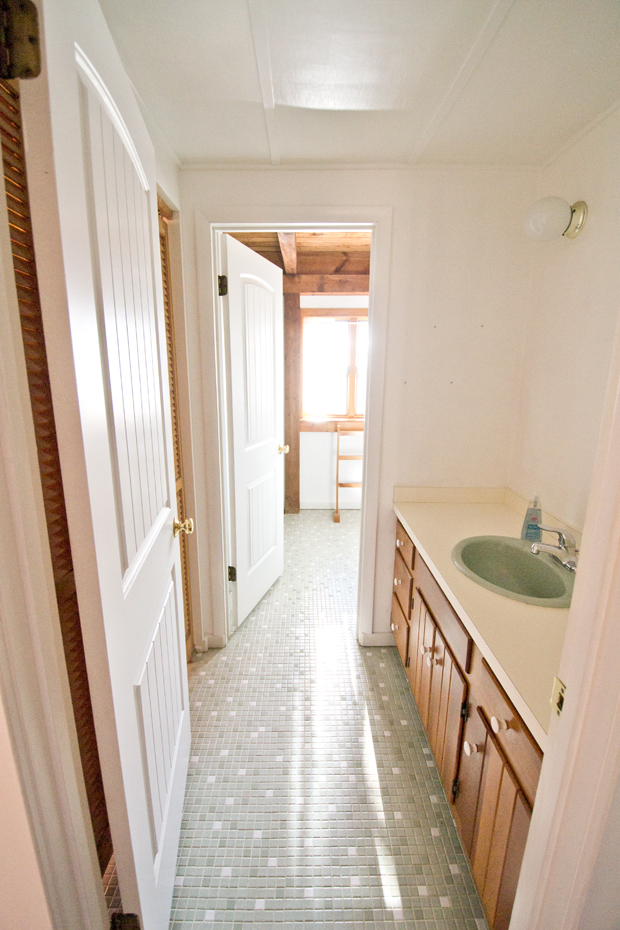
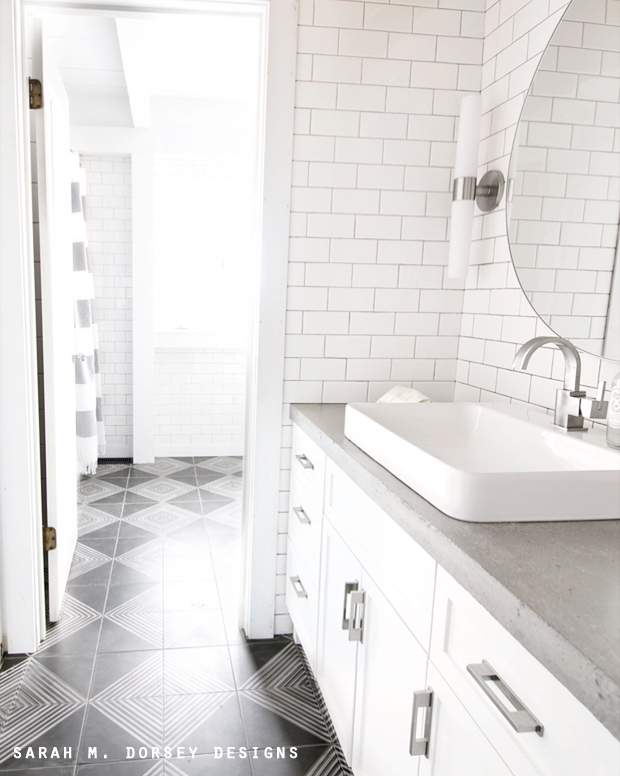
Love it
Would love to know how you added the niche & made sure it was water proof.
Hi Eva, thanks so much! We used a drywall made for damp areas and then coated it in redcoat – for waterproofing – and tiled on top of that and then Grout sealed.
Can you share the cabinet paint color and brand?
Paint color is Sherwin Williams pure white and we added faces to our existing cabinets 🙂
I clicked on the grout link, but what color did you use?
Hi Ashley! I believe it’s Pewter
Hi! What color grout did you use on your floor?
Hi Jen! We used Polyblend unsanded Delorean Gray
Hi! I love your bathroom! Would you be willing to provide a brief tutorial on how you resurfaced the cabinet?
Hi! I don’t believe I have photos, but I will try to recreate!