This post has been sponsored by FrogTape
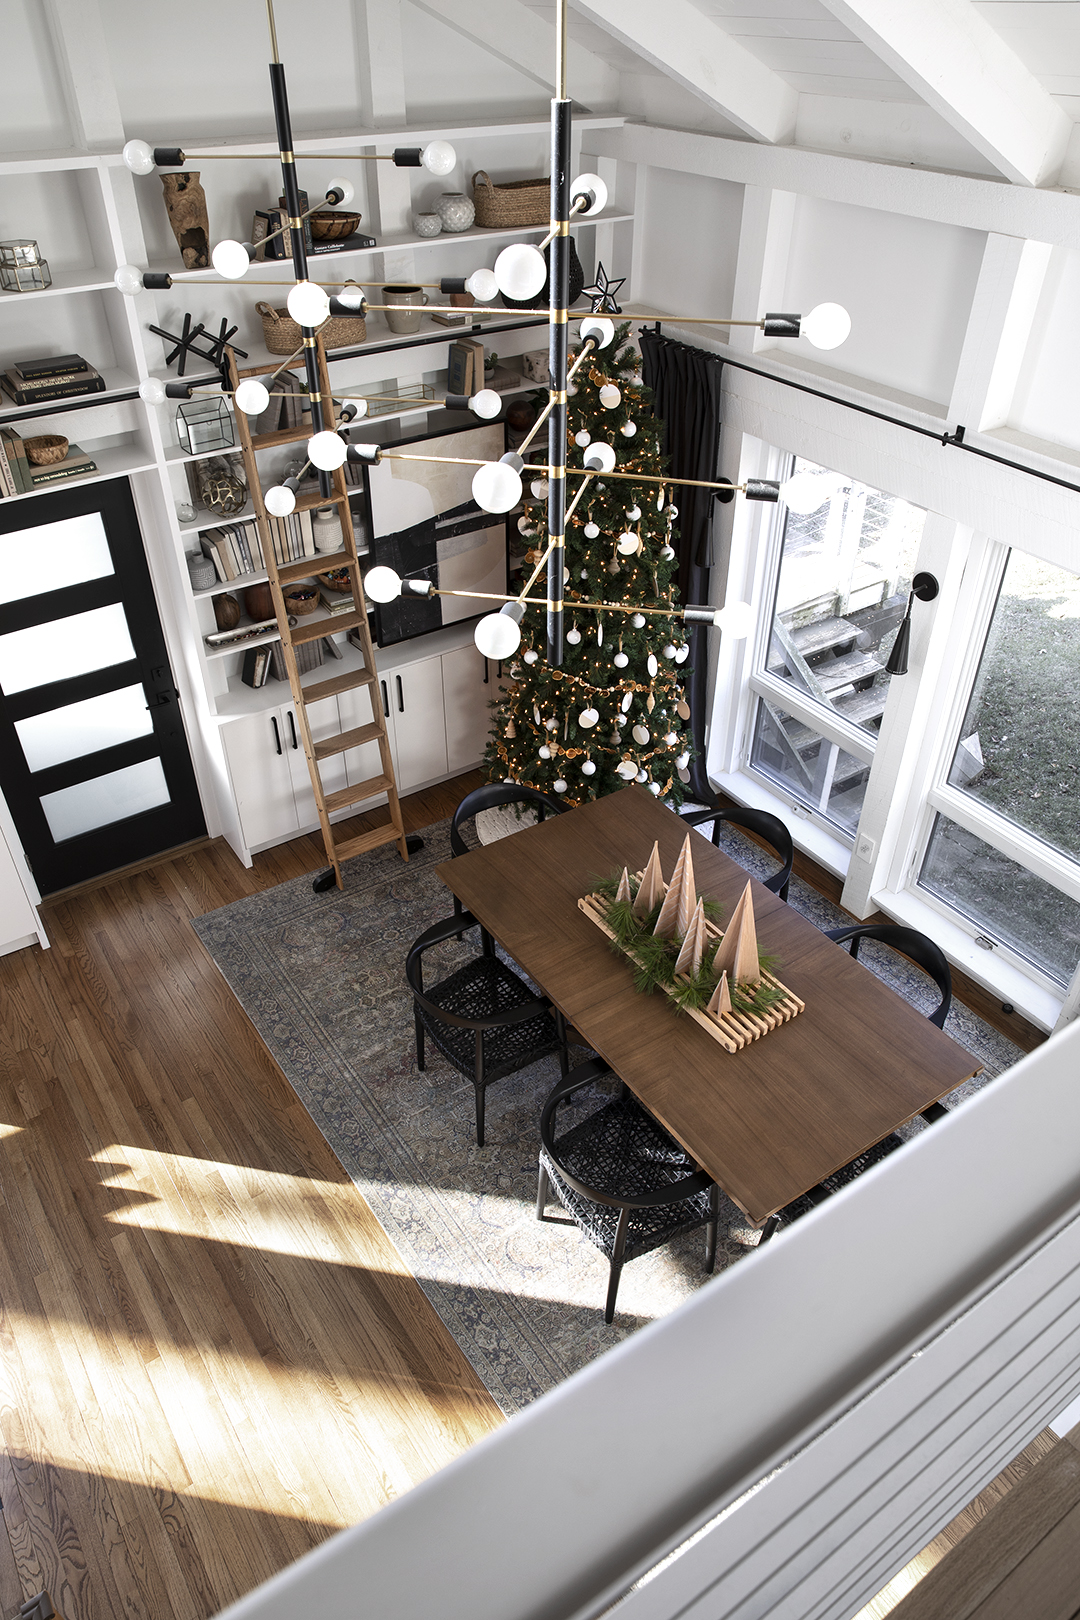
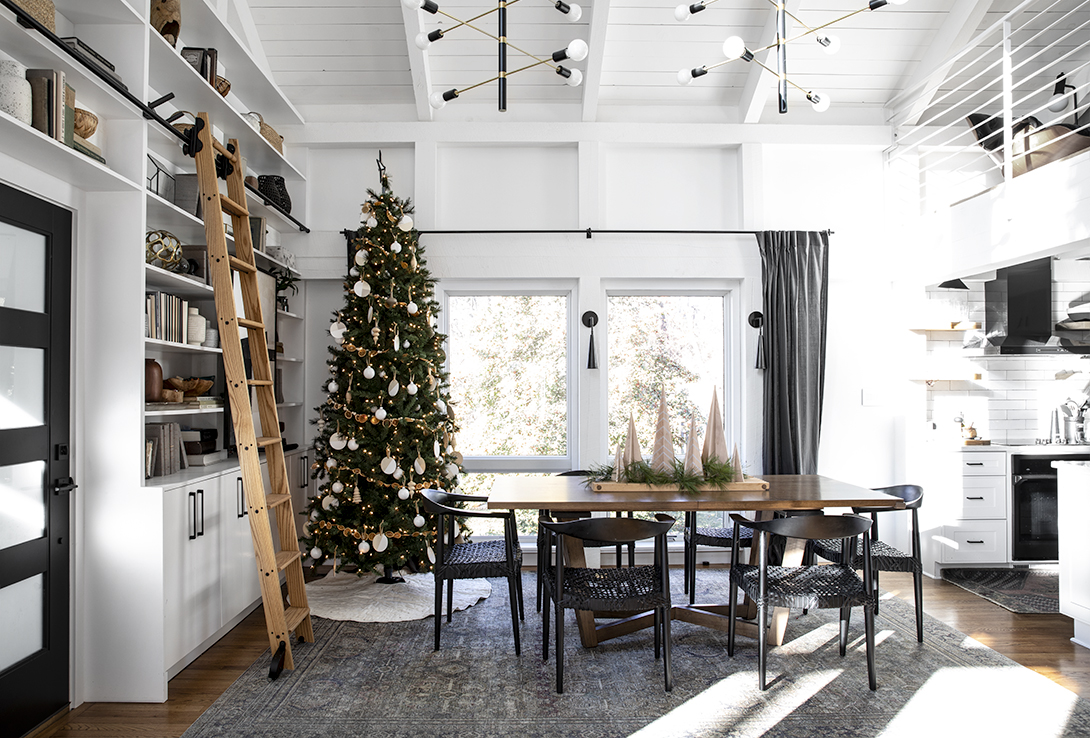
I’m so excited to share our holiday decor today! I like to keep my holiday decor simple and fuss free and this year, I decided to try a natural color and material scheme (i.e. NO glitter) I’m not a huge fan on glitter and especially with kids, it gets everywhere. It seems that glitter is a prerequisite for most Christmas decor .. so I decided to make my own with FrogTape!
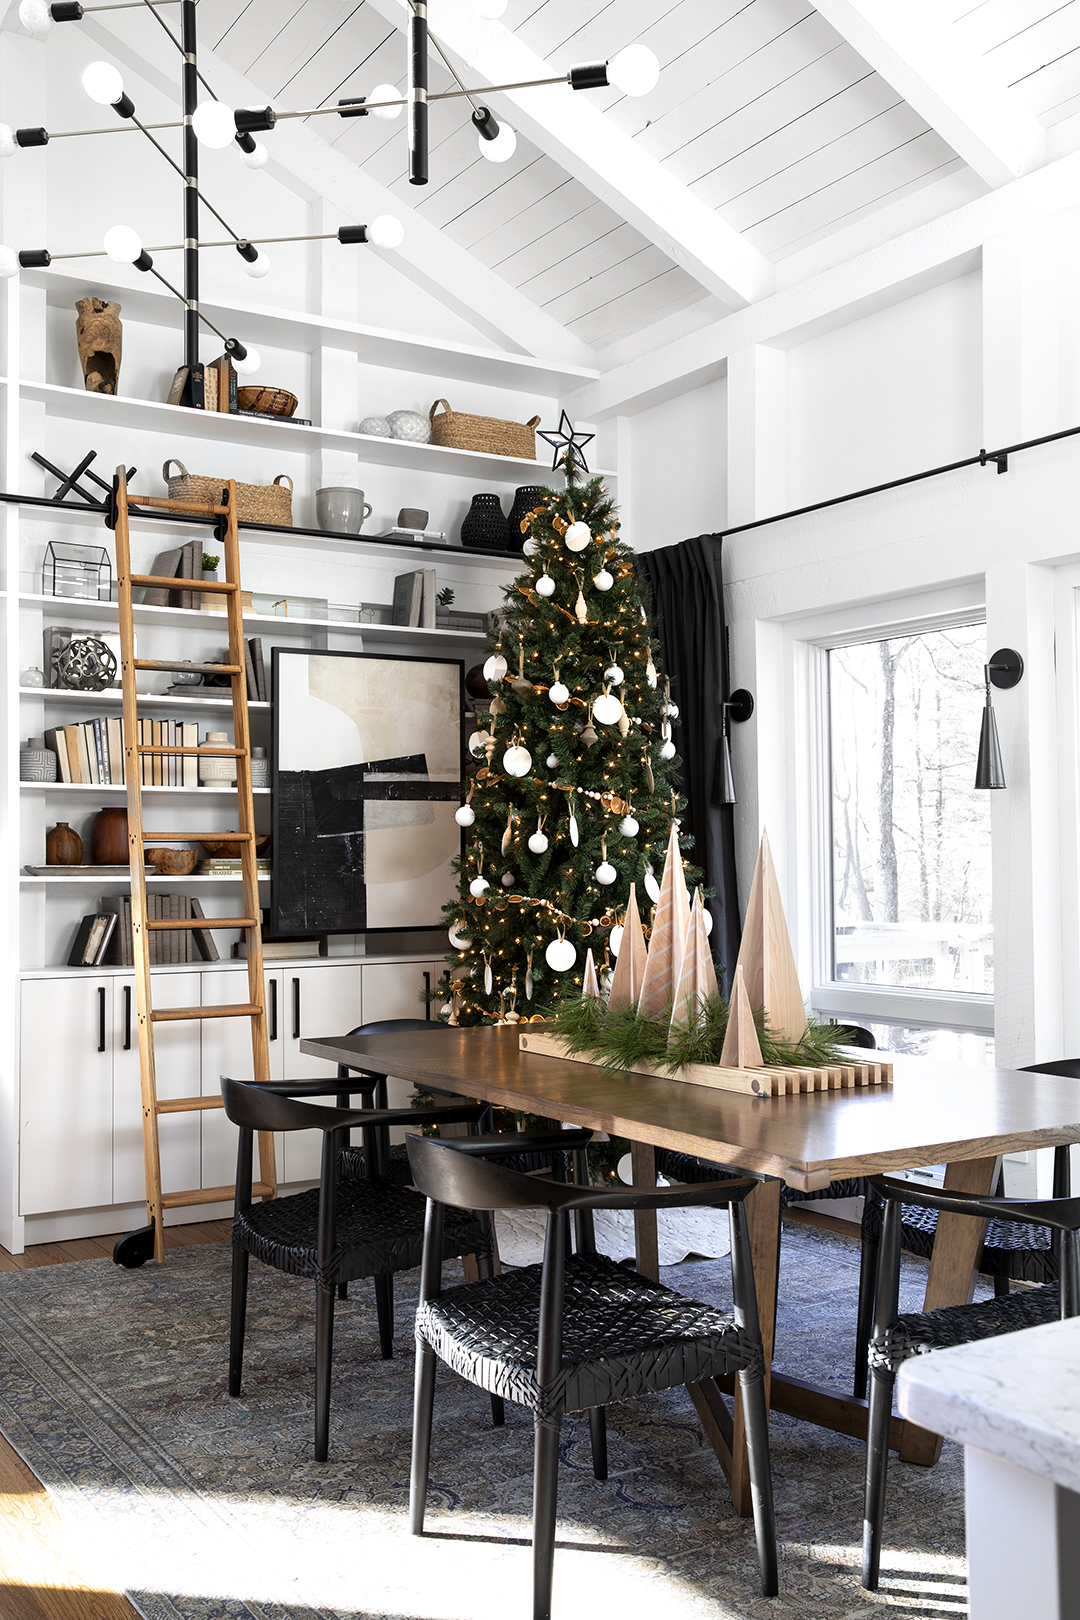
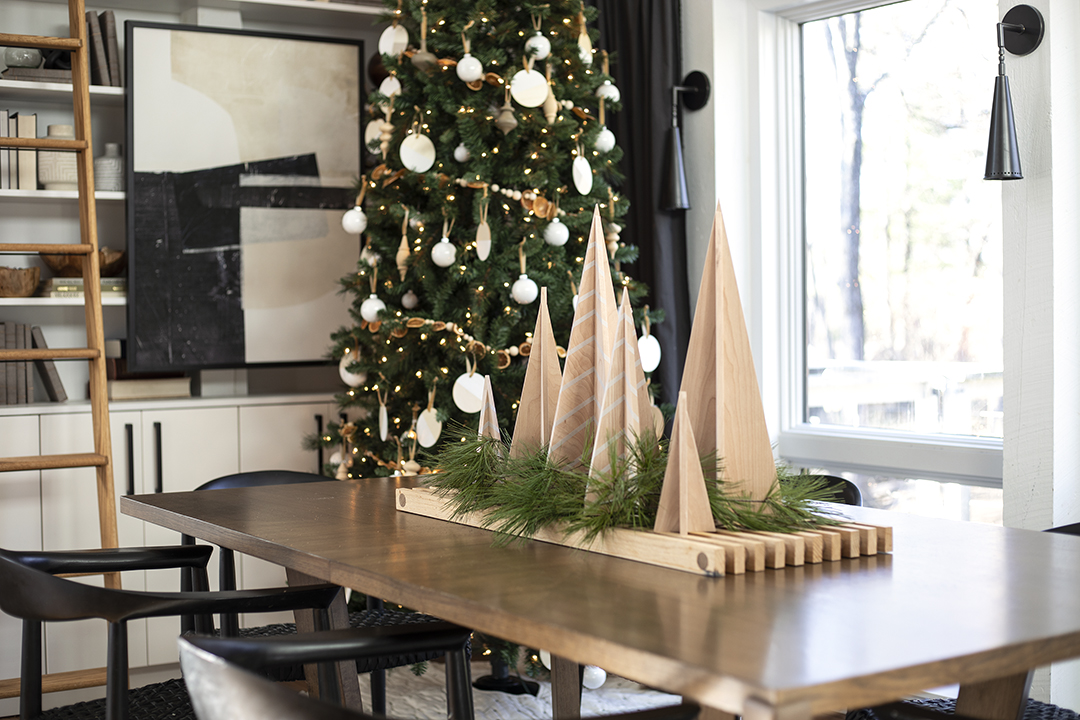
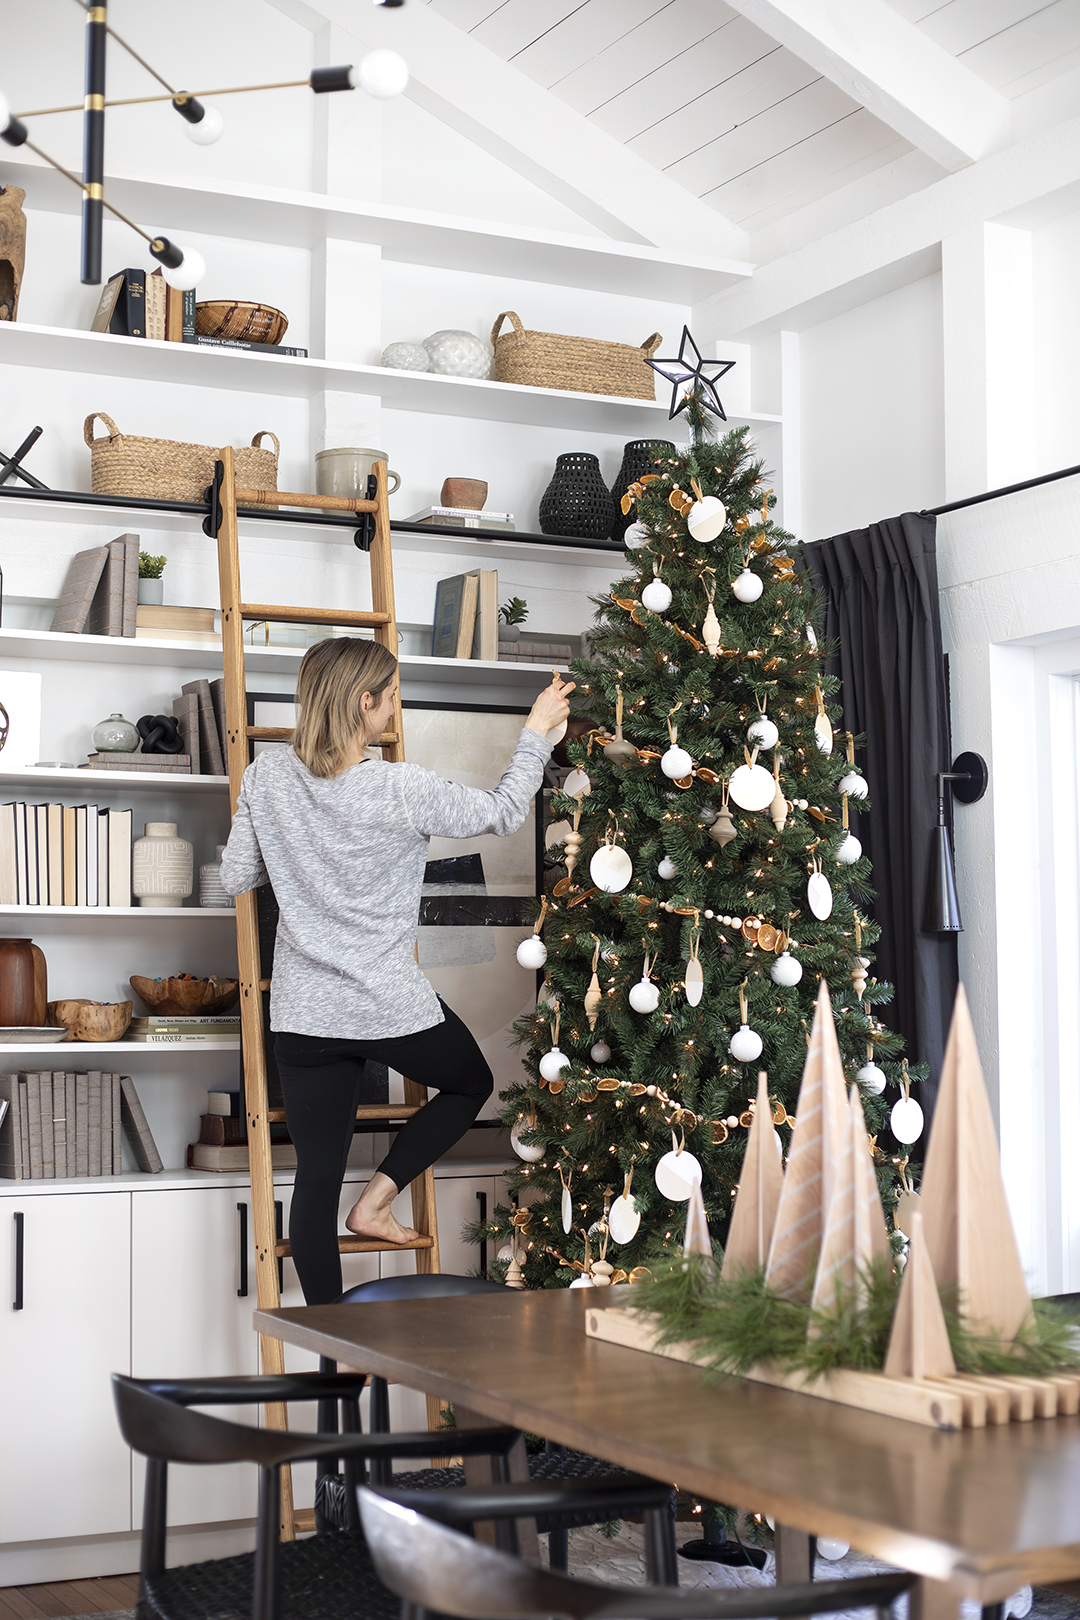
I love the look of minimalist Christmas trees for the table. We made them a few years ago and decided to make another pair from solid wood.
We have made these trees in both solid birch (planed to 3/8″ thick) and ¼” Birch plywood and loved the results. For a full look, we landed on six trees for our centerpiece including two 20” x 8”, two 15” x 6”, and two 8” x 3-1/4” trees.
Here’s how we did it!
To get started, layout two triangles for each tree. To avoid splintering on the birch plywood, we used FrogTape Multi-Surface tape over each cut on the front and back of the plywood. After the tape was applied, we marked the triangle dimensions on the top of the tape for cutting.
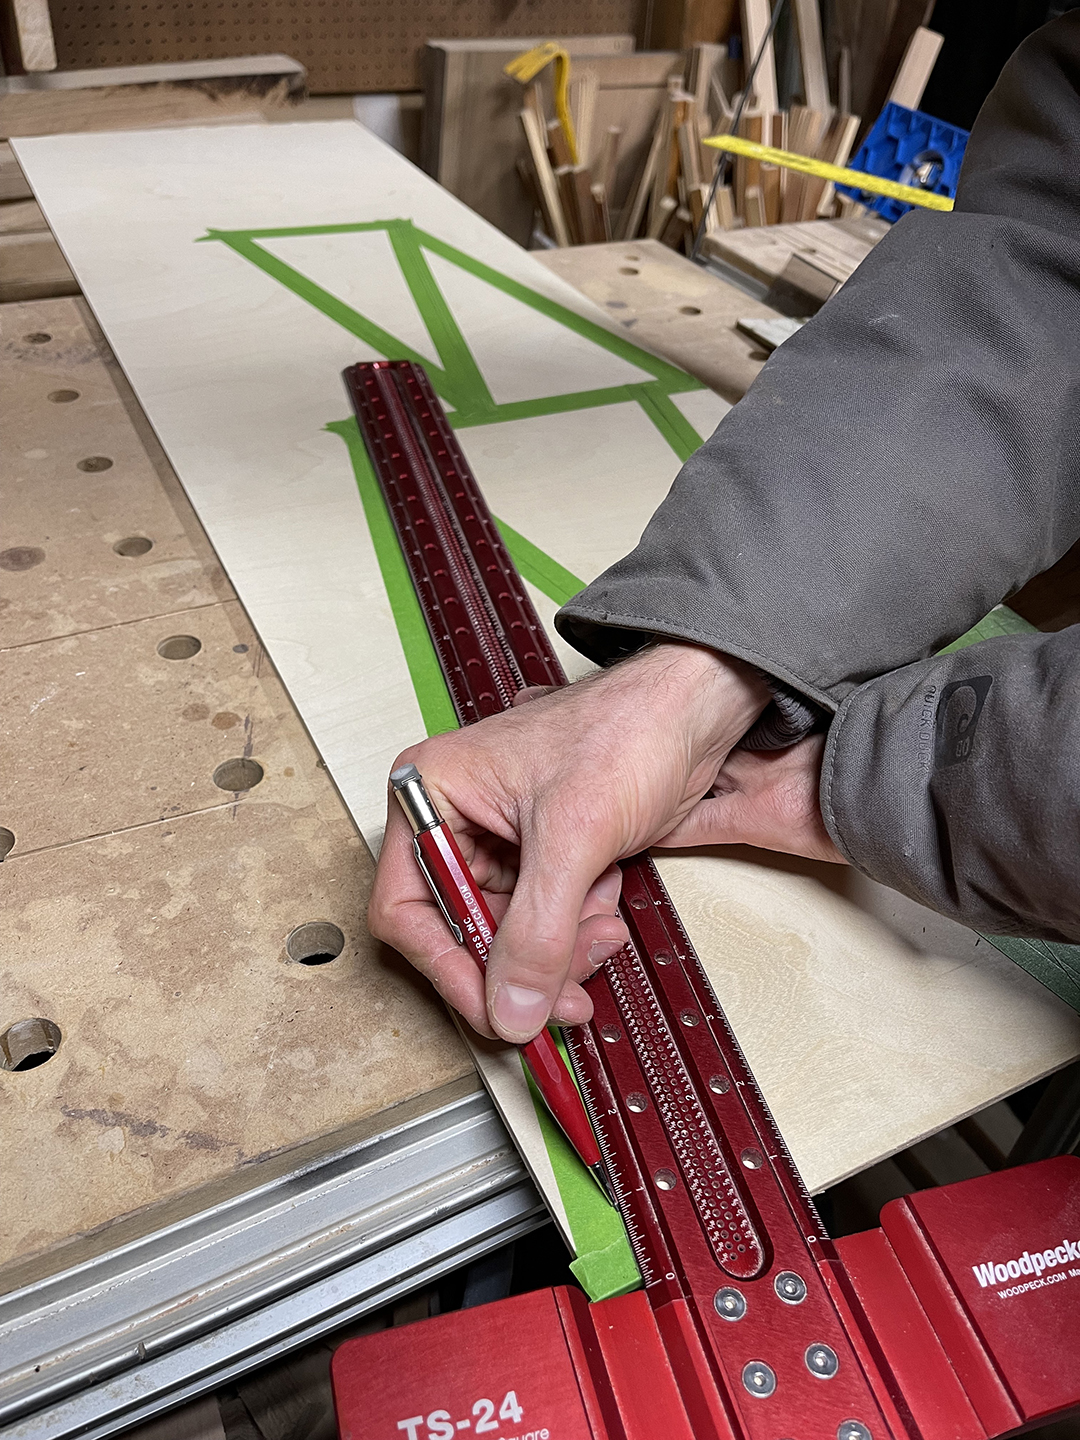
Next layout the cuts for joining the two triangles together. Using a square or a tee, mark the centerline of each triangle, and measure from center to the actual plywood thickness. Next, measure vertically to find the center of the tree. One side will be cut from the top and the other from the bottom to center so two parts can slide together.
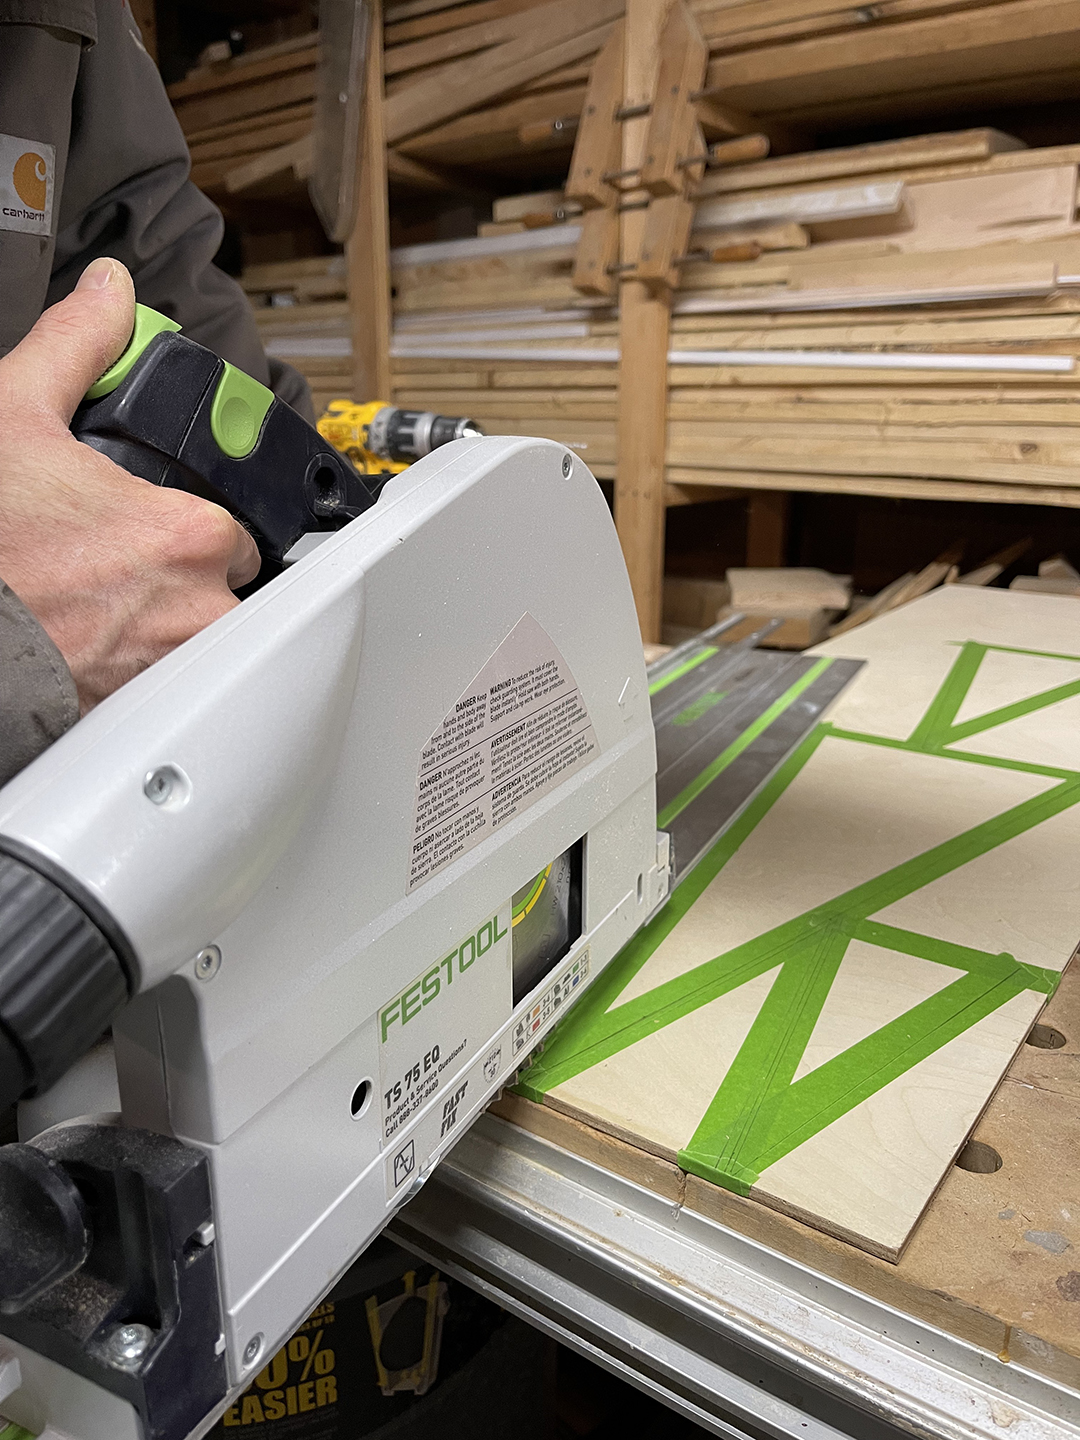
Next cut the trees out. We used a track saw but this can also be done with a table saw of a jigsaw.
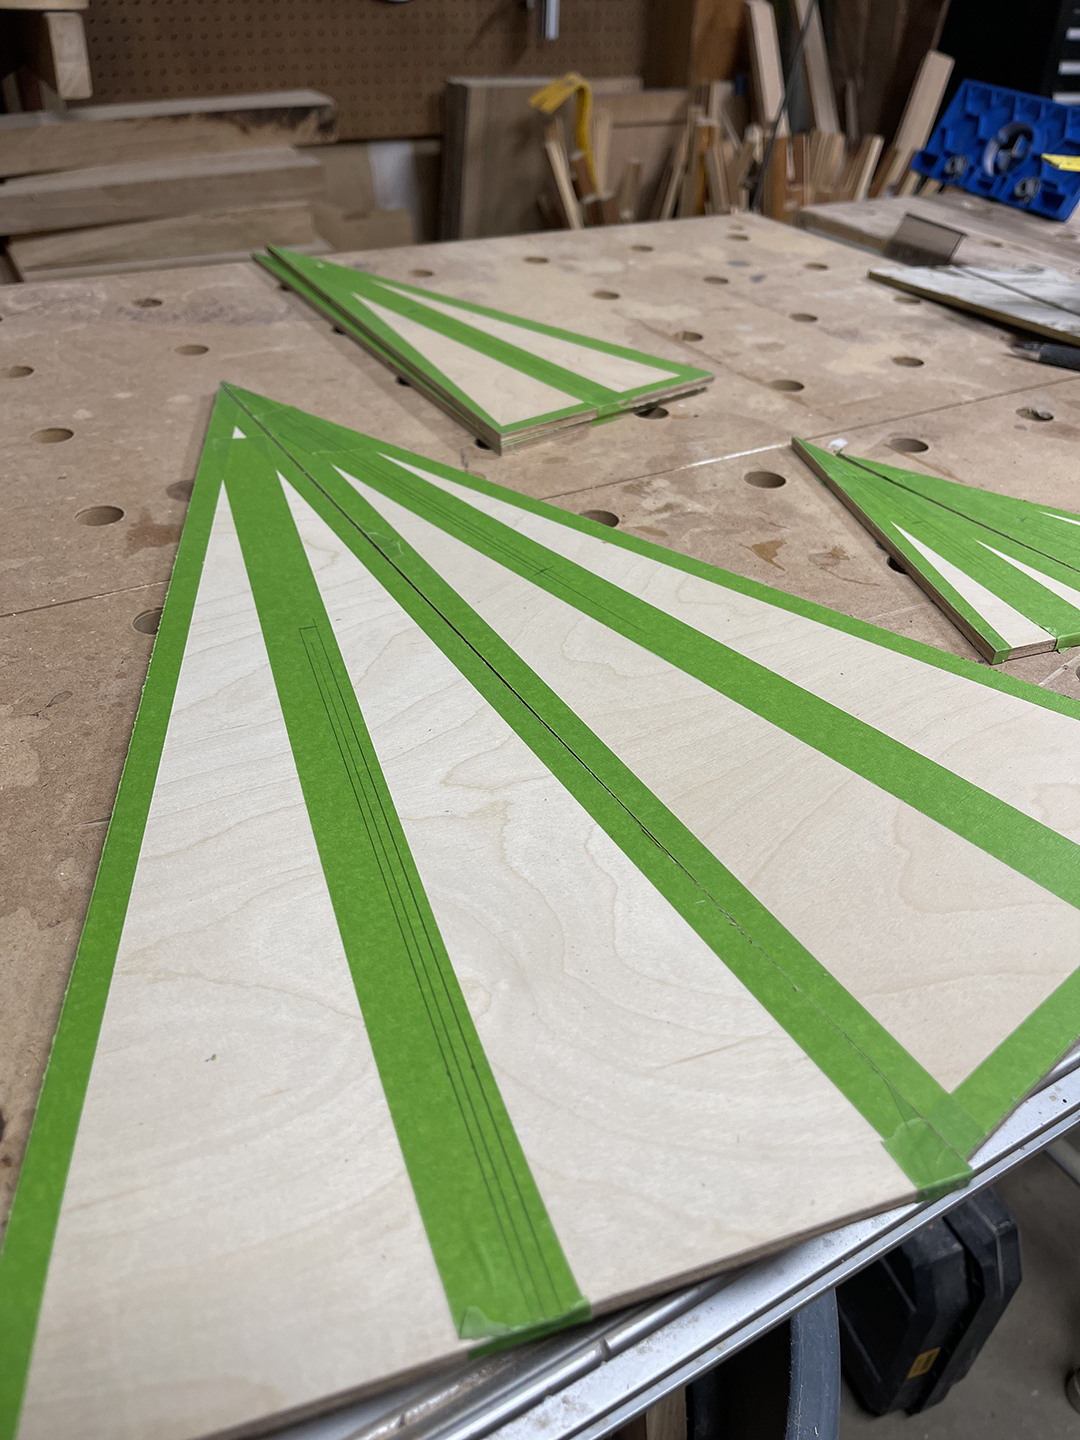
Assemble each tree by sliding the top and bottom sections together to confirm fit.
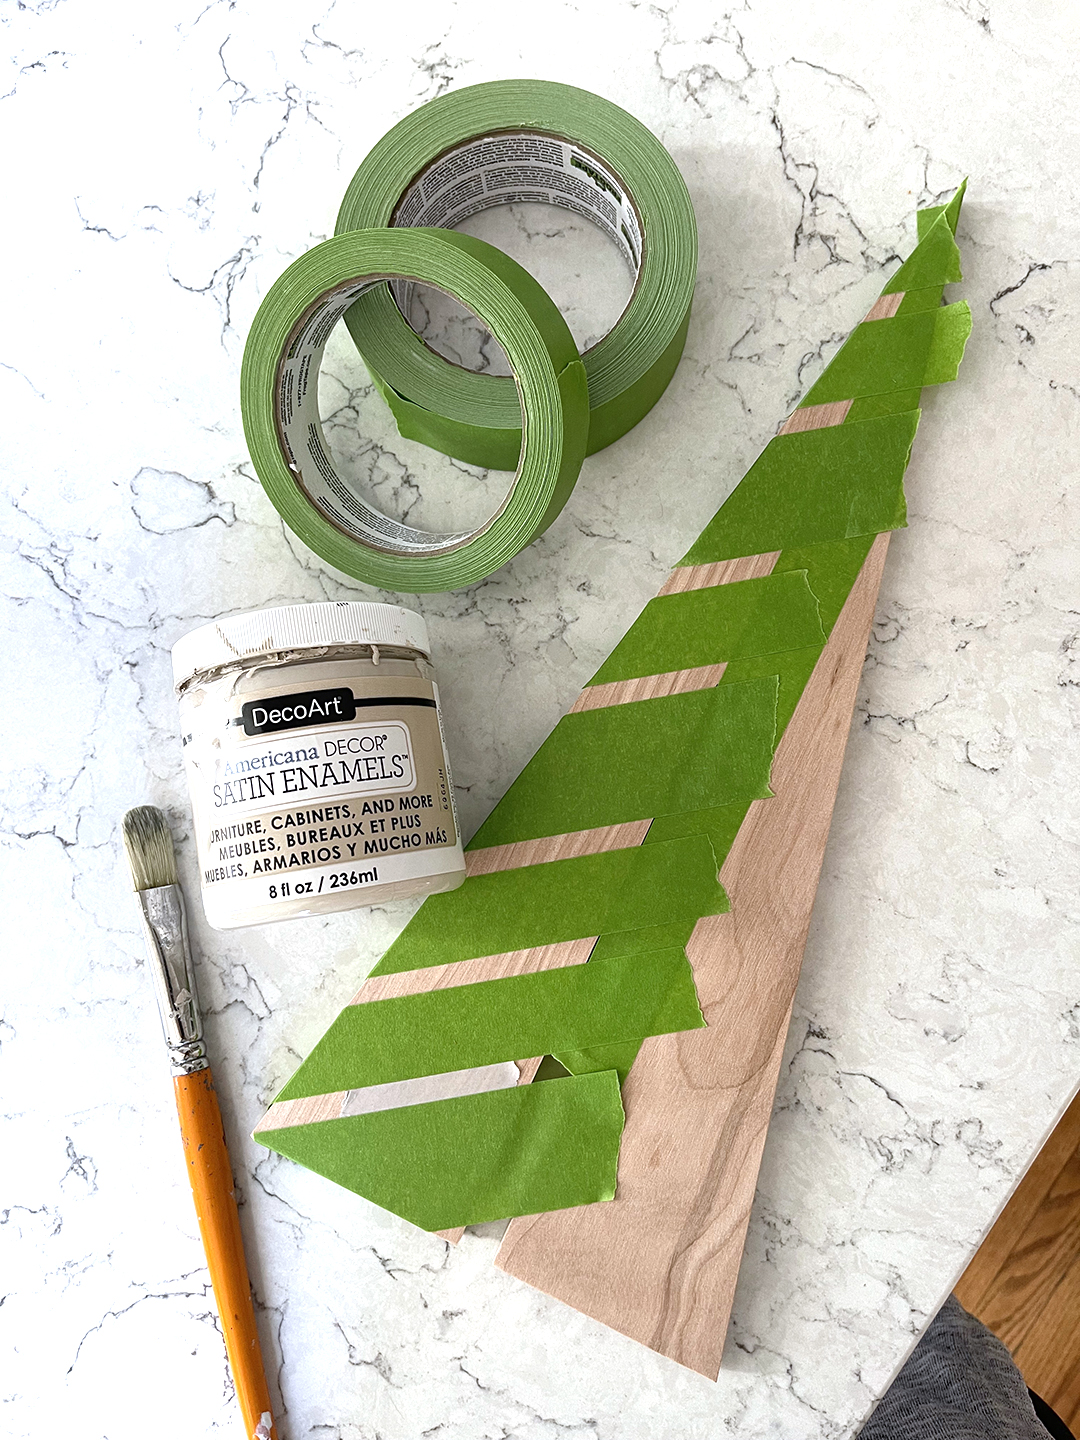
We added ¼” grey painted stripes on the trees using both .94” and 1.14” FrogTape Multi-Surface tape.
Next up, super simple round ornaments!
For the ornaments, we used 4″ round circles (we drilled holes in top, but you can purchase pre drilled)
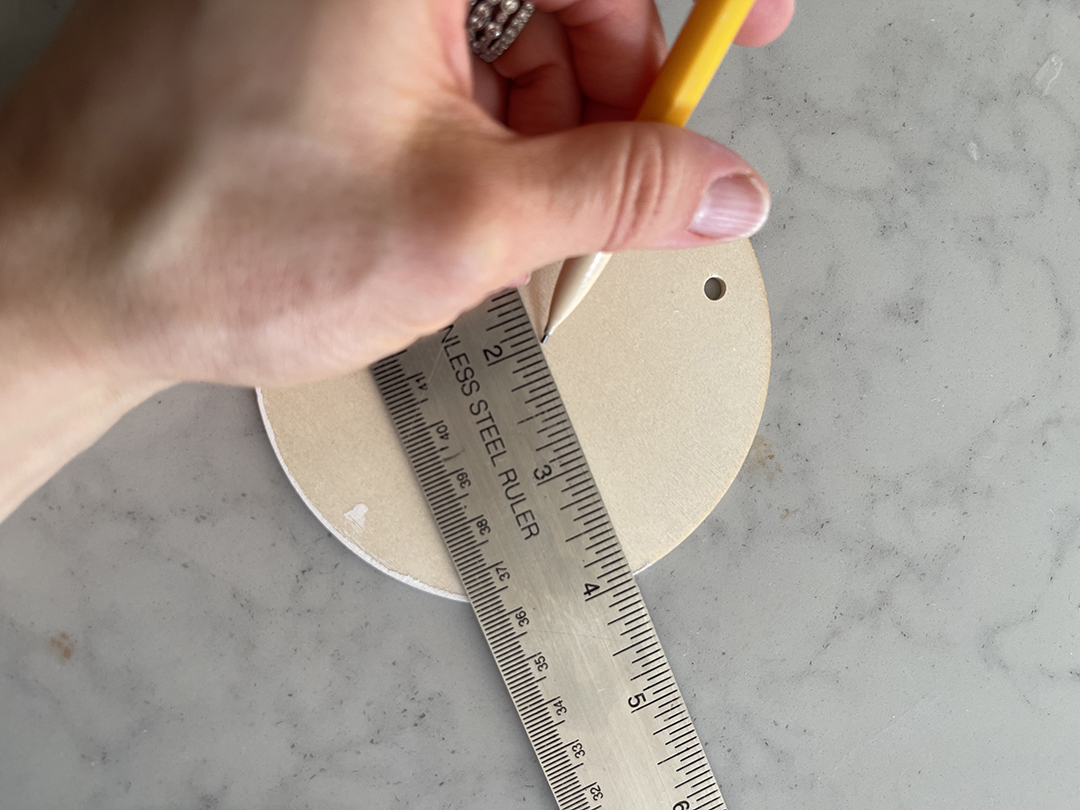
To get started, find center and mark two marks. To draw a straight line, connect those dots with a ruler and draw a light line with pencil.
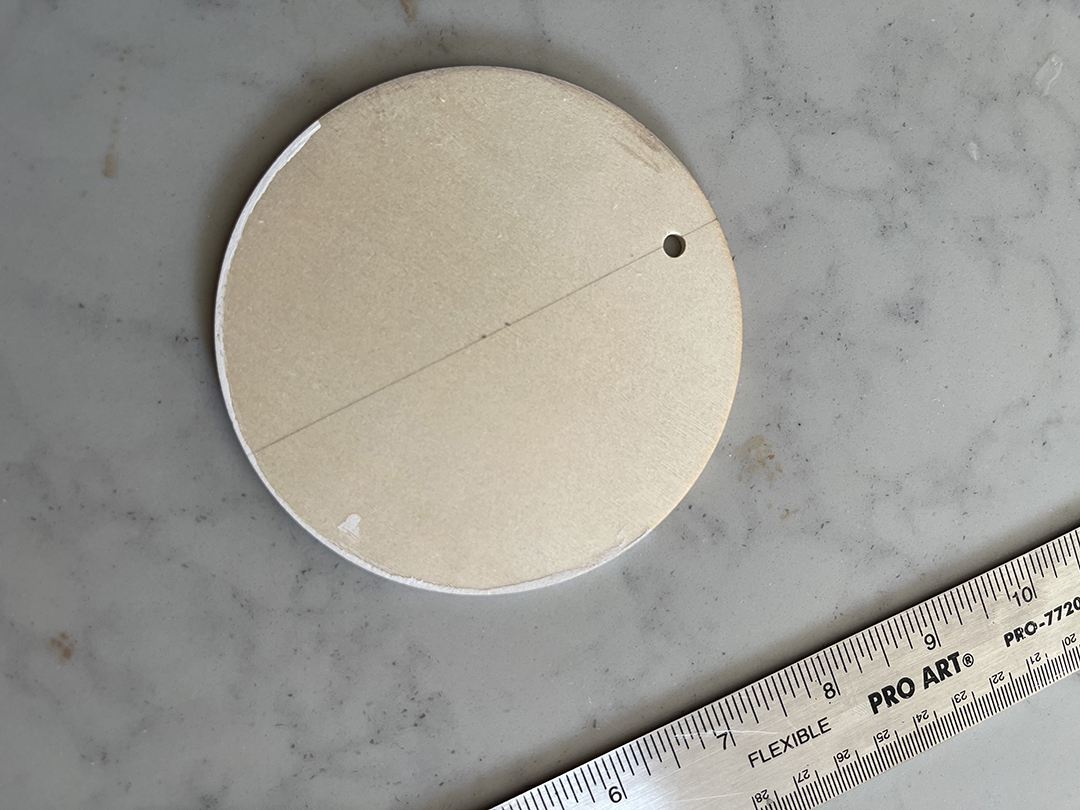
Add FrogTape Multi Surface and press firmly to seal the edge.
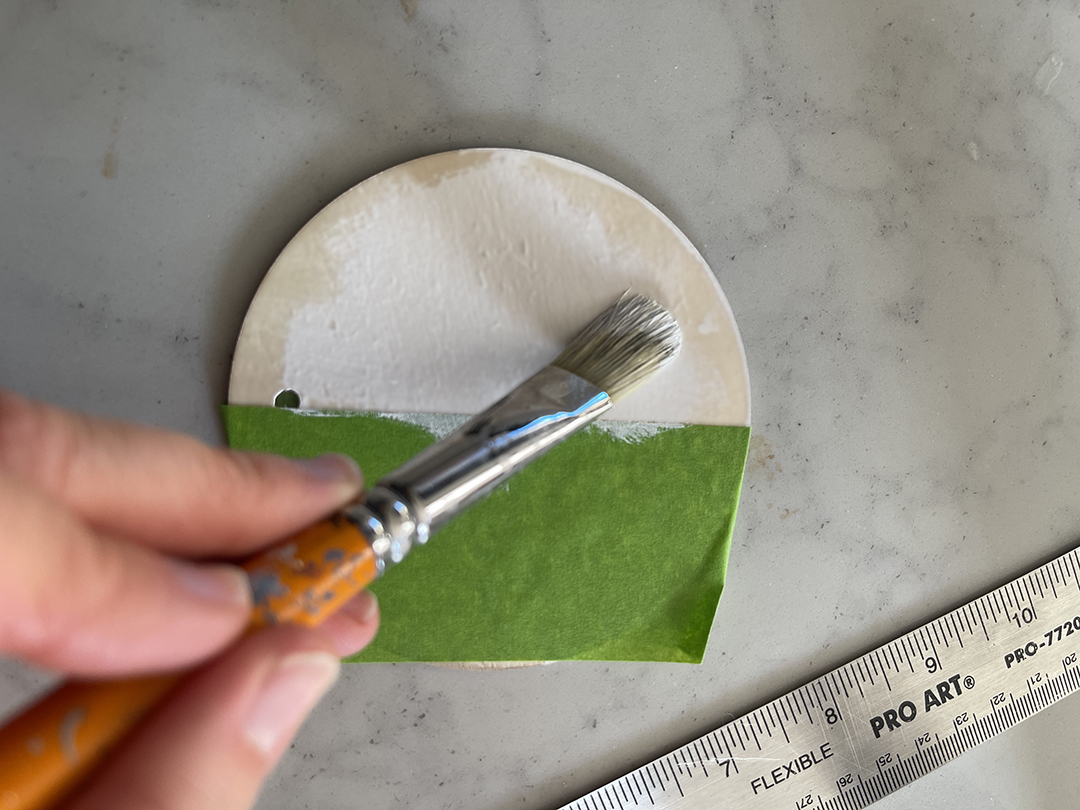
Paint as desired! I also made some with two tones, switch it up to your preference!
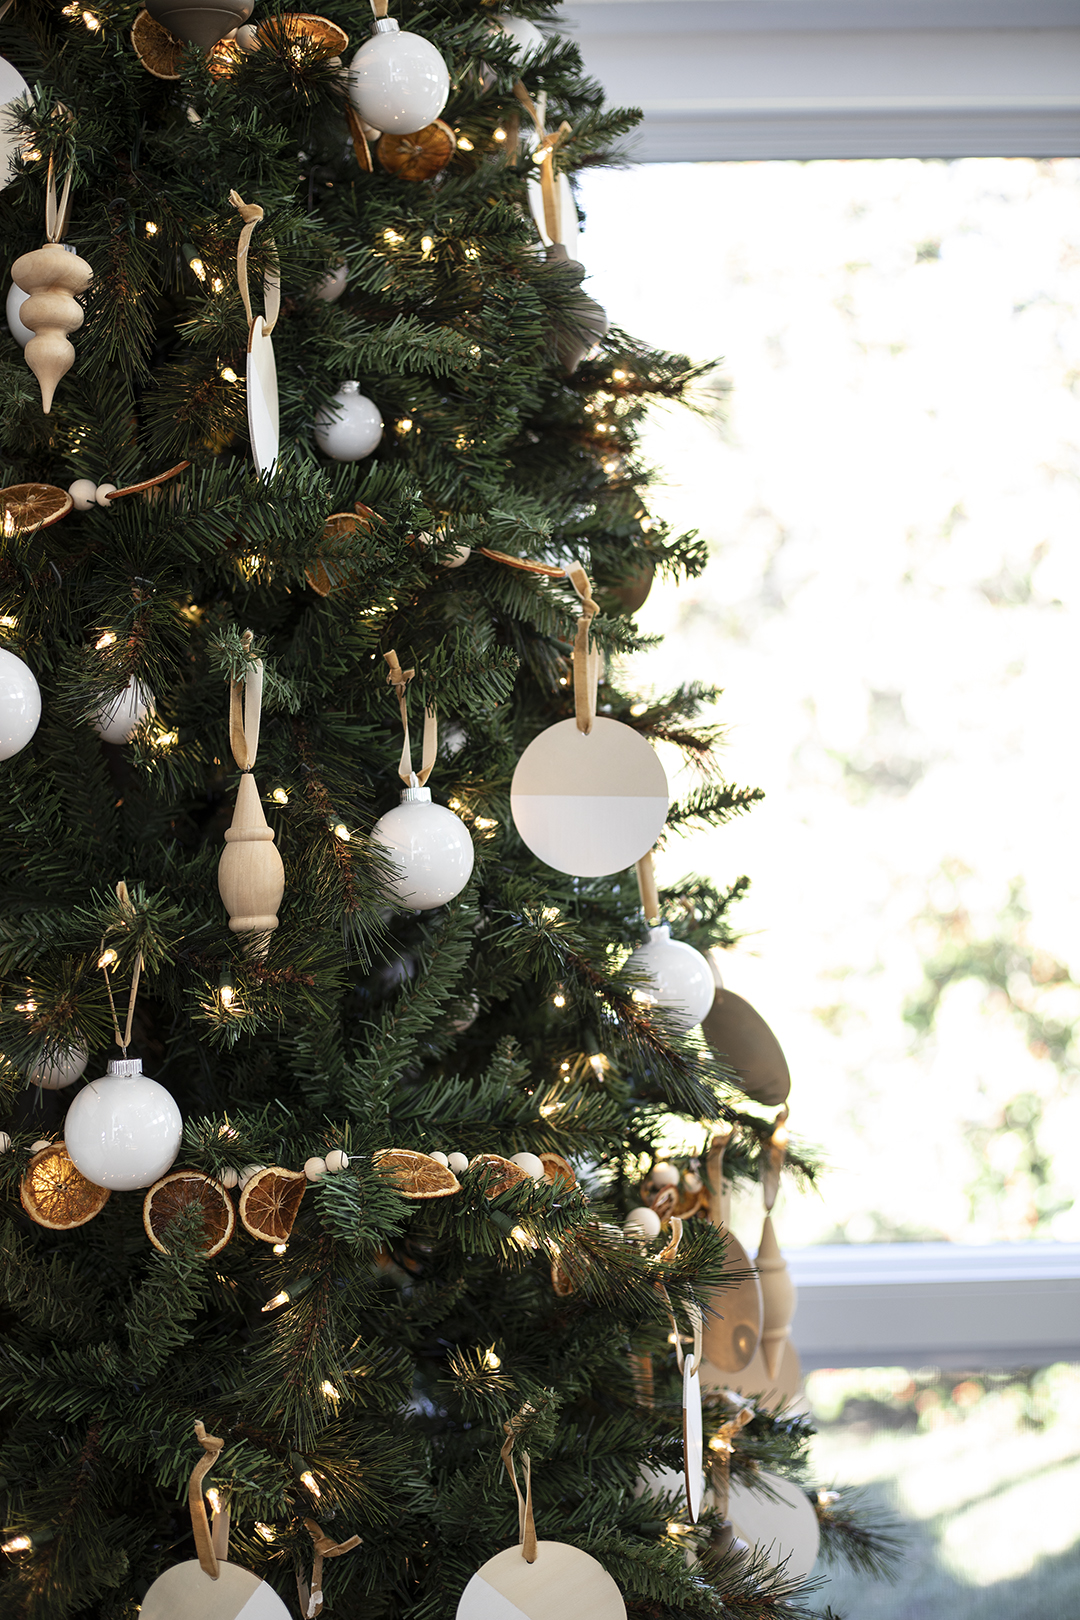
I made the dried orange garland by thinly and carefully slicing oranges with a mandoline slicer. I then lined a baking sheet with parchment paper and baked at 250 for the first hour and lowered the temperature to 200 for the second hour. I think it took about 2 or 3 hours to completely dry. Check frequently after 1 hour because they can burn quickly! I then used a large needle and threaded wood beads. I created 6 strands – about 72″ long. I love how it turned out!!
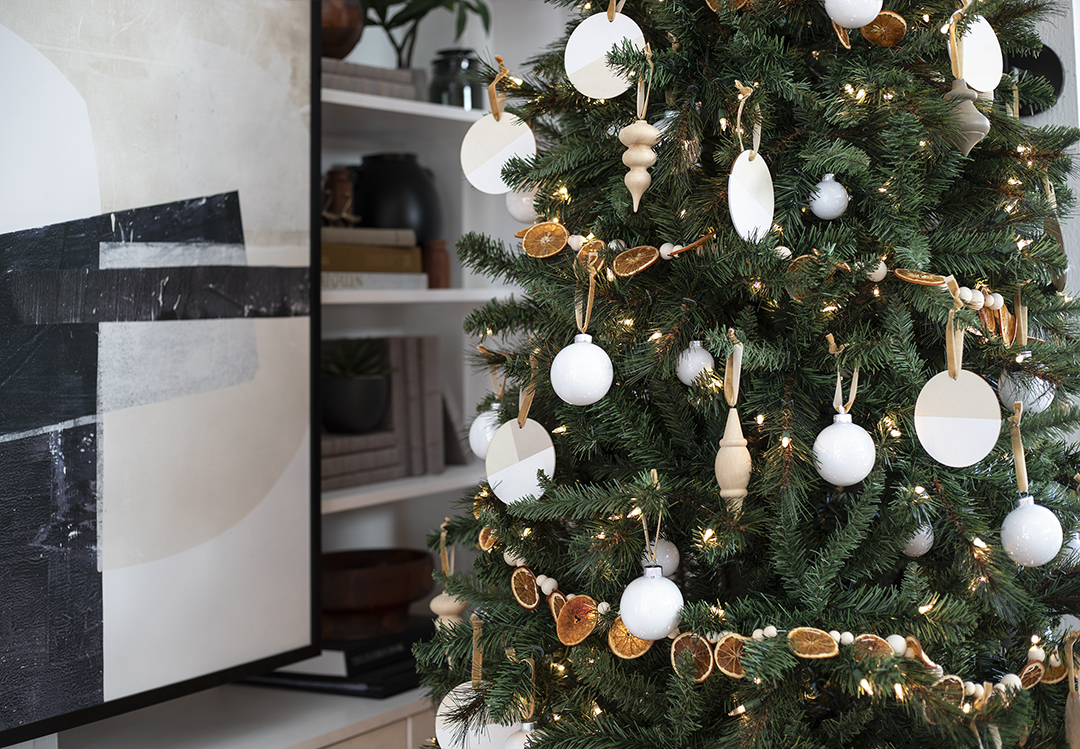
I love the added touch that the velvet ribbon adds to each ornament!
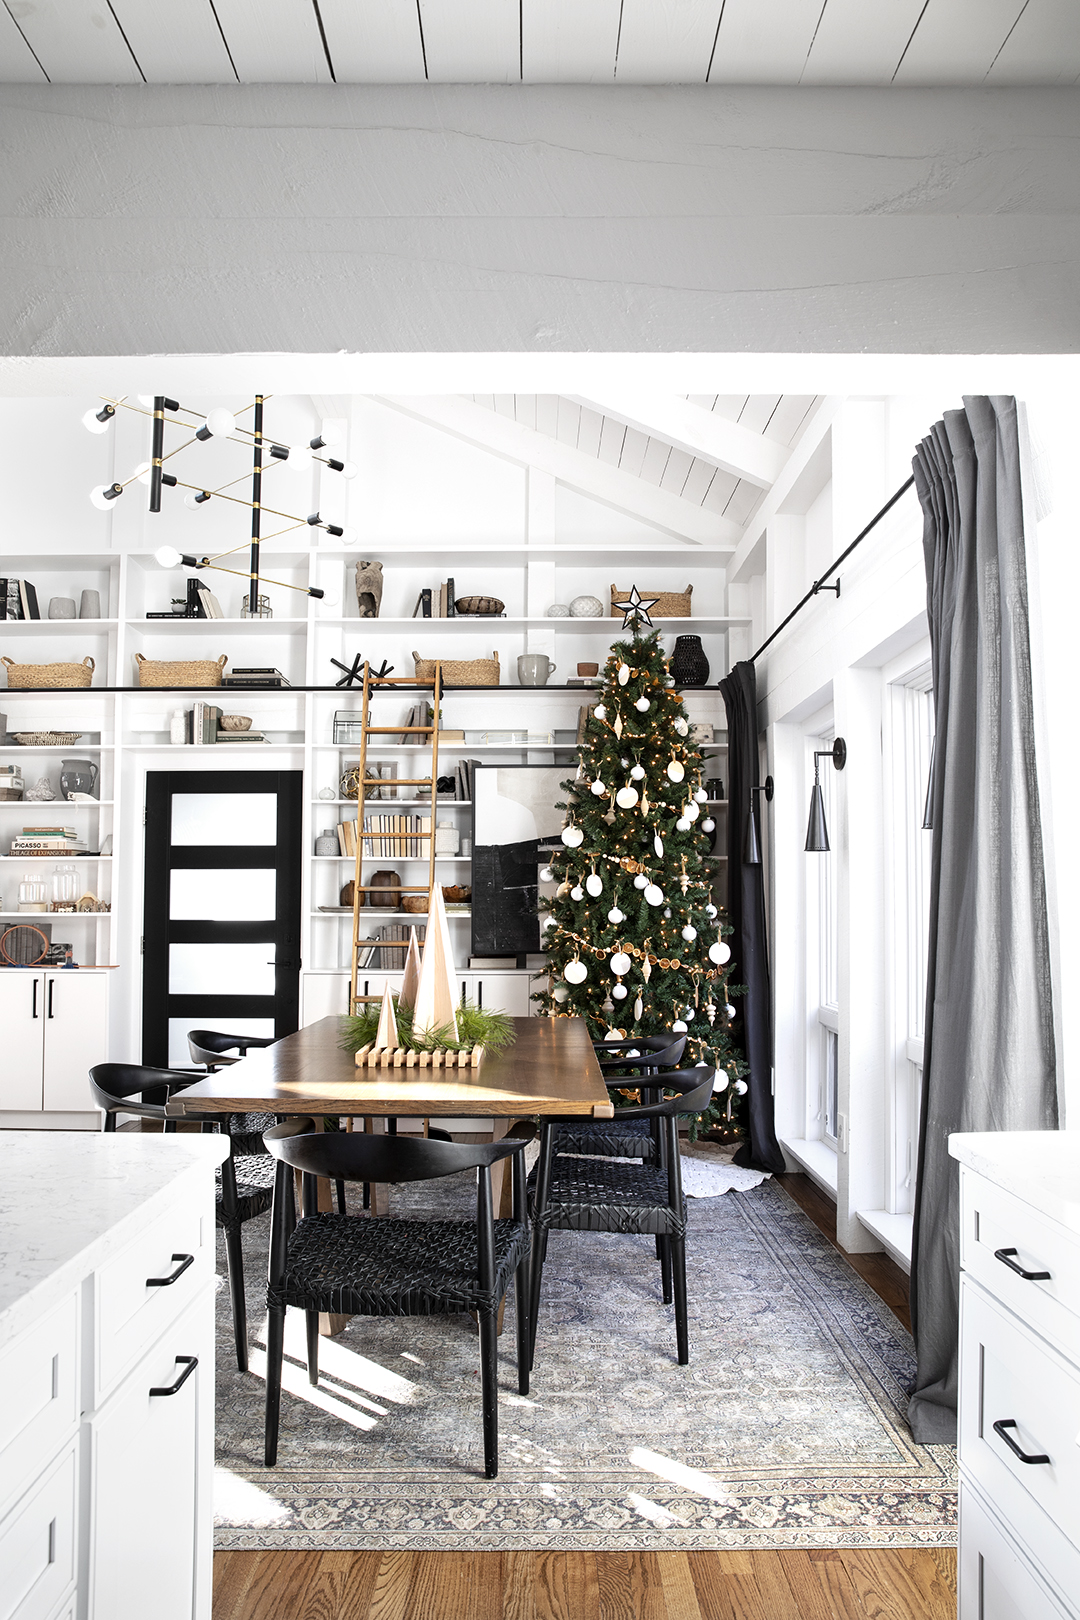

SOURCES
Velvet ribbon (Khaki) | Library Ladder HERE and HERE | 4″ Wood Discs | Wood Balls for Garland | Long Wood Trivet (tutorial in my book) | Wood Ornaments (Joanns, in store) | Tree skirt is from Target, last year | Clear Christmas balls (Michaels in store) | Star Topper | Other sources for dining room in THIS post
Leave a Reply