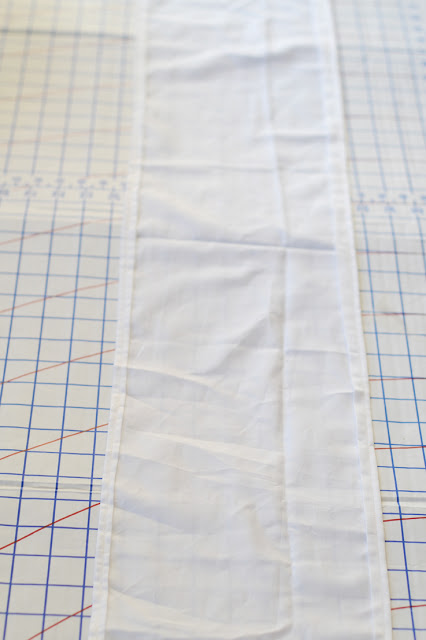
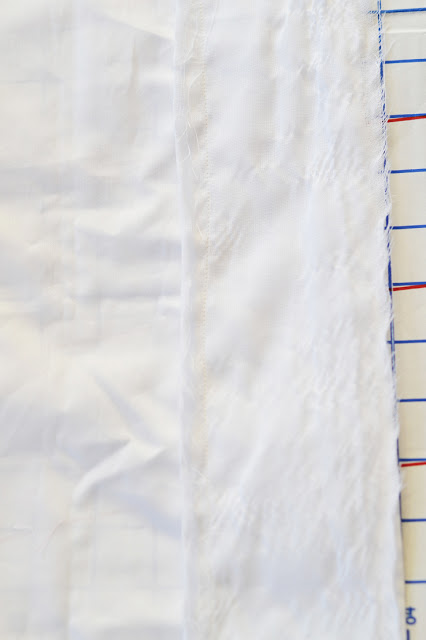
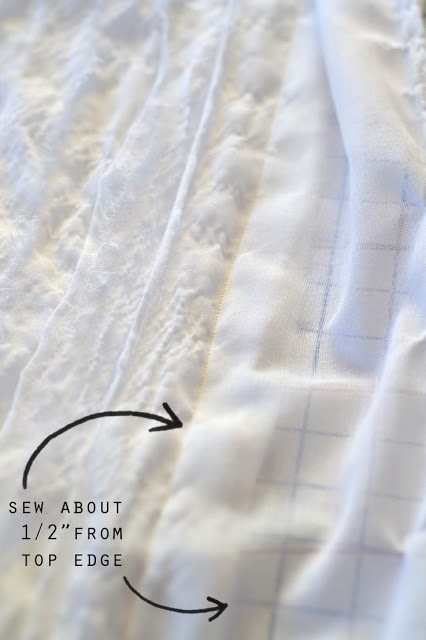
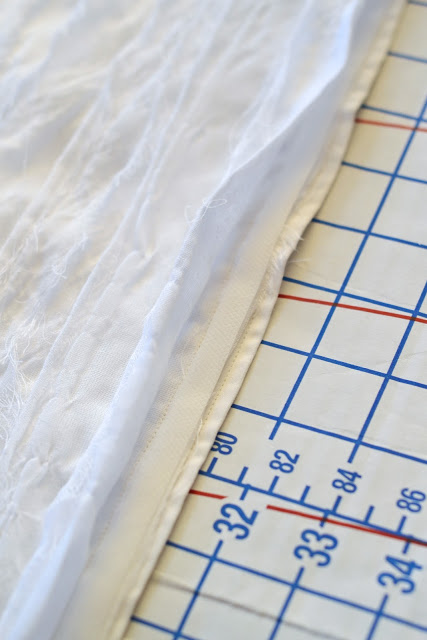
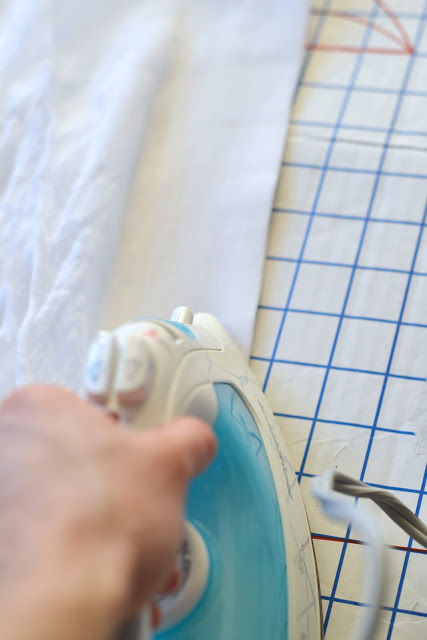
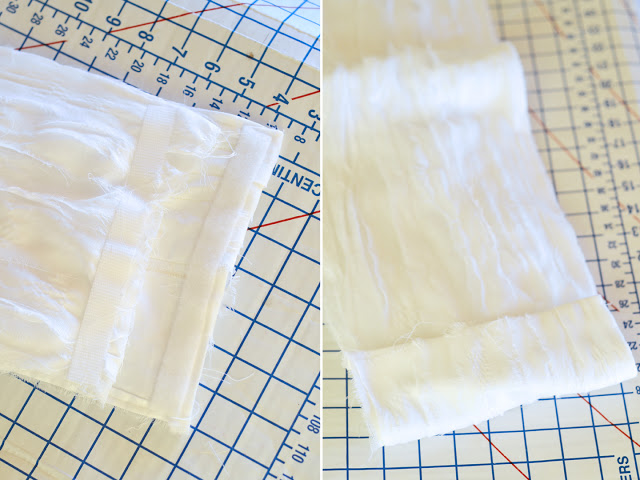
I placed no sew adhesive underneath the top piece and ironed so that the top would be flush.
To connect the two ends, I folded the hem over and ironed with no sew adhesive.
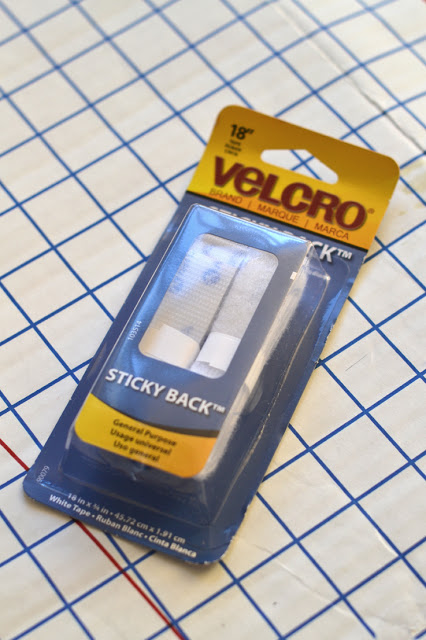
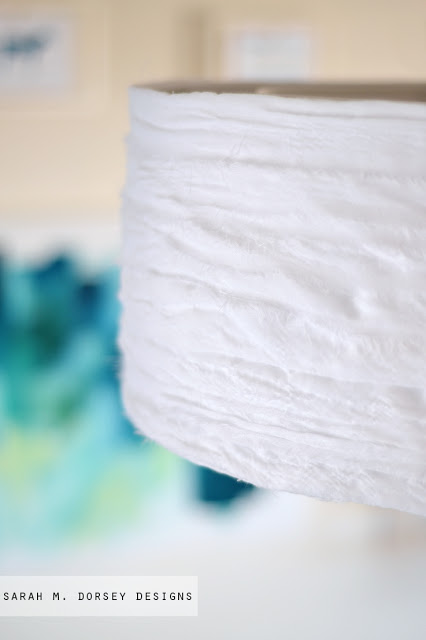
I attached velcro to secure the ends, and attached it to the shade! This is perfect for those like me that change their mind a lot so that it leaves the shade undamaged.
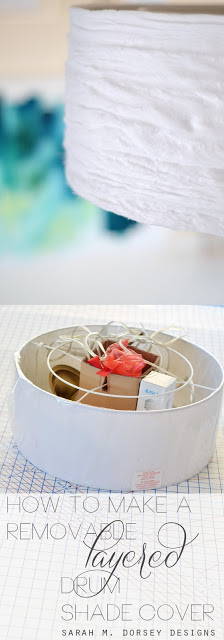
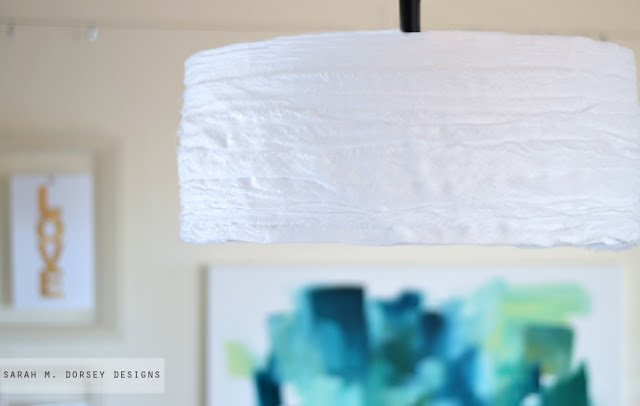
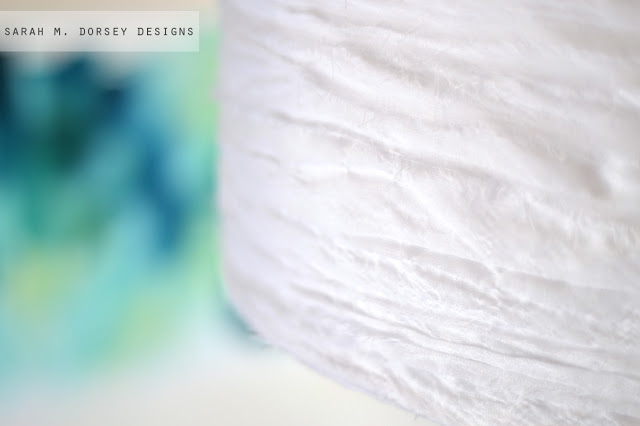
Then I pulled tightly around the shade and it was good to go!
I temporarily attached it the current fixture…
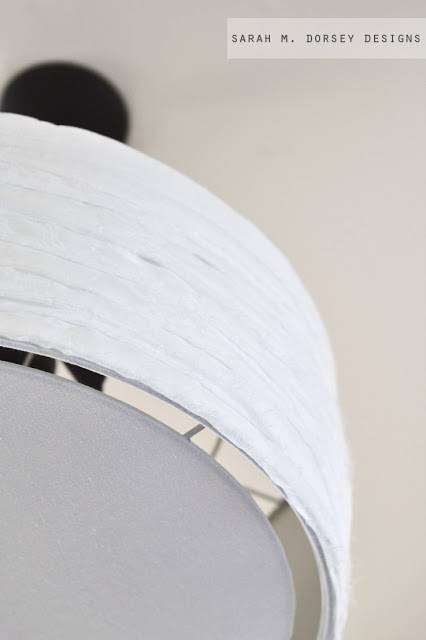
It came with a diffuser, so no worries about harsh lighting!
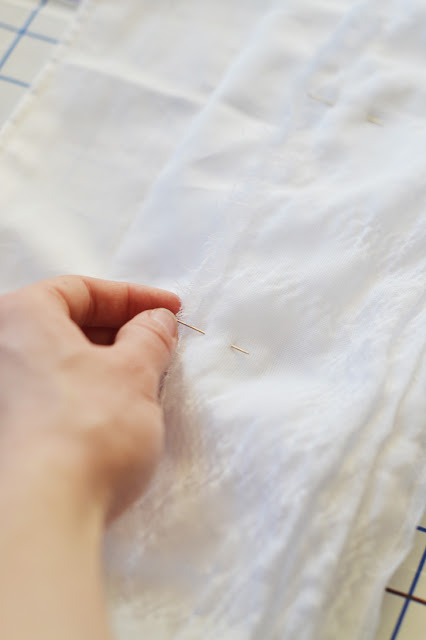
If you are learning to sew, this is probably one of the easiest things to make since you don’t even have to sew a straight line (since they all get covered 🙂 Also, this project could of been made even easier by laying it all out at once with no sew adhesive underneath and simply ironing! I didn’t have enough adhesive, so I decided just to sew it.
Total time: about 2 hrs (probably about 1 hr if using no sew adhesive!)
Total money invested:
2 yards Muslin ($1.50 yard with coupon) $3.00
I already had the fixture and velcro
Here are are few fixture options, CB2 is the fixture that I used (found at an outlet), Ikea also has a similar option here although it is not a pendant and just surface mounted.
Total investment this week, $3.00! Total overall investment $26.00 (thank goodness for outlets!)
—
Also, my painting is moving and the gallery wall is getting a major overall this weekend. I found almost everything I needed at Habitat Restore for only $15! Stay tuned!
Other projects this weekend: Eames chair and desk! Hopefully we’ll get a lot done!
Happy Friday friends, I hope you have a great weekend!
I totally love this idea! Making it removable is beyond genius!
Thank you Mary Lou! It's perfect for those that change their mind a lot! 🙂
Fantastic idea! You are SO clever!
Hi Amelia! Thank you! 🙂
You always amaze me!
thanks Julia! 🙂