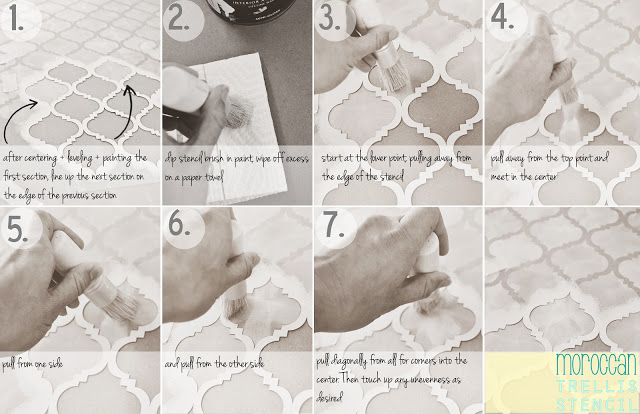
I made a step by step version of the best and fastest way I found to paint the Moroccan Trellis stencil. This will give varying opacities, which I love. If you are looking for a fuller opacity, I would recommend using swirling motions, pulling away from the sides and building the paint up until desired opacity is reached.
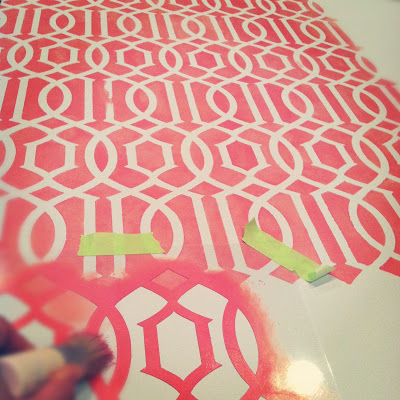
Last night I started testing my new trellis inspired stencil, up in the shop a little later today or tomorrow.
With the smaller shapes, I found it easier to work in a swirling motion over the whole stencil pressing down semi firmly on the brush to hold the edges tight to avoid paint going underneath. I even made a video to help explain. It was taken at night, so please excuse the poor quality and weird coloring, but hopefully you get the idea 🙂
Better ones to come!
Also, it took me about 2 minutes to cover 12″, so you could roughly calculate how long it would take you to stencil your surface.
Finally, I have this natural bristle stencil brush set from Martha Stewart. I found that they need to be broken in first as they lose bristles and are stiff. After they are broken in they lose a lot less bristles! Having a broken in brush made the trellis stencil easier since I could move faster. I broke mine in by using it (I didn’t know at the time that it would work better for me broken in) but I would guess that maybe swirling it in vinegar would do the trick? I haven’t tried this, so if you have any tips let me know! 🙂
I typically just use the largest brush, but didn’t see that option when I purchased at Michaels.
Hopefully this info is helpful both for using my stencils and your own!
Lack table update soon!


This is great, thank you so much for sharing!
I can't wait to see the Lack table.
Thanks Julia! Glad that you found it helpful 🙂
Thank you so much for sharing this info! I really needed this!
Leslie
houseontheway@gmail.com
Thanks so much Leslie 🙂