Last week I talked about tackling a woodworking project by myself and I’m happy to report that it was a success!
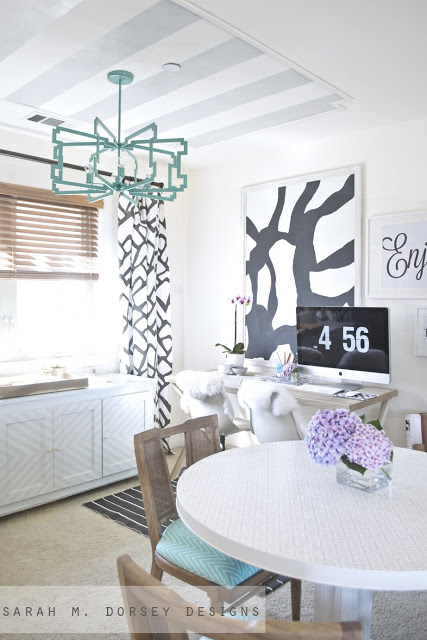
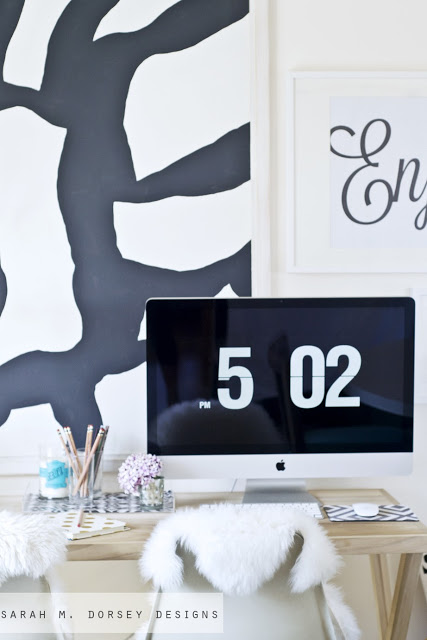
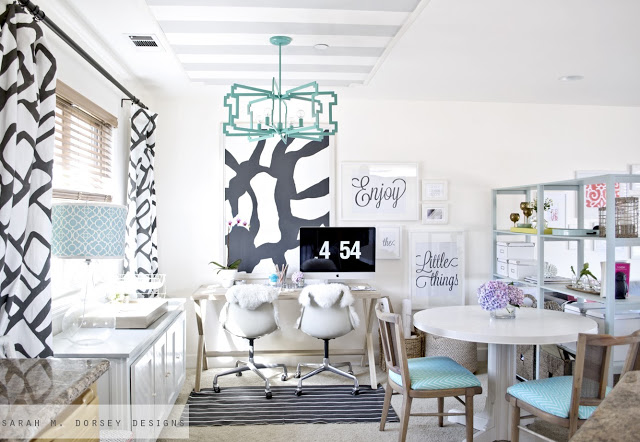
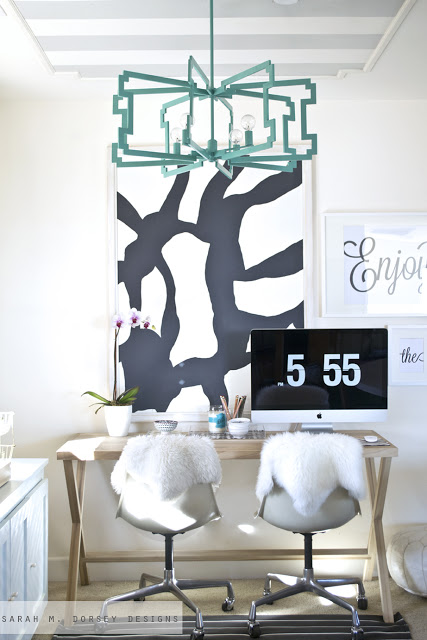
In attempts to rely less on David and do more by myself, I set out to build a simple frame for my new painting.
I originally wanted to use only supplies that I had on hand, but for the large scale (without piecing the back together) I needed to buy an 1/8″ piece of luan. I measured my trunk and asked Ace Hardware to cut it to the maximum size that my car would allow. Putting it in the car, I realized that I measured the back opening of my trunk and not the front opening … luckily since it was thin, it bent enough to fit. Whew!
Next, I’m going to talk about how I made a frame to sit on top of an 1/8″ piece of luan. Feel free to skip if you already know how 🙂
David had previously ripped a 2×2 on the table saw, which worked perfectly for a frame! Honestly the table saw still scares me, so I’m glad that this step was taken care of. I feel comfortable working with the chop/miter saw since it’s more compact and easier to control. A miter box and hand saw would also work well. I’d definitely recommend working with what your comfortable with and when in doubt, go slow and double check that your fingers are clear from the blade.
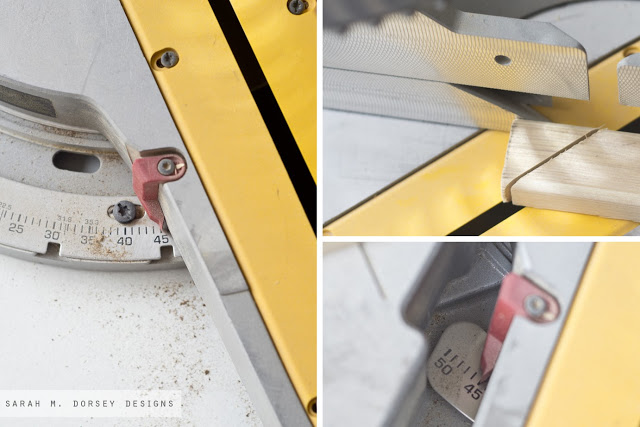
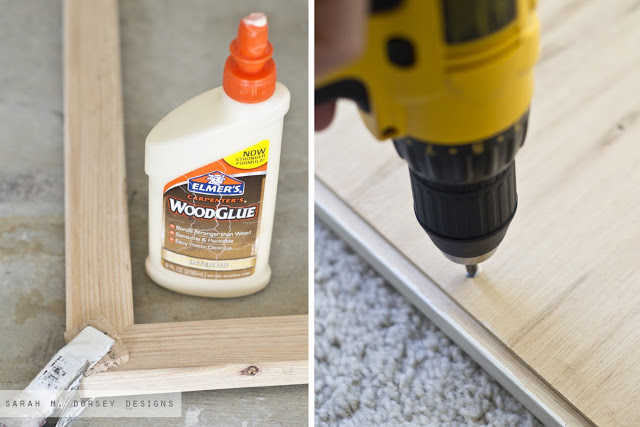
First, I put on my safety glasses – wood can easily go flying, so better safe than sorry! I set the saw to 45, cut the end off. Moved my saw to the other 45. For each side you want to cut on both 45s, I found it easiest to move it back and forth, but you could cut all your sides at once and then flip it. I like to lay it out as I go.
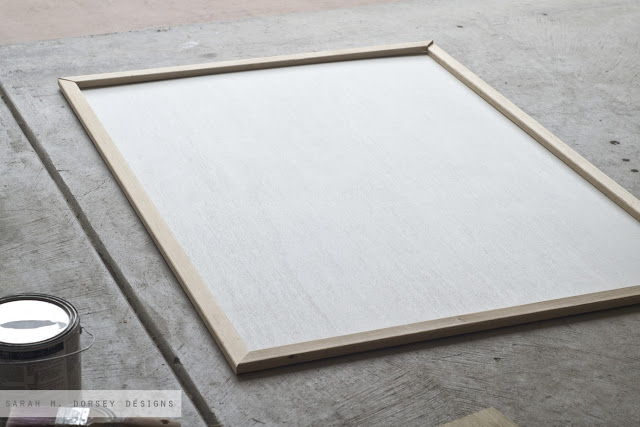
Next, I measured for my frame. My luan was 40″ x 54″ and I decided that I wanted an extra .5″ on the sides so that the frame would slightly extend. Since the board is thin, the frame floats slightly from the wall. I could have made it even, but then I’d have to fill the line between the luan and the frame with wood filler.
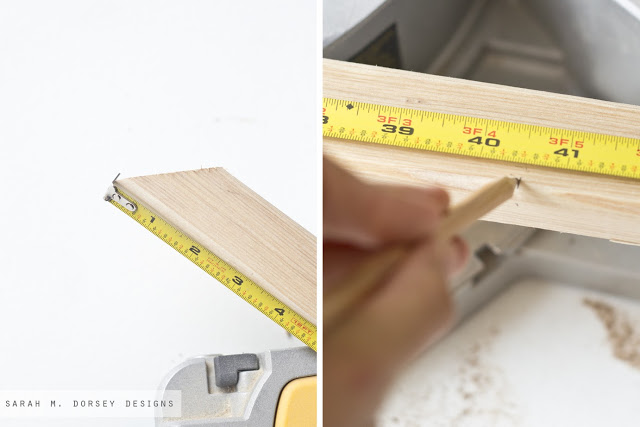
So from the tip of the 45 angle, I measured 40.5″ for the top and bottom and 54.5″ for the sides for my 40″x54″ board.
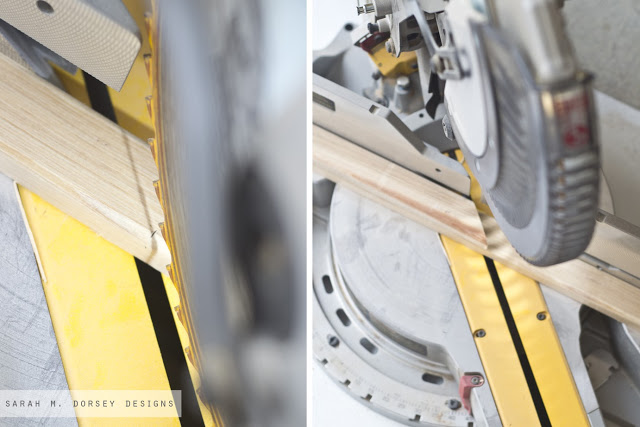
Lining up my cut, I accommodated for the blade by cutting at the far edge of the line. Our saw has a light built in which makes it easy to see exactly where the blade will go. I repeated this process for all sides.
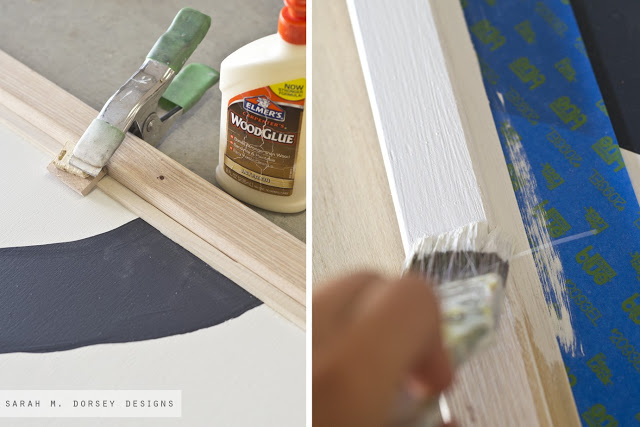
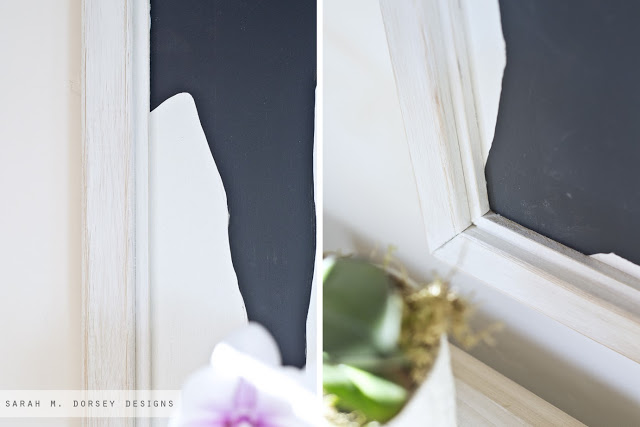
We had thin .5″ pieces of wood left over from when David ripped the side pieces for the herringbone driftwood table, so I decided to make a small inner frame to make it a little chunkier (using same process as above, but I measured it to fit exactly inside the outer frame). I used wood glue and clamped it in place, using extra wood to protect the top again.
Finally I taped off the painting the painted edges. It made the most sense to me to do this last since the final part of the frame was glue in place. I used one coat of white paint and then sanded a little once dry to give it a white washed look.

Nice work with the saw, Sarah! I could have guessed you had it in you 🙂
Thanks Jen 🙂 definitely not a difficult project, but proud of myself because I didn't mess up and have to re cut anything! ha!
it looks amazing, sarah! love the large scale!
What can't you do my friend?! Good work!
I'm sure I couldn't have attempted this on my own! Awesome work! It looks amazing!
Not only did you do an amazing job but you managed to take beautiful photos along the way which I stink at every time. I want to get the stuff done and then I forget to take pictures or I snap horrible iPhone pics 😉
great work, sarah!
SERIOUSLY!!!! How is it you don't already have your own HGTV show.. You guys are RIDICULOUSLY talented!!! I Love all that you do. 🙂
xoxo
This looks great! I love the graphic punch it gives the room! 🙂
love love love your home. gorgeous! i too need to do more diy wood projects by myself instead of begging my husband to do all the work 🙂 thanks for the inspiration!
http://www.handmadeintheheartland.com
Beautiful! I searched your site but couldn't find where you listed the tutorial for the art itself. Have you posted that yet?
Hi Rupa! I never posted a specific tutorial. I hand sketched from my inspiration image (link in post) in pencil and then painted over it with matte soft black paint. If you're not comfortable free handing it, you could use a projector. Hope this helps!
Thanks! It does help. It looks gorgeous and I can't wait to try it for my house.