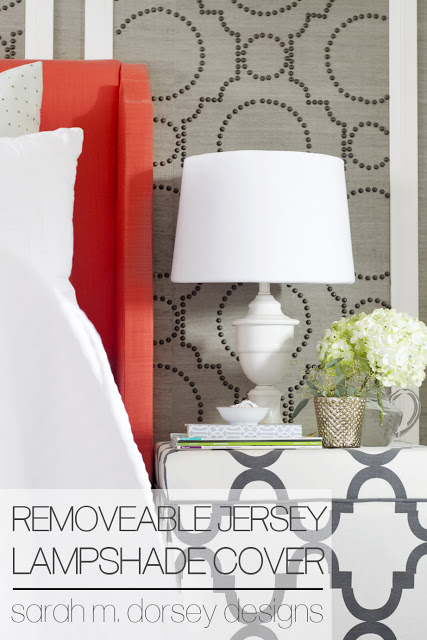
Today I’m sharing another DIY in 1 hour or less! A removable lampshade cover is the perfect solution if your current lampshade doesn’t work with your room, but you want a quick and cheap temporary solution.
When we took pictures for our final CWTS project, we had to get all new accessories (since photos were submitted anonymously), including a lamp because every bed needs light. Not only is it practical, it helps add height to your nightstand, which helps balance the height of the headboard. We had to return the light that we used (we kept a lot of things that we used too) and make our existing lamp work.
Instead of buying a new shade I decided to make a removable lampshade cover that wouldn’t damage the shade, in case I decide to use it again.
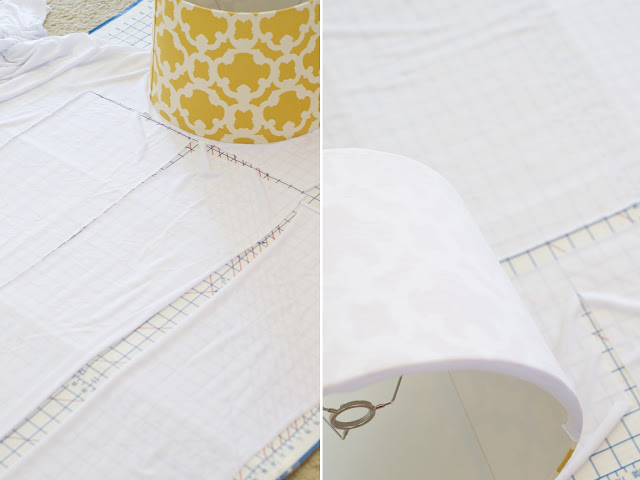
Jersey is the perfect solution – especially for a tapered shade because it stretches and conforms to the lampshade. It is also great because it requires minimal sewing – only on the connecting end. The top and bottom don’t need to be sewn since it doesn’t fray.
It is translucent, so white wasn’t the easiest choice, but I’ll explain how I fixed that in a little.
Here’s how I did it!
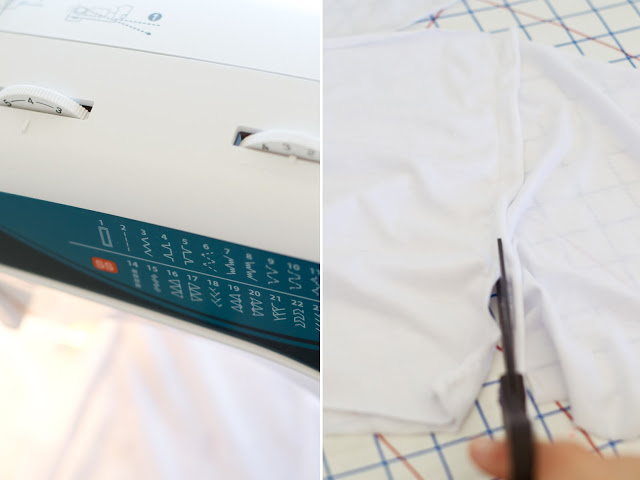
3. After doing a normal stitch and it bunching because of the stretch, I tore out the stitch, looked online and found that the stitch has to zig zag. I put my sewing machine on the zig zag setting (#3) and started sewing (make sure not to back stitch, I had to start over one more time…)
** I did slightly taper my
stitch so that it was a little wider at the bottom. The jersey is pretty forgiving and will stretch, so this probably wasn’t necessary. Getting it tight at the top is
the most important and then it stretches a little more at the bottom.
4. I sewed one line and cut off the extra fabric. So easy, once I figured out the right settings!
I put the seam of the cover on the seam of the lampshade and then repeated so I had three individual layers. I decided to do the layers separately since it was easier to sew that way (at least for me 🙂
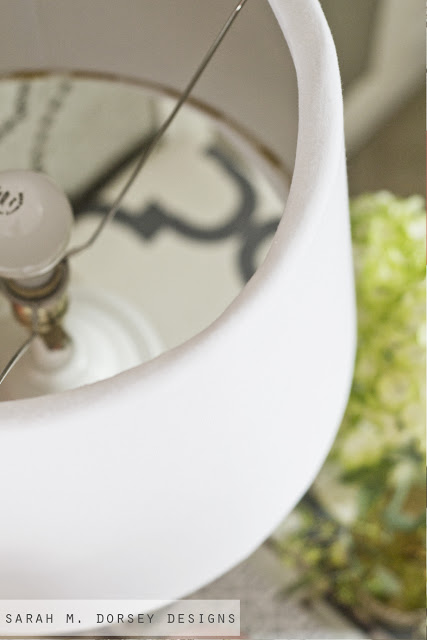
After the third layer, you could still see through to the shade underneath. I decided that a thin piece of white paper (like normal printer paper) would work well underneath the jersey to hide the pattern. Since the shade is tapered, a large piece of paper would be needed to get one continuous strip. I didn’t have any on hand, so I placed a layer of paper towels between the lampshade and the jersey. I couldn’t get it out of the height of the paper towel, so they are layered and taped inside. It isn’t pretty, but the layers of jersey smooth it out.
Super easy!
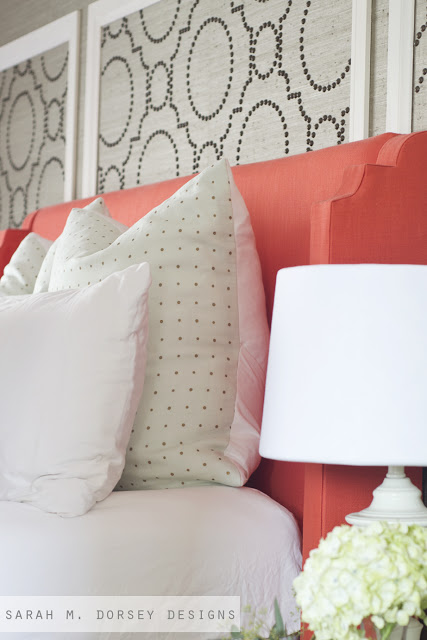
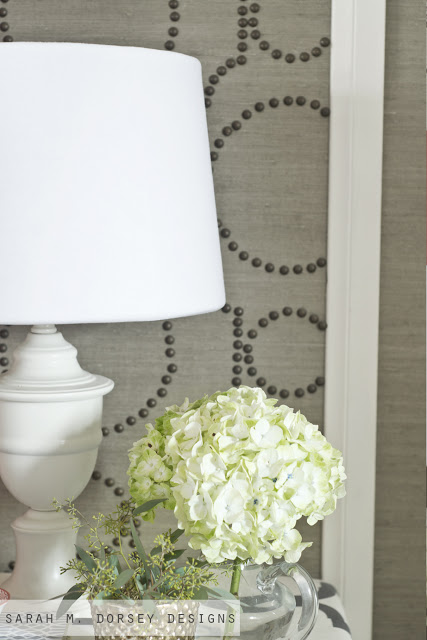
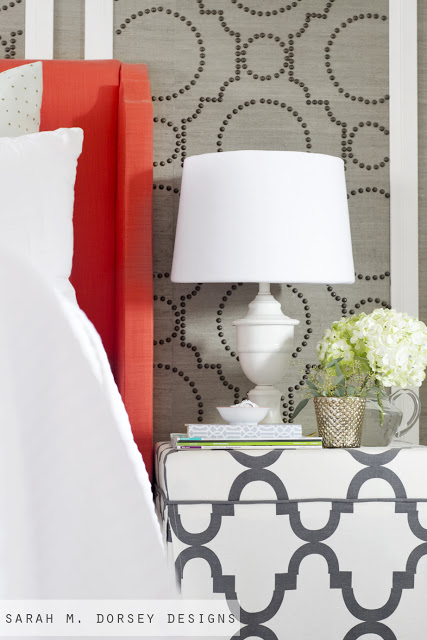
When you measured your length did you use the bottom or the top of the shade? Love how simple this is!
-Lora @ Craftivity Designs
Hi Lora! 🙂 I just measured in about the center, but closer to the top of the shade. I did slightly taper my stitch since it is wider at the bottom. Getting it tight at the top is the most important and then it stretches a little more at the bottom. (I'll add this to the post, thanks for asking!)
You are so clever! I never would have thought to make a temporary cover. What a great solution for a shade you may not want to permanently glue over!
Oh wow, who knew?! I would have never guessed Jersey but such a smart idea!
Jersey… clever! I might have to try that for a plain ikea lamp we have in the living room…
{lamourcheznous.wordpress.com}
I've used poster board as a way to provide structure to a lamp shade that was just a metal frame. I bet it would work well under your jersey to help block the pattern. I get the poster board at Dollar Tree for fifty cents, so it's economical. 🙂
Great post! I will definitely be using this in the future!