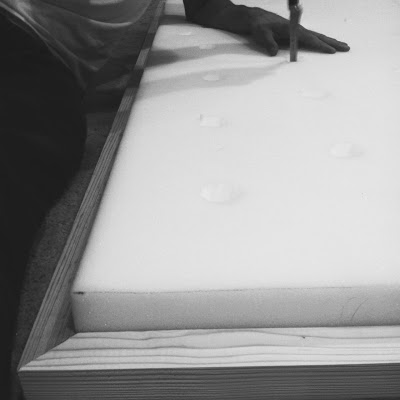
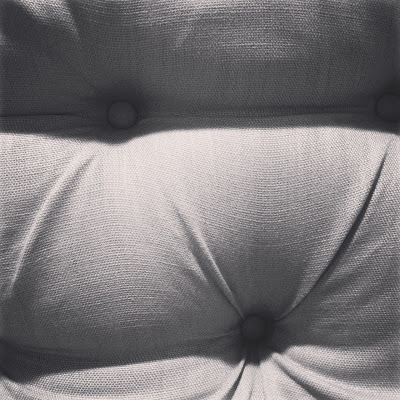
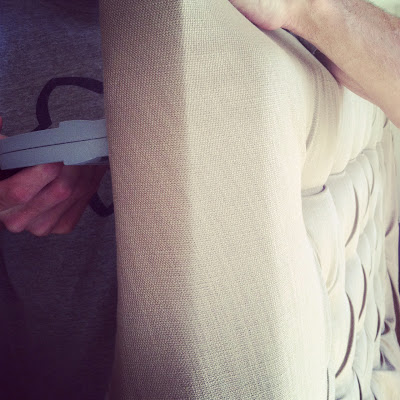
If you follow me on Instagram, you most likely saw that we’re building a headboard! Before you start thinking I’m crazy since we’re moving in one week, it’s not for us 🙂 Our good friends from David’s work, (who are also moving in a week) recently got married and are starting to phase out his college futon and “guy” furniture and get some furniture together. We quickly volunteered to make a headboard (you know I can’t resist trying a new idea!)
I’ve been wanted to try deep tufting since we made our last headboard, but since we we’re under a time constraint … we had to opt out. SO this was the perfect opportunity!
Here’s our progress through Instagram.
I’ll write in a little more detail about our process, but if you are deep tufting this week, my advice would be not to pull too tight between tufts and to leave plenty of extra fabric on the side. Normally you want to pull as tight as possible, but here you want to use the extra fabric in the tuft. Also the folds take extra fabric from the sides, so leave lots to work with!
I’ll save the final look for the tutorial, but we did add nailhead if you think the edge looks a little weird 🙂
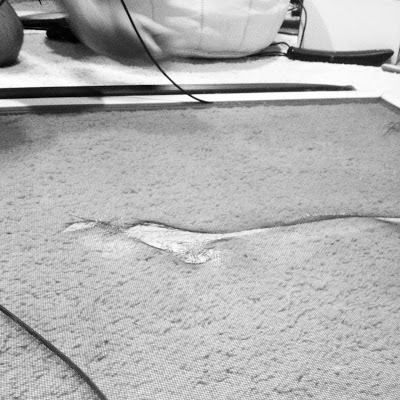
We also had an unplanned DIY for the weekend – replacing the screen door. I was pushing in the button (which is very hard through 3″ of foam by the way 🙂 David was stapling from the back, for some reason I moved on staple number two and forgot that there were two more to go … and the headboard went crashing through the screen door. I’ll blame it on exhaustion!
Luckily replacing a screen isn’t hard or expensive! Thank goodness it wasn’t glass! After picking up the supplies at Home Depot, we were done in about 30 minutes.
Hoping that you had a great weekend! I’m working hard to get moving stuff taken care of this week so we can get plenty of beach time in before the movers come on Monday!!
P.S. I still have some Large Fretwork Stencils and Coral “In Order to Be Irreplaceable Prints” left. Click here and here for more info or order through Etsy!


I love tufted headboards! Your is looking great Sarah 🙂 xo Kristin
i have made a tufted headboard! a lot harder than i thought it would be! i can't wait to see the final product!
our screen door has several holes from our dog scratching on it. i figured we'd have to replace the whole door, but knowing it's easier than that, i guess i should get to it! 🙂
Definitely! It's super easy, you just need new screen (a little bigger than your existing screen so you can trim the edge) screening spline, and the little roller to push the spline in. It only cost about $10-$15!
Love what I see from the headboard.
It looks great! I love that there are several pleats around the tuft. I have no idea if pleats are the right terminology but you get what I'm saying right?! Can't wait to see another great DIY!
Laura
House envy
That's gorgeous! I've been wanting to try something like this in my guest room!
It looks fabulous! I love all the fabric folds. You totally give me hope that one day I will make my own headboard.
I've been begging my fiance to make a tufted headboard with me. Excited to read the tutorial and see the result!
It looks gorgeous so far and I love the fabric (color and texture!) You are a very brave woman to be doing this before moving. I will send some sunshine your way after you leave CA.
Such a fun project. I can't wait to see it all finished!
Thats a great tip about pulling to tight. I think that's what happened when I tried to do it. It turned out really wonky. Yours looks amazing!!!
I discovered your blog recently – so inspiring & fun to read! Your headboard looks awesome so far! We've been wanting to DIY a headboard & couldn't decide on tufting or nailhead trim….why not both?! I can't wait to see it finished either! 🙂