
Adding fabric to a lampshade is easy and one of my favorite ways to personalize a space.
What you will need:
1. Lampshade
2. Fabric (about 1/2 yard per shade – 54″ width fabric (maybe less) – I would use a heavier weight fabric, this is a duck cotton which worked well – an indoor/outdoor fabric would work even better because of its stiffness
3. Craft glue
4. Tape (to temporarily hold fabric until glue dries)
5. Ribbon for trim
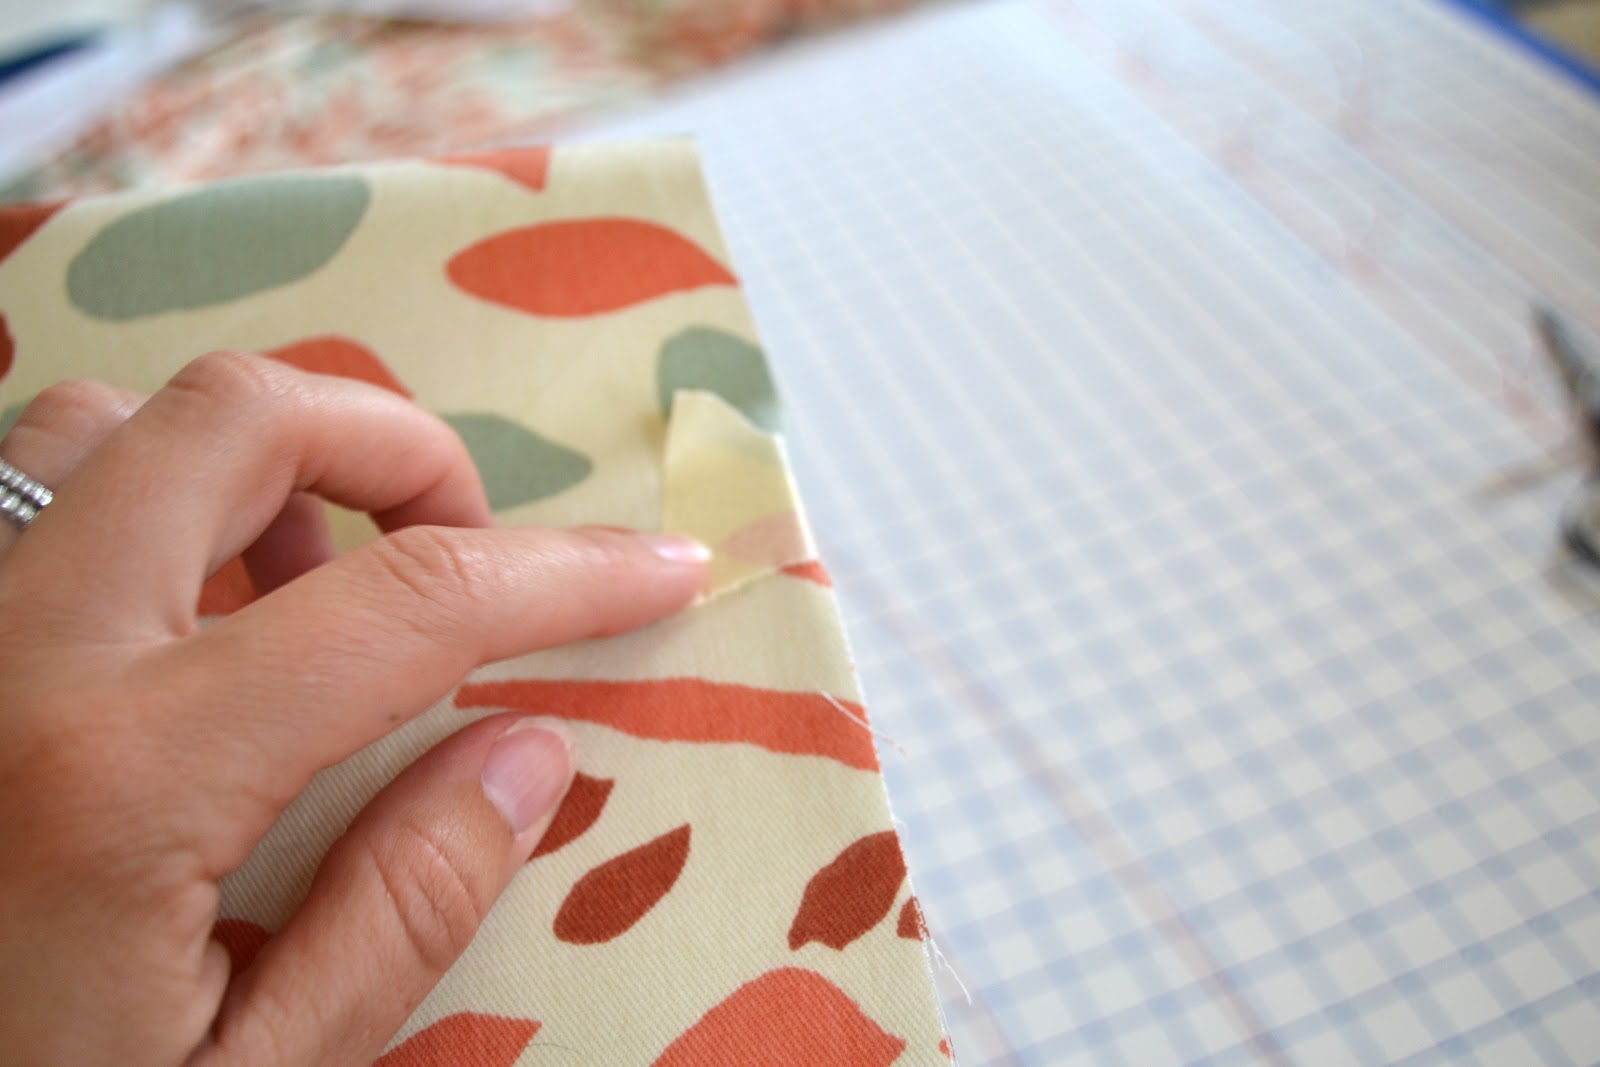
I started by cutting the fabric the exact height of the shade
Start at the seam on the shade, apply a thin layer of craft glue on the edge and adhere the end of your fabric

Use tape to hold in place (make sure to press down hard because you will be pulling tight!
Go around the shade pulling tight and applying tape at the edges to help hold in place (it is helpful to have another pair of hands to help hold in place)
When you get to the other end – fold the end and iron to get a crisp line – apply a thin layer of glue and use tape to hold in place.

I used bias tape for the trim – normally I use ribbon but couldn’t find any that I liked – so decided to give this a try! When selecting trim, make sure to bring a sample of the fabric to hold underneath to make sure you can’t see the fabric through the trim.

Trim any excess fabric off of the edges of the shade with sharp scissors

Starting at the fabric seam – place the trim slightly under the fabric fold – working in small sections, apply a thin layer of craft glue to the edge and then apply the trim slightly past the fabric to hide the edge – pull tight and tape as you go to hold the ribbon until the glue dries – when you are at the end, fold the trim under the pressed fabric fold and glue in place.
Reattach the shade and you now have a one of a kind lamp!

If you haven’t already, make sure to enter for a chance to win a copy of Flea Market Finds with Matthew Mead!

Great tutorial – I've also used spray adhesive before, which worked well but was pretty messy 🙂
I thought about trying spray adhesive this time, but since I didn't have anyone here to help, my fabric would probably end up glued together!
Wow, this looks great. I'm with you on the spray adhesive – that stuff is STICKY – 2 sets of hands are definitely better than 1 (I learned that with wallpapering the back of a bookcase) 🙂
Yes! and once it sticks, it doesn't want to come off!
Ahhh! I wish I had seen this before I did my Takin', Fakin' & Makin' post last week so I could have linked it back to you! Such a great idea 🙂
Katie
Athomewhenimwithyou.blogspot.com
Maybe next time! Covering a lampshade is one of my favorite ways to update a lamp, and its is so easy!
What a great tutorial!! It seems like such a simple way to add some colour to a room!
Thanks Tani! I am loving the color and pattern!
Love the coral dresser and lamp make over!! So cute, bright and happy!!
Hi Courtney! Thanks for stopping by and for your sweet comment!
WHERE CAN I FIND THIS FABRIC!? Its fab!
It is Annie Selke – Toadstool Russet http://www.housefabric.com/Toadstool-Russet-P7103.aspx
love it too!
Great advice…we have an Etsy site for handmade lampshades and your advice about small things like making sure the trim is not see thru is very helpful not only to us but to others trying to make a lampshade. thanks and found this link on Young House Love…be prepared for lots of comments!