This post has been sponsored by FrogTape
We completed our son’s room last year for the 2020 FrogTape Paintover challenge – check out that post HERE! We’ve enjoyed the space of the past year, but we wanted to add a little personalization to the blank wall over his dresser. He LOVES little cars – he ALWAYS has on in his hand. So, I thought adding a gallery wall of toy cars would be the perfect addition!
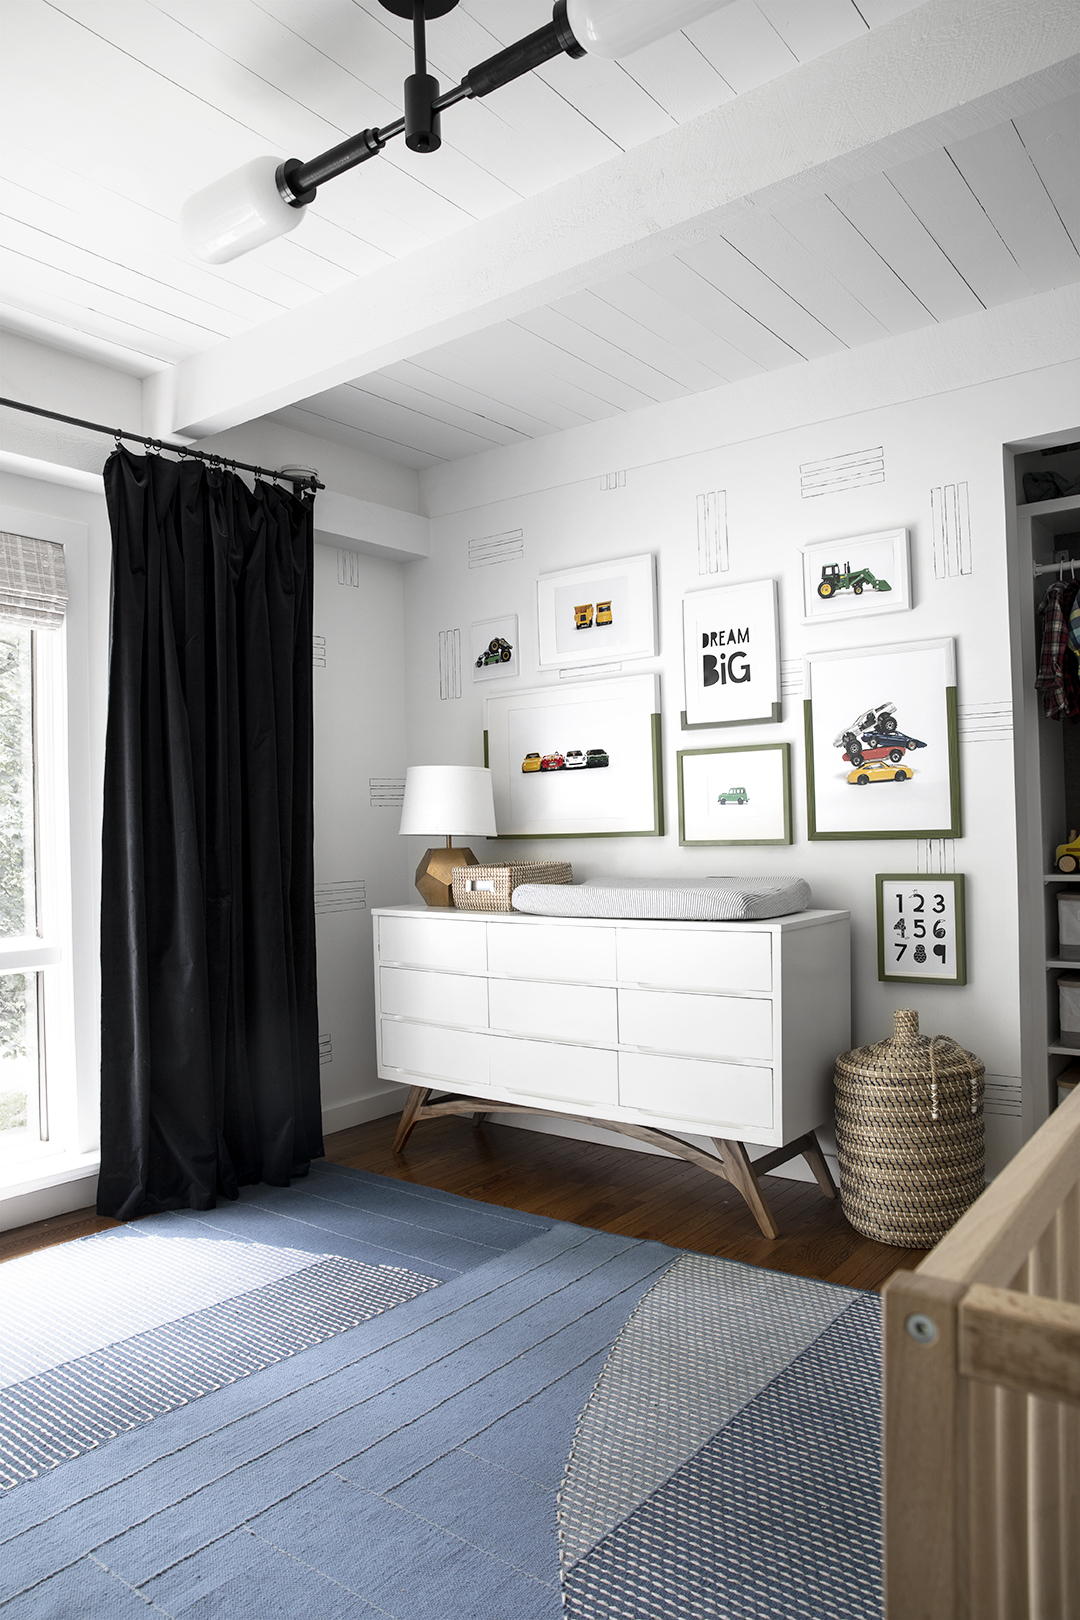
I wanted to have a two tone look for the frames – creating a line down the middle of the frame grid. The top portion of the frames is white and the bottom half is a muted green. I created a line down the middle of all the frames using FrogTape Delicate to get the perfect straight line!
I photographed some of his favorite toy cars and got them printed at an online shop. For the frames, I used several from my collection and painted them so they were cohesive. The best part!? I had everything on hand and only purchased the prints for around $50. Read on to see how we did it!
Materials:
Photography set up
- White paper
- Various toy cars
- Books/boxes to prop cars up
- Camera/tripod
Frames (amount and size per space)
- FrogTape Delicate
- 220 grit sandpaper
- Spray Paint (I used, white and color shot extra guacamole)
- Tape measure
- Square
- Pencil
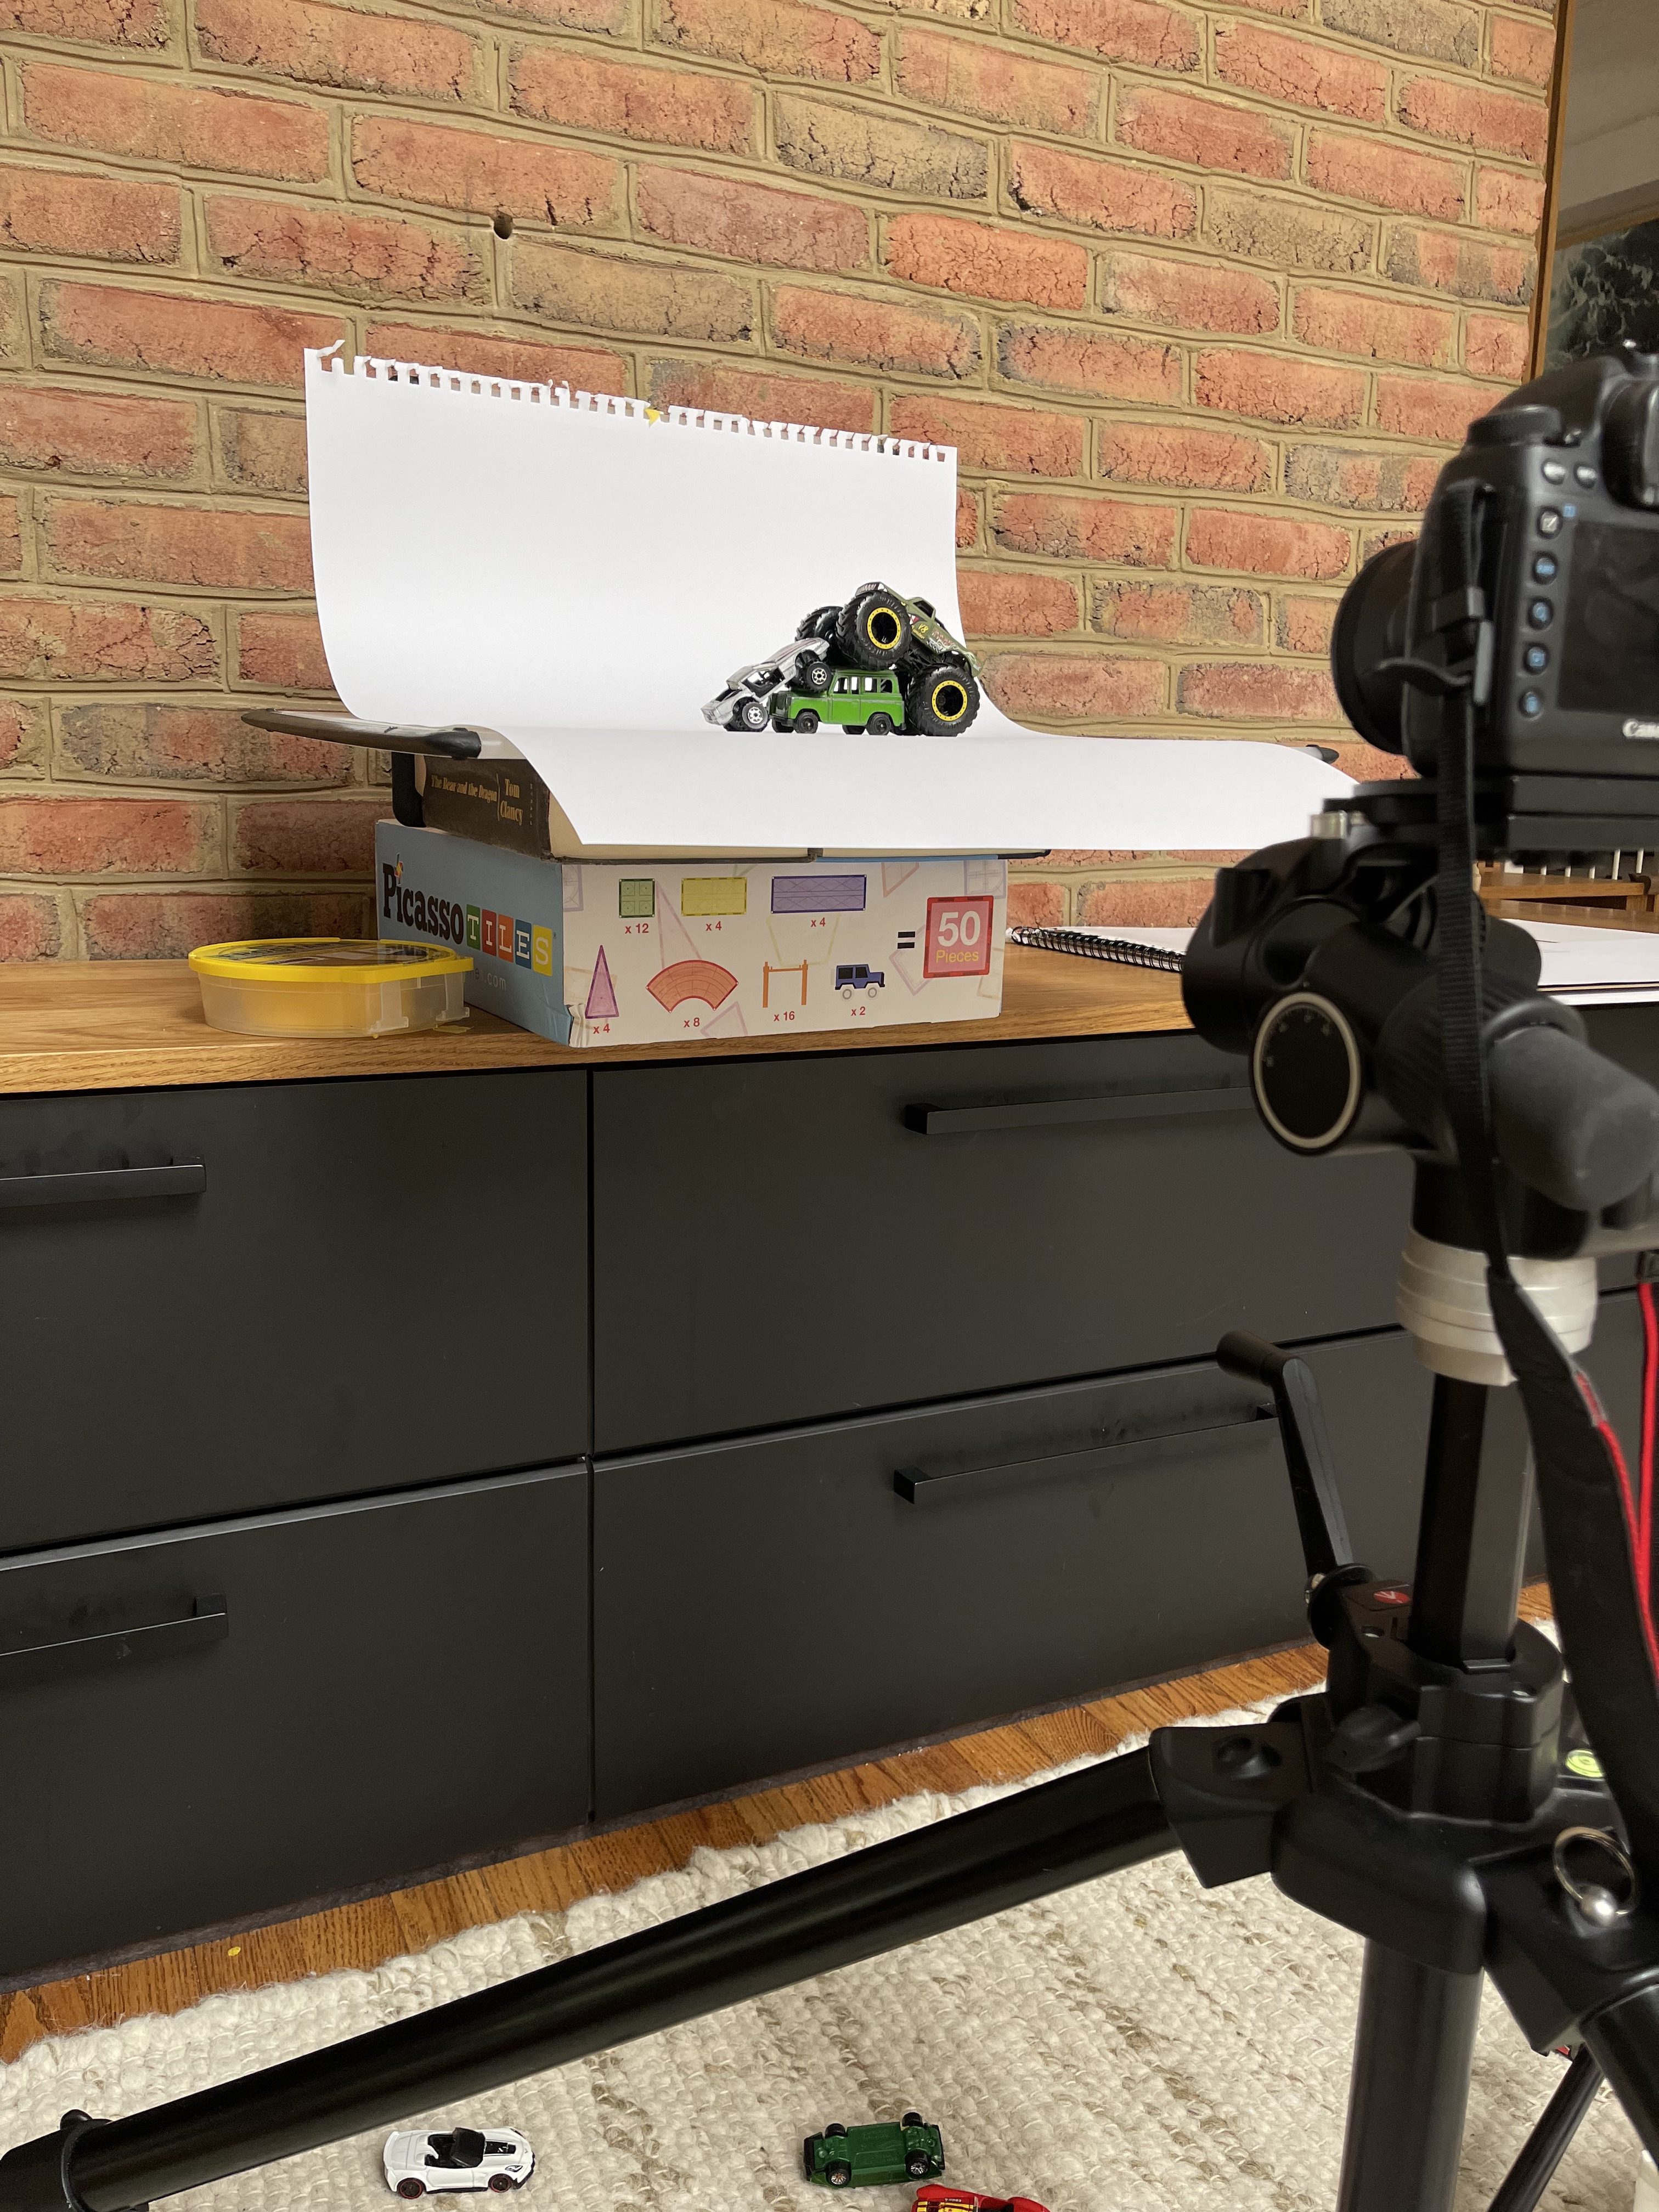
To set up cars to be photographed, find an area with good, even light (I had windows behind the camera). Prop cars up, so the bottom of the wheels are level with the range finder (I used books and boxes with a large cutting board on top). To get a crisp photo, use a camera and tripod. Edit to size and print online or at your local store.
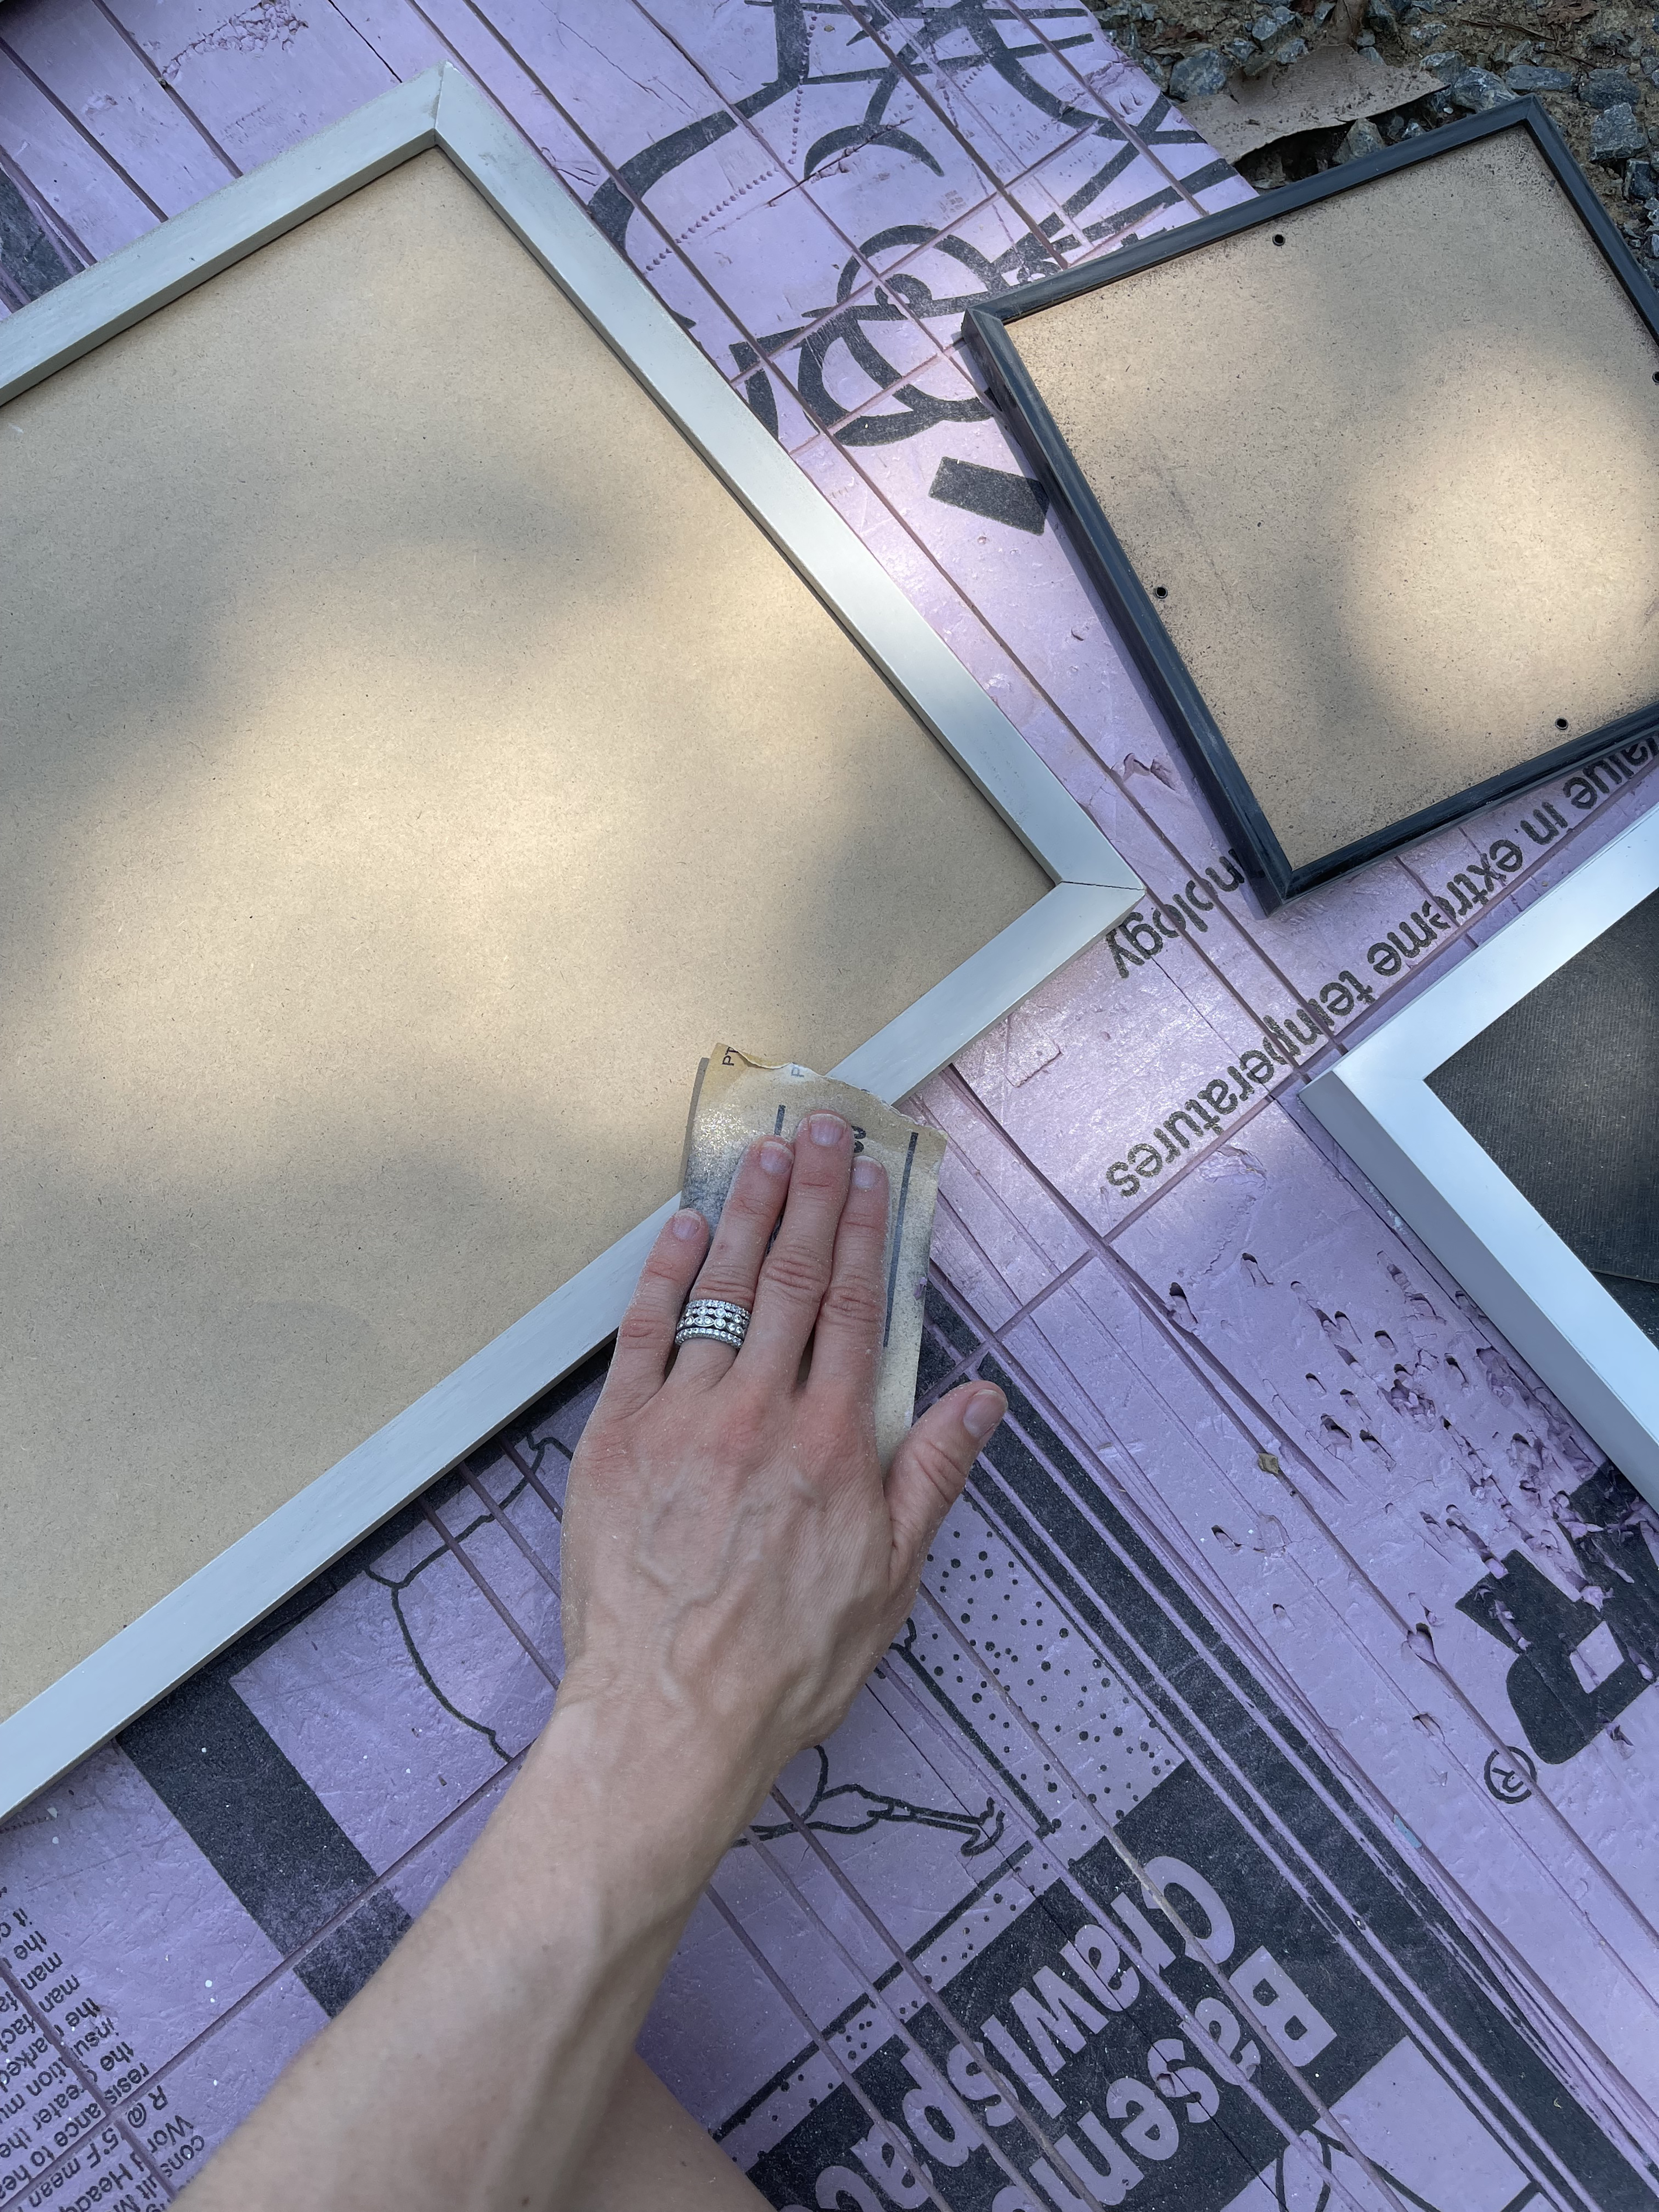
To get started on the frames. Sand gently with 220 grit sandpaper. Once complete, remove dust with a microfiber cloth.
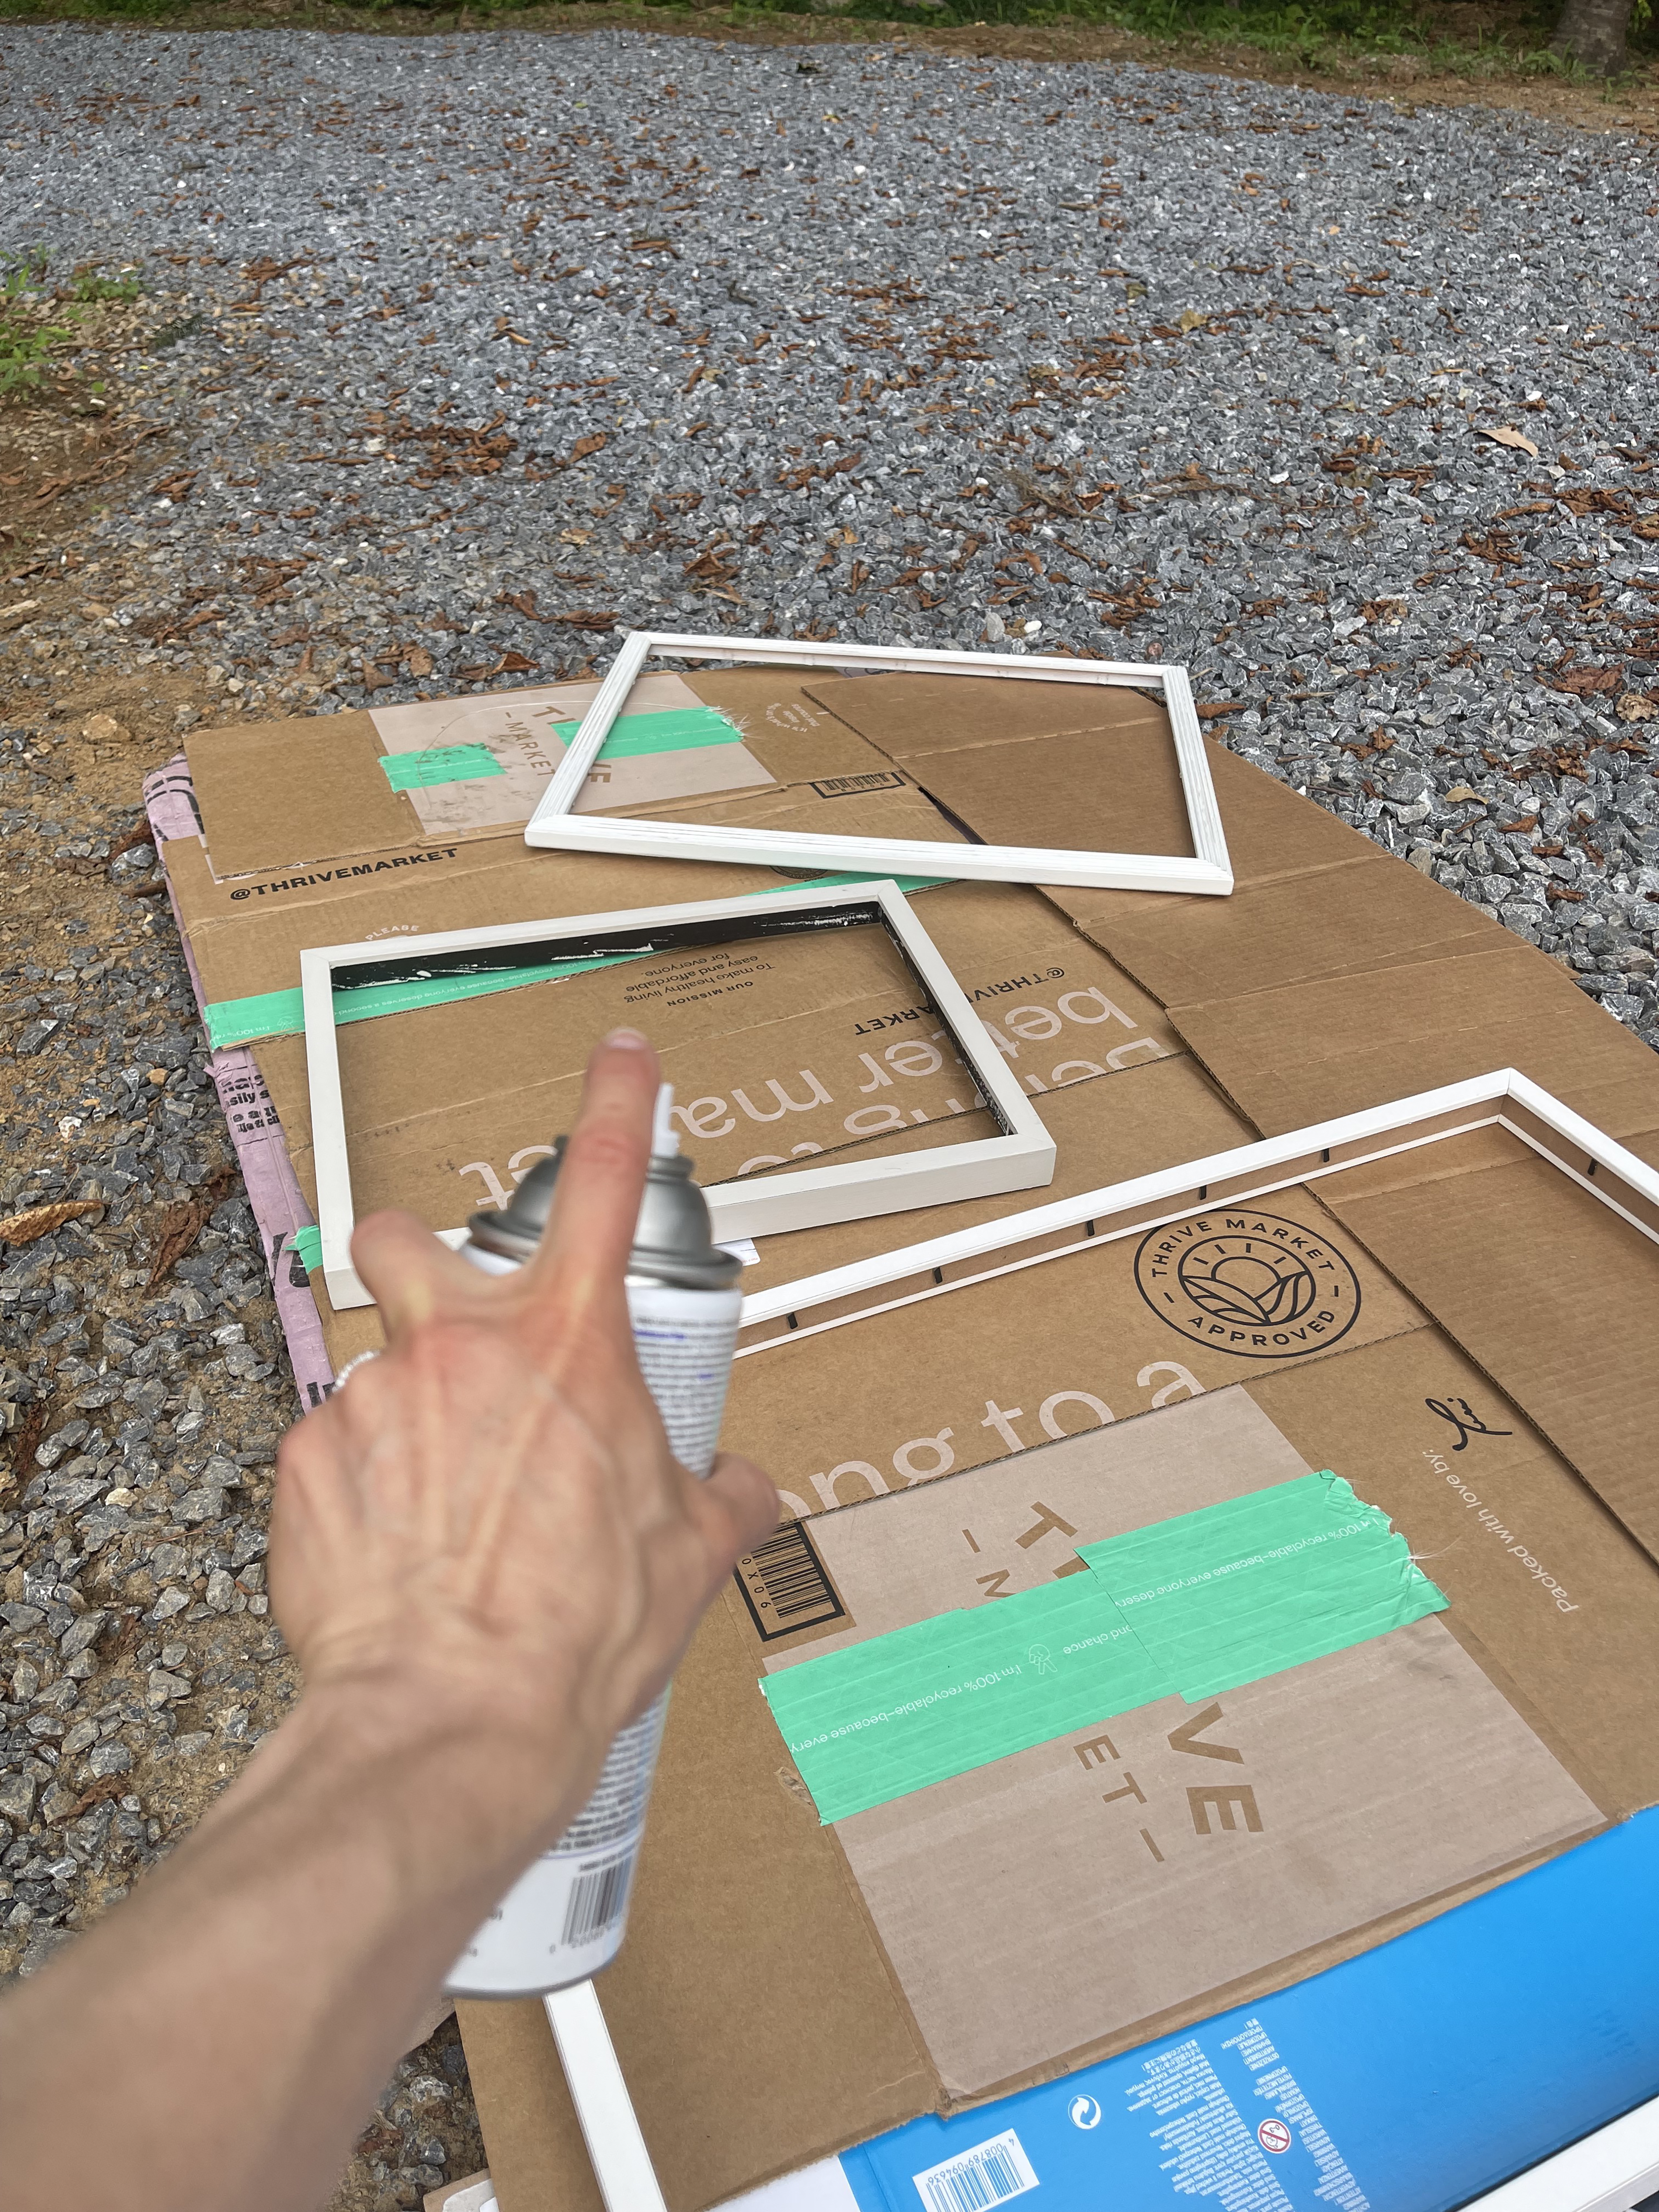
Set up to paint – outside with lots of ventilation is important with spray paint. Start with your lightest color and do several light coats of paint, letting it dry between coats. It’s not important to get full coverage on the frames that will be painted the other color, but you want to make sure the transition line is covered.
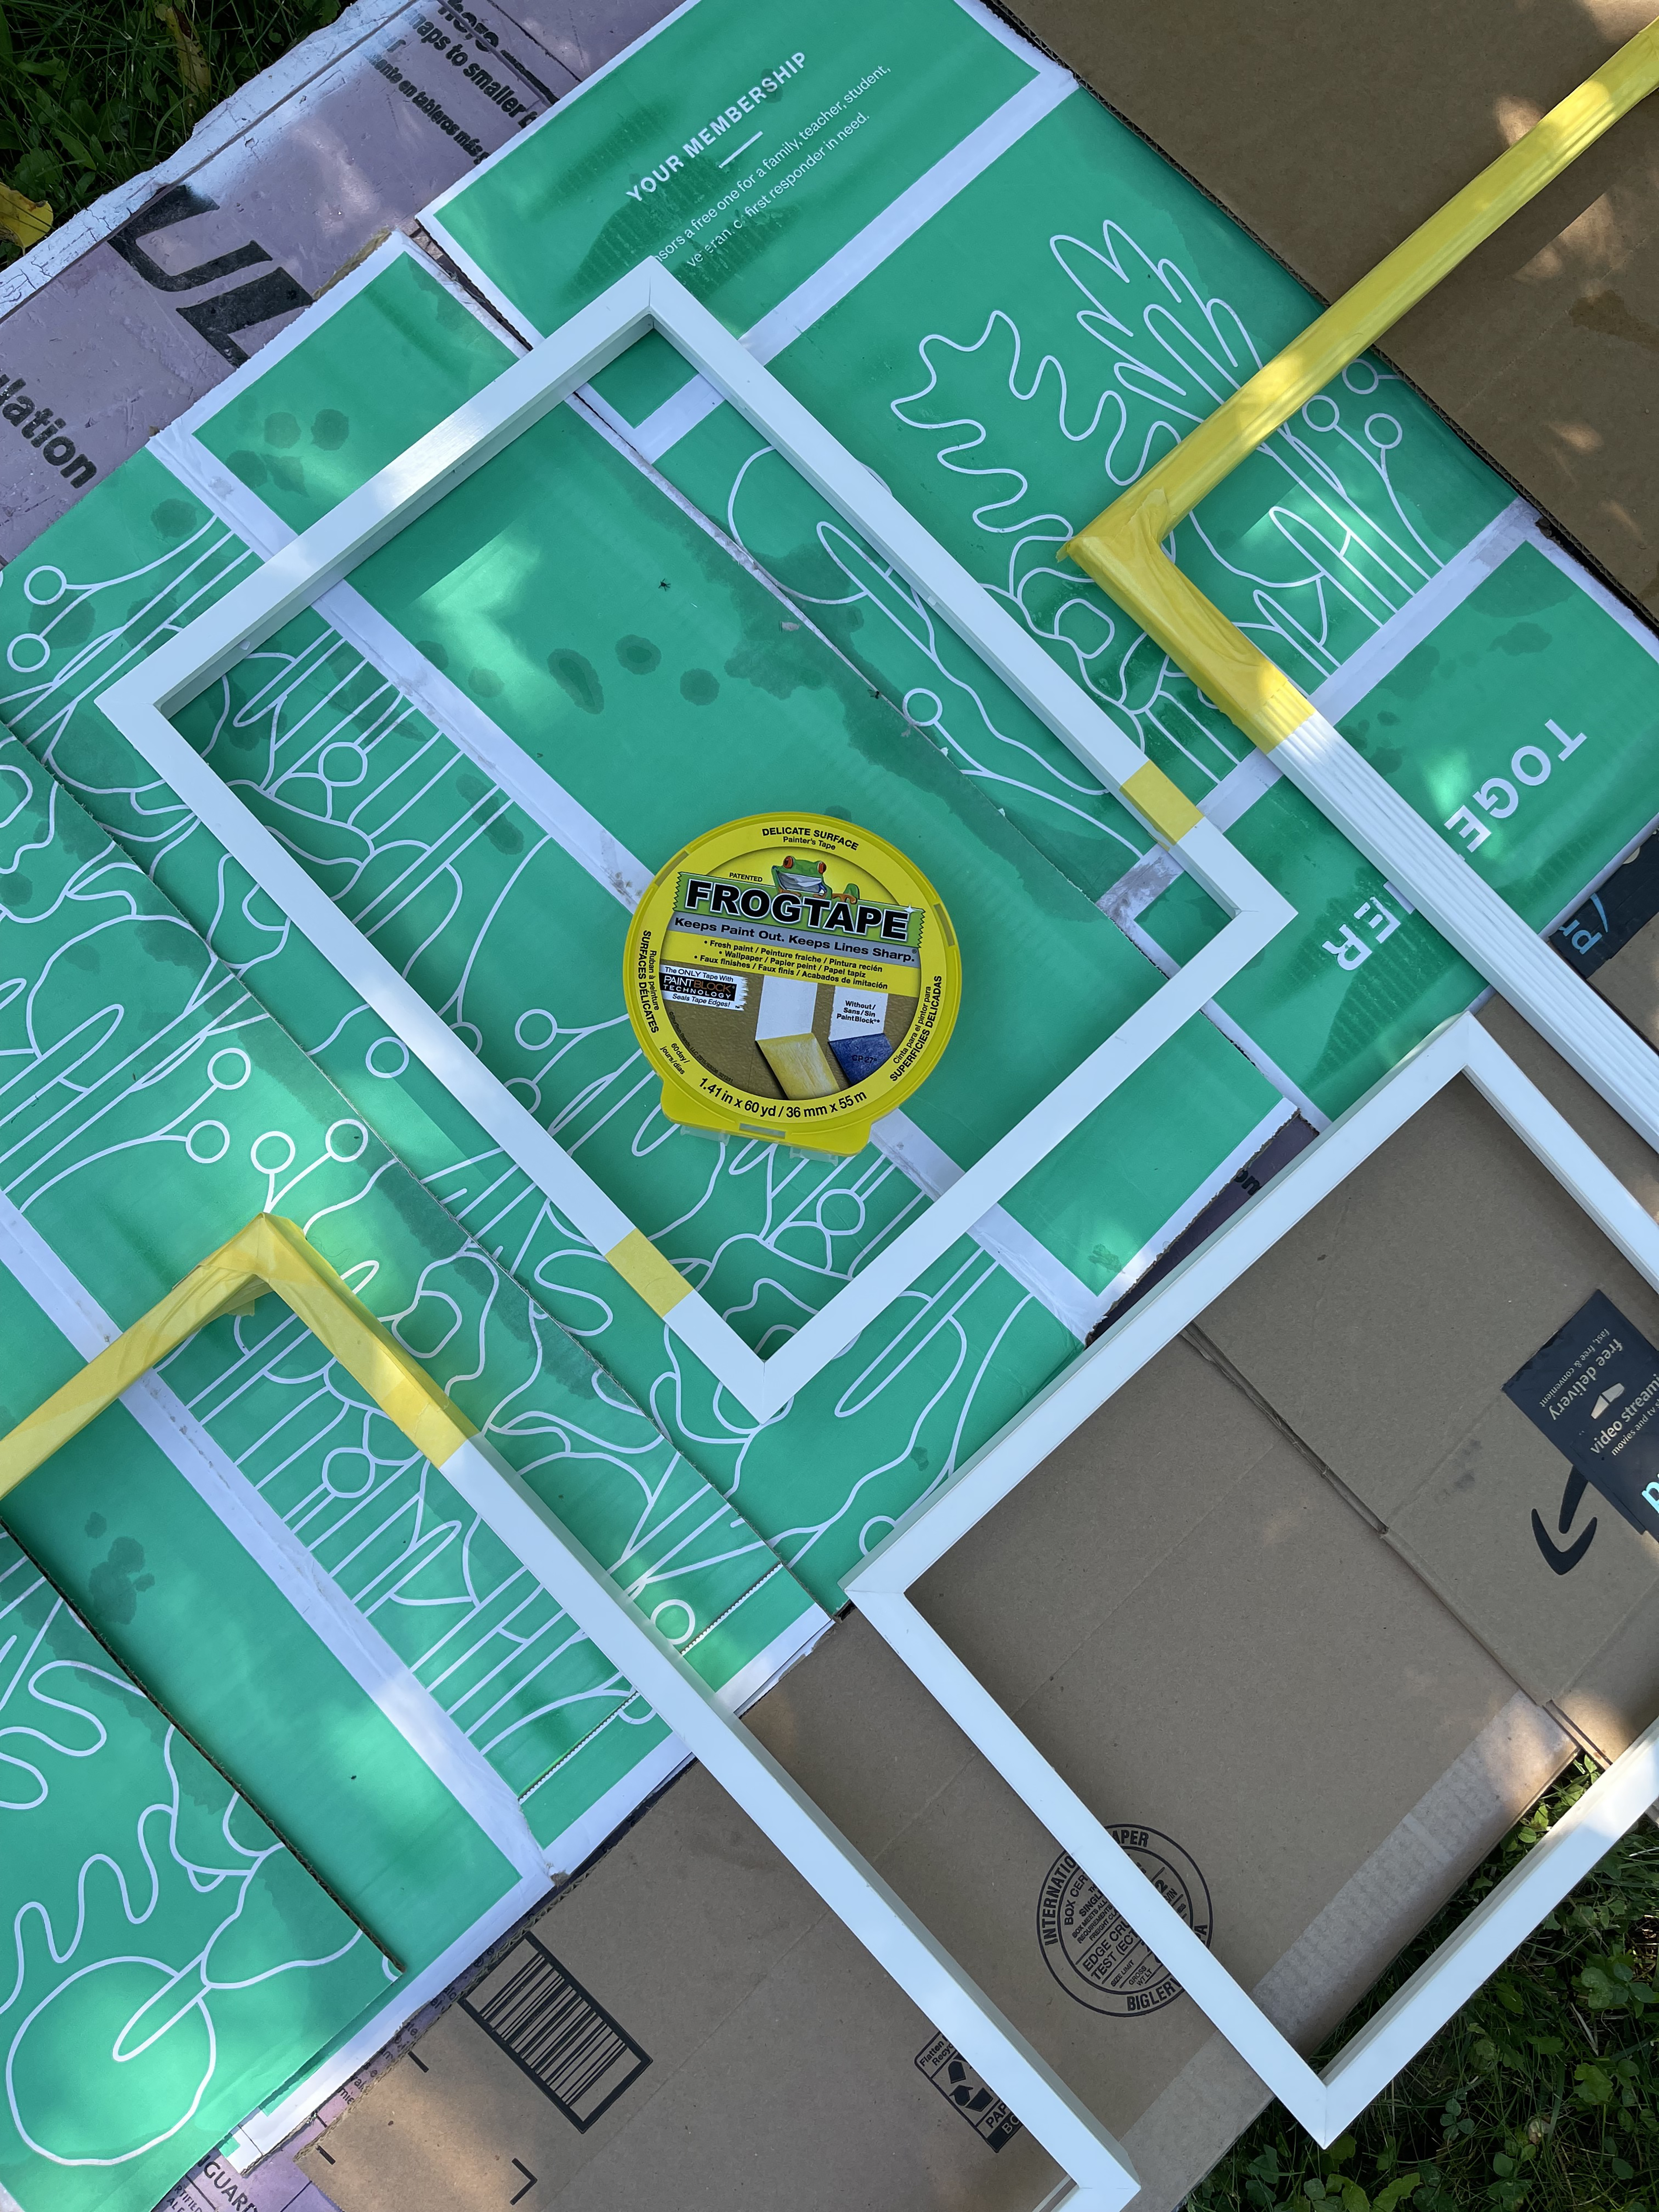
Once your first paint color has dried (I waited overnight) determine where you want the line separating the colors. I used Sketchup to mock up the frame placement and line placement; however, you could also easily lay the frames on the floor to determine as well. Gather frames that will be two colors, measure and apply FrogTape Delicate.
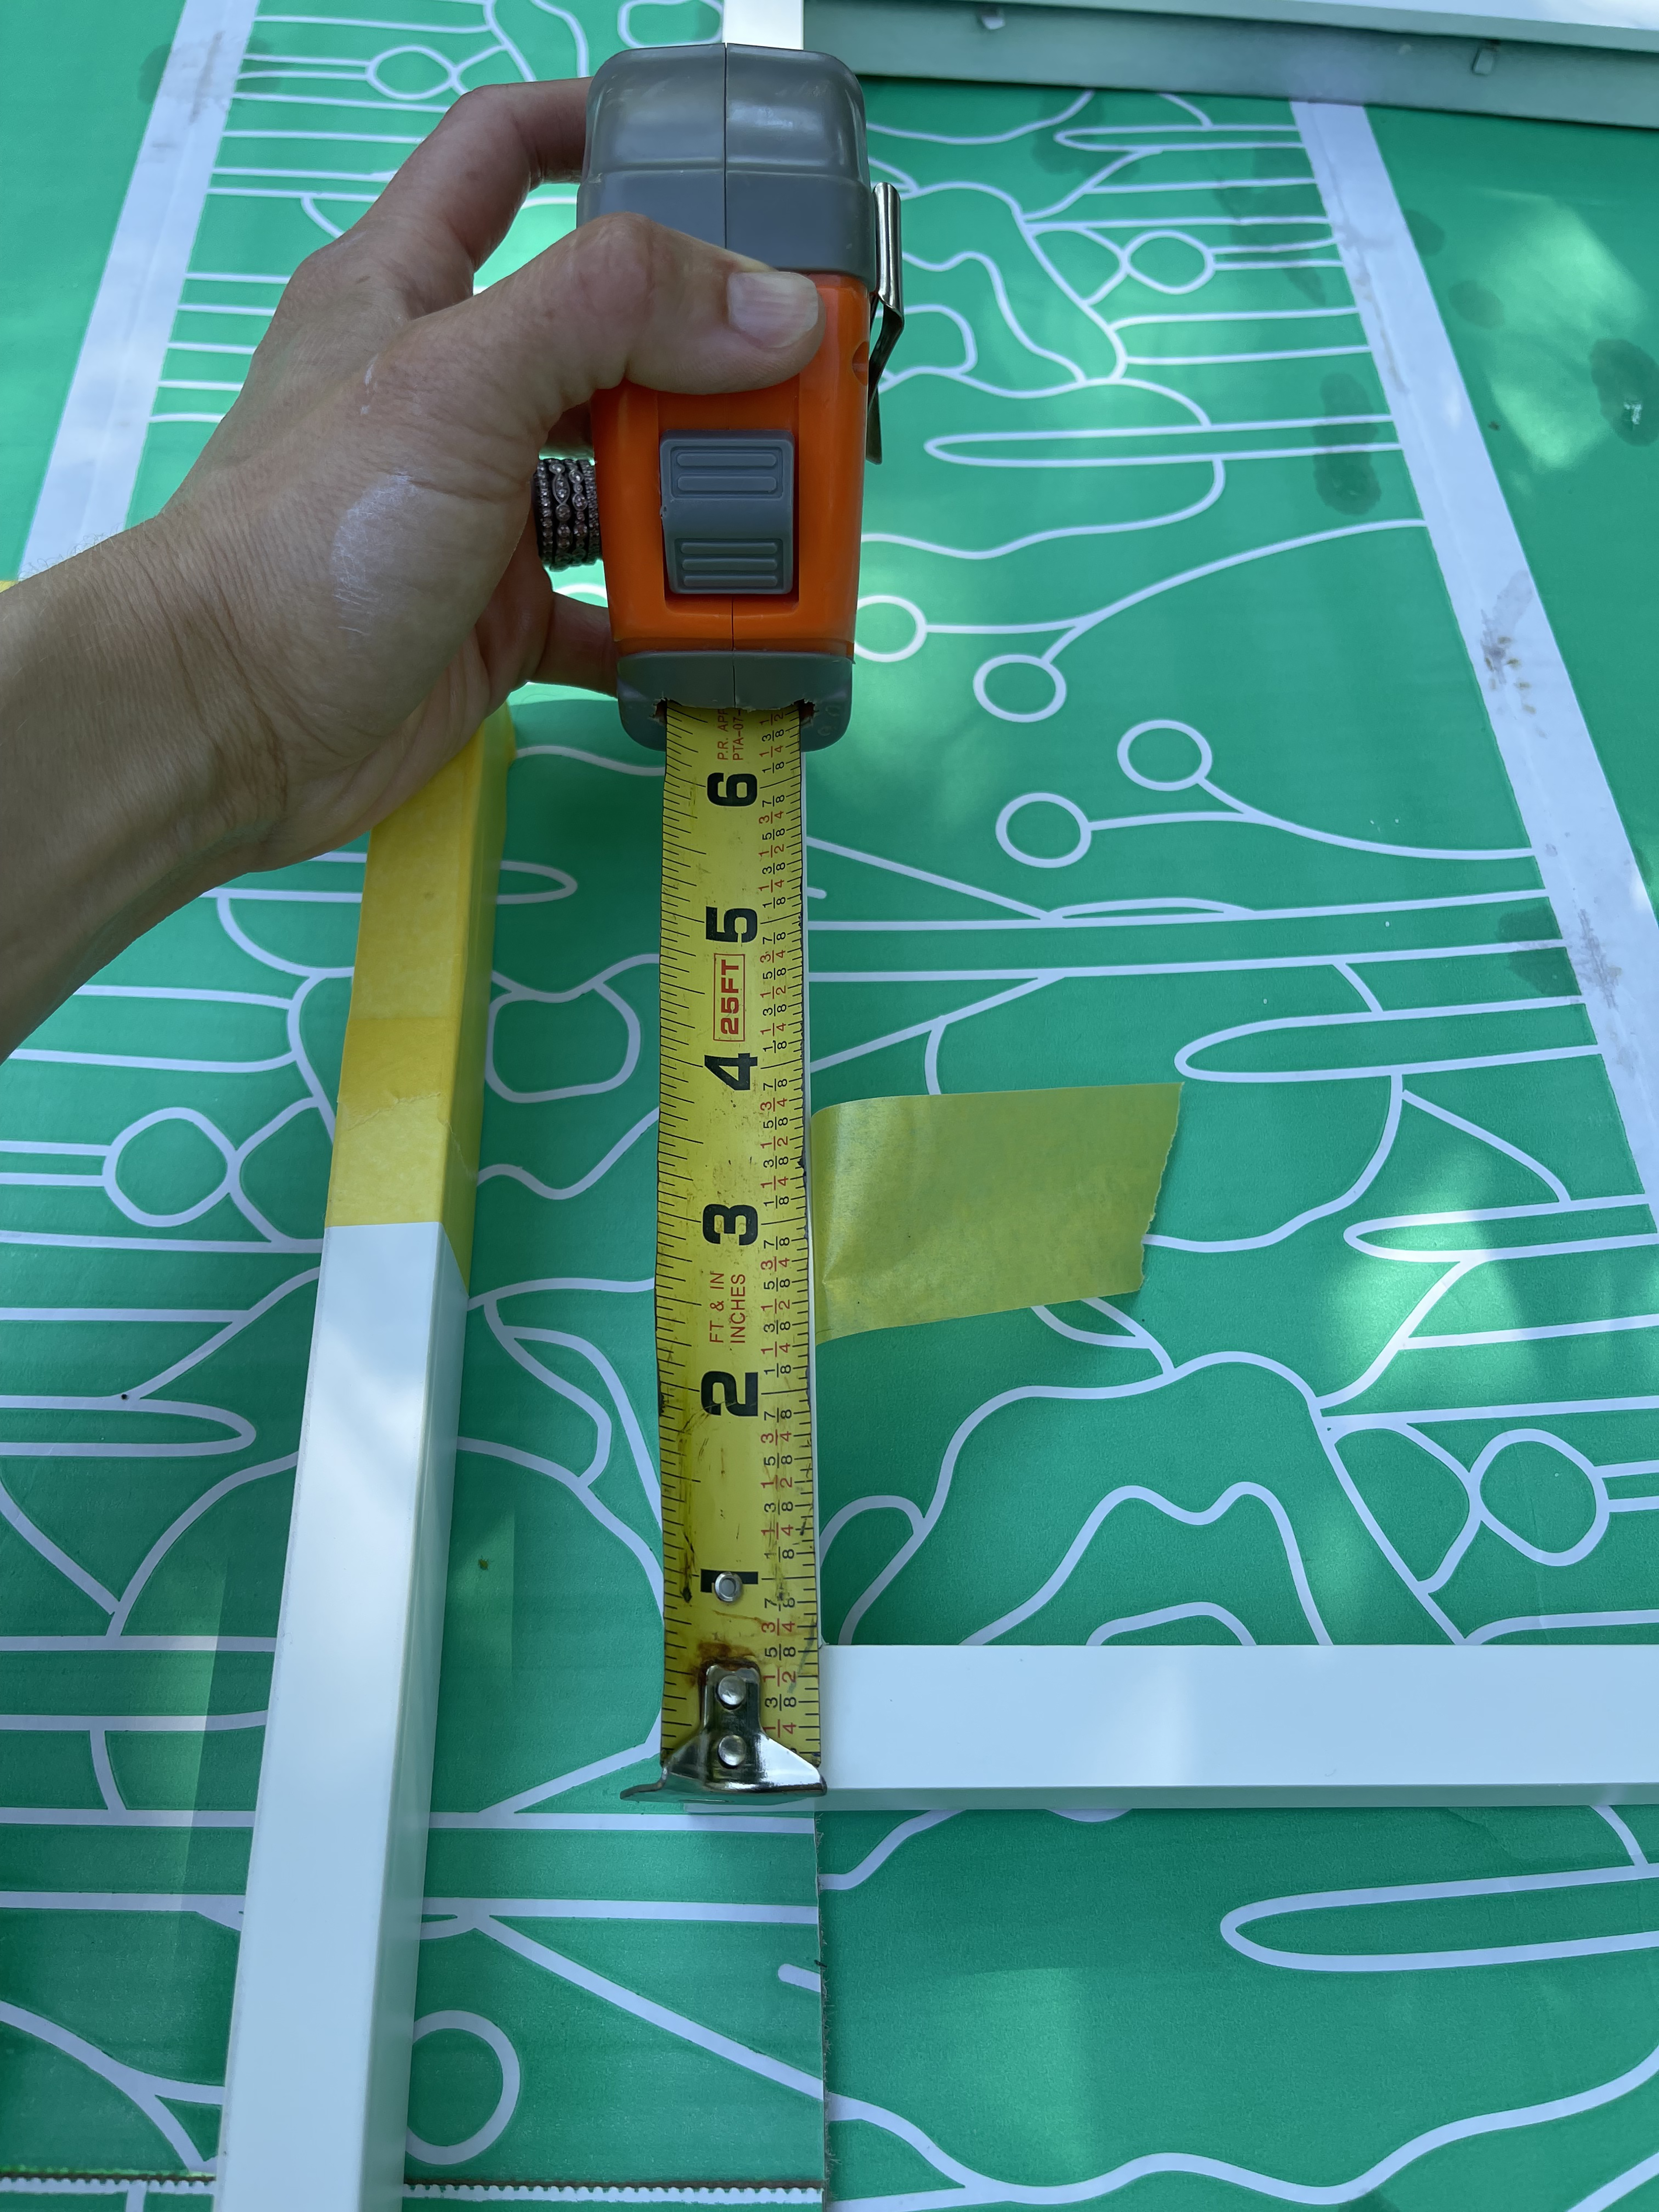
FrogTape Delicate is perfect for this application because the paint is freshly applied. I didn’t have any issues with paint peeling!
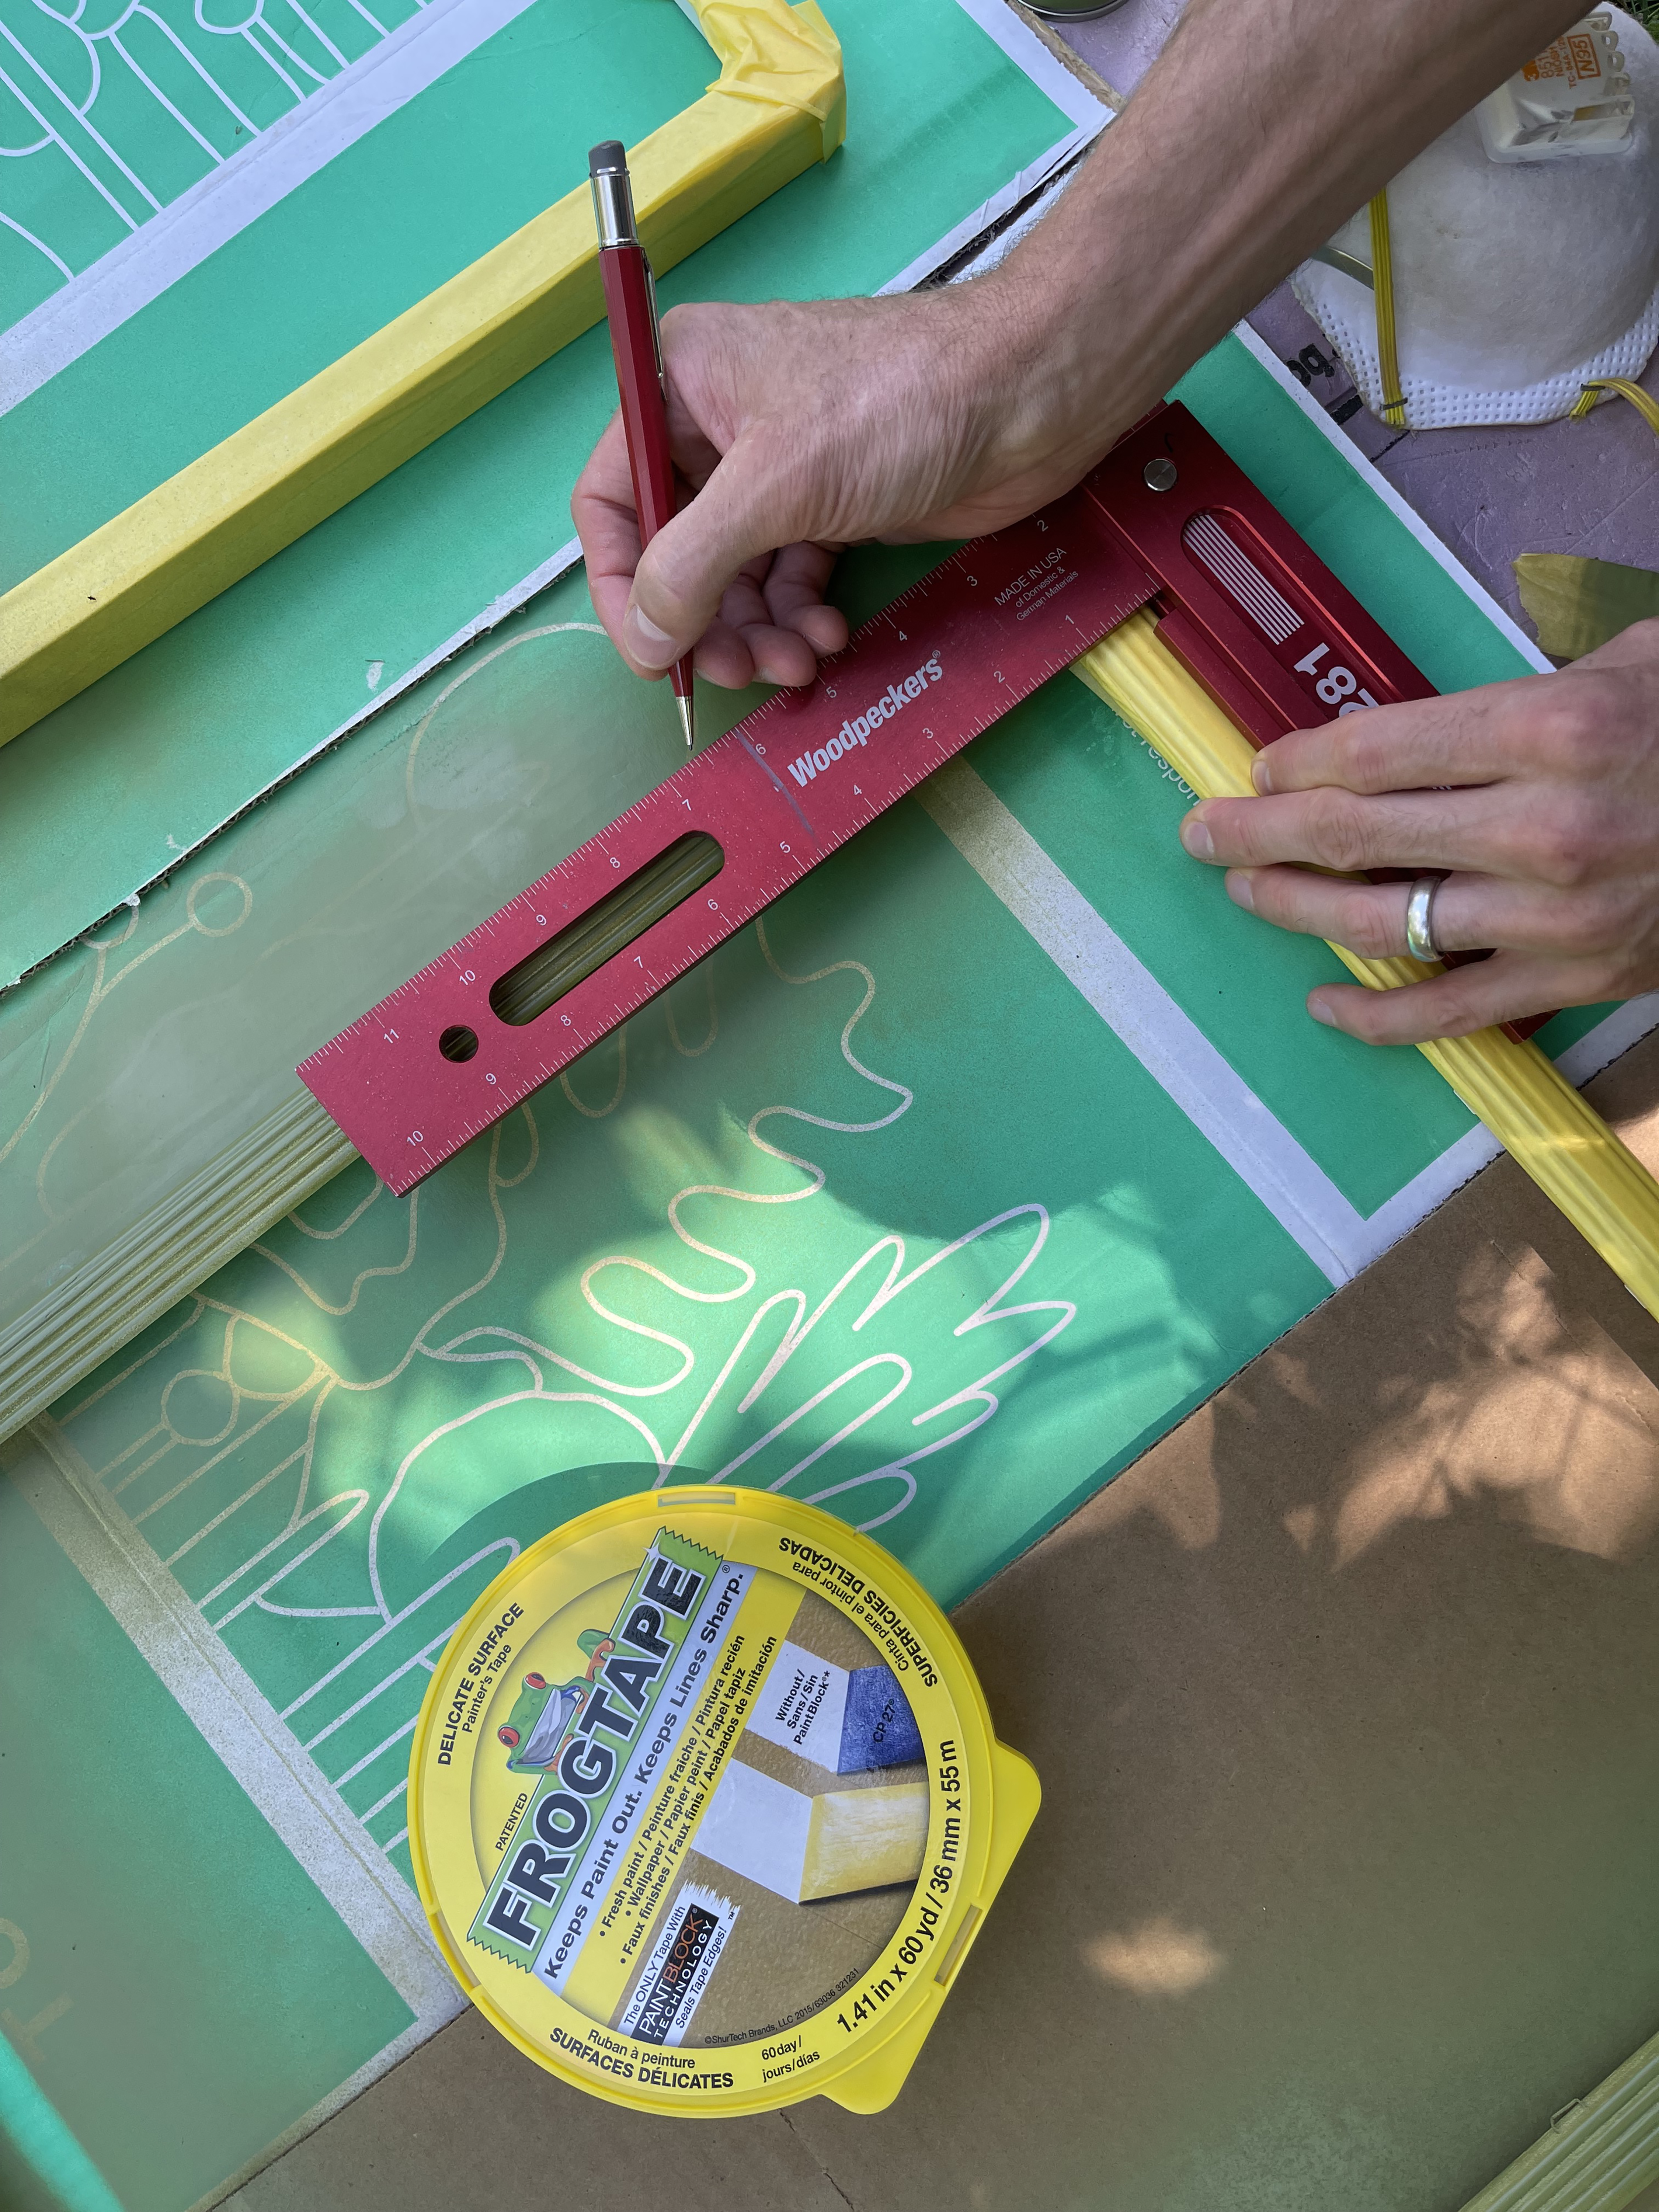
To ensure the line is straight, use a square and mark with a pencil on both sides of the frame. This is especially helpful if your frame isn’t flat,
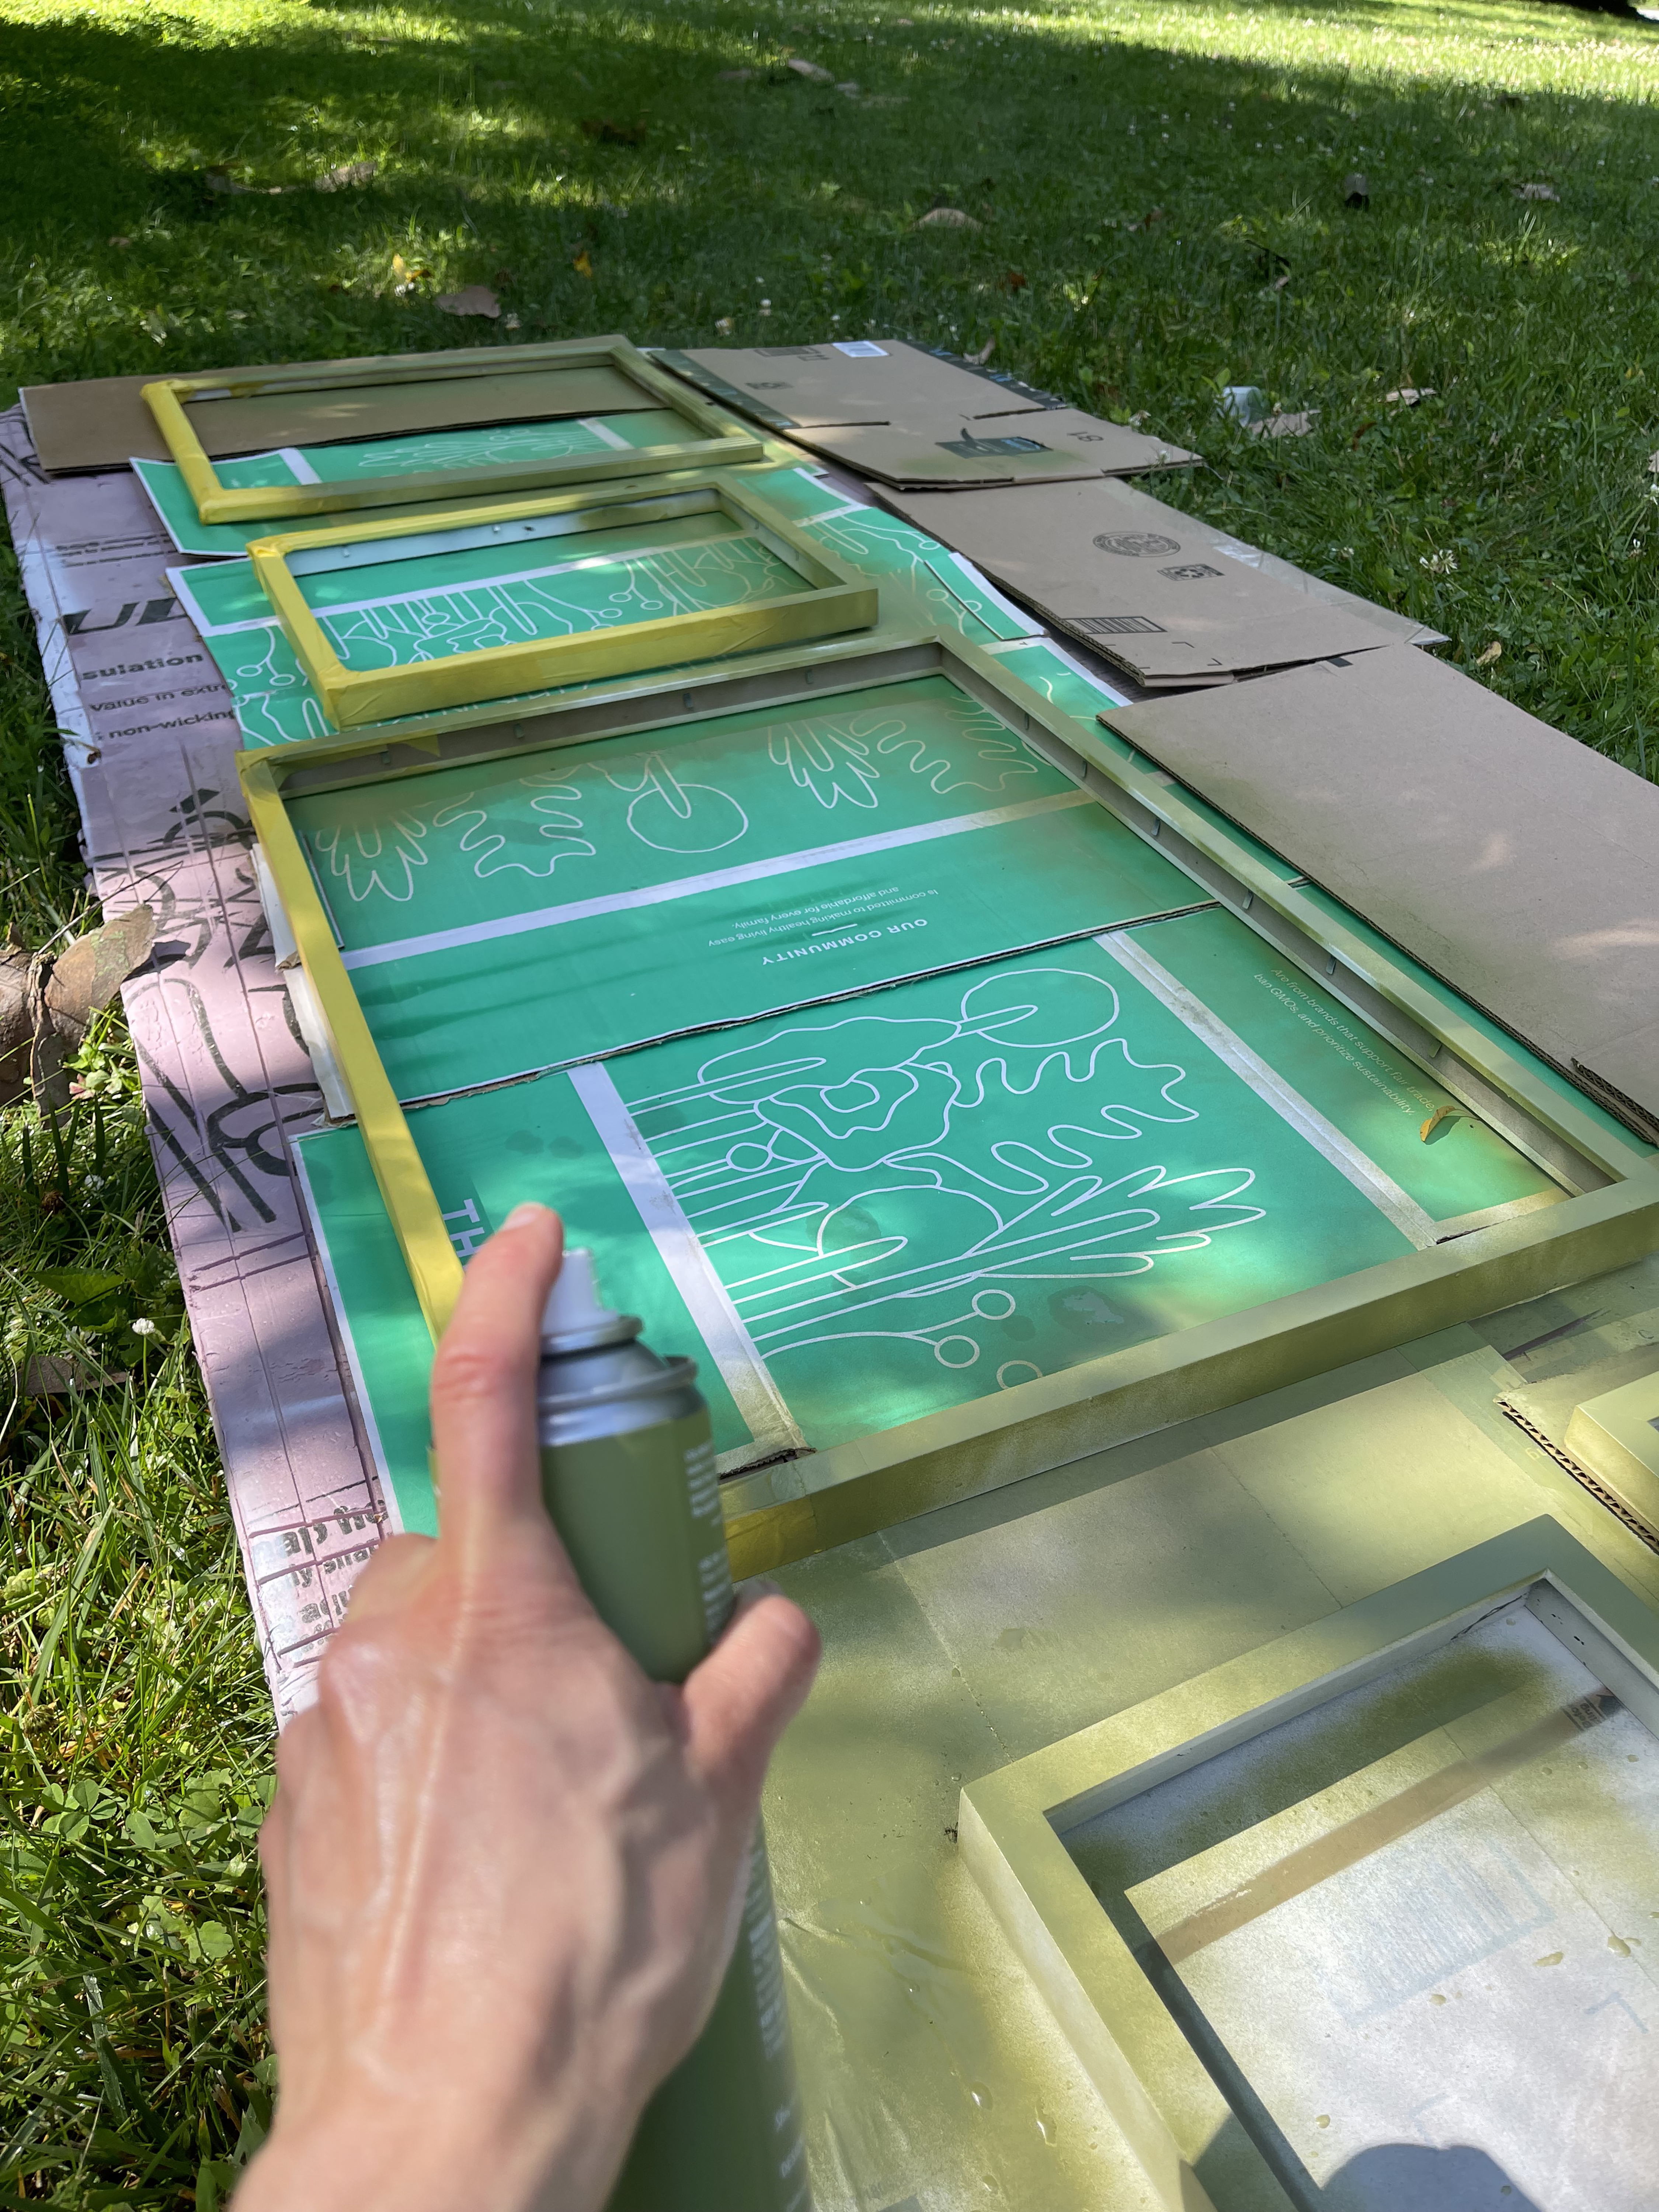
Once you’ve completely covered the section you want to leave white (or color of choice) with FrogTape Delicate, begin to paint your second color (I used Color Shot Extra Guacamole) Use several light coats, allowing it to dry between coats.
Once complete, remove all FrogTape. Hang frames with installation method of choice.
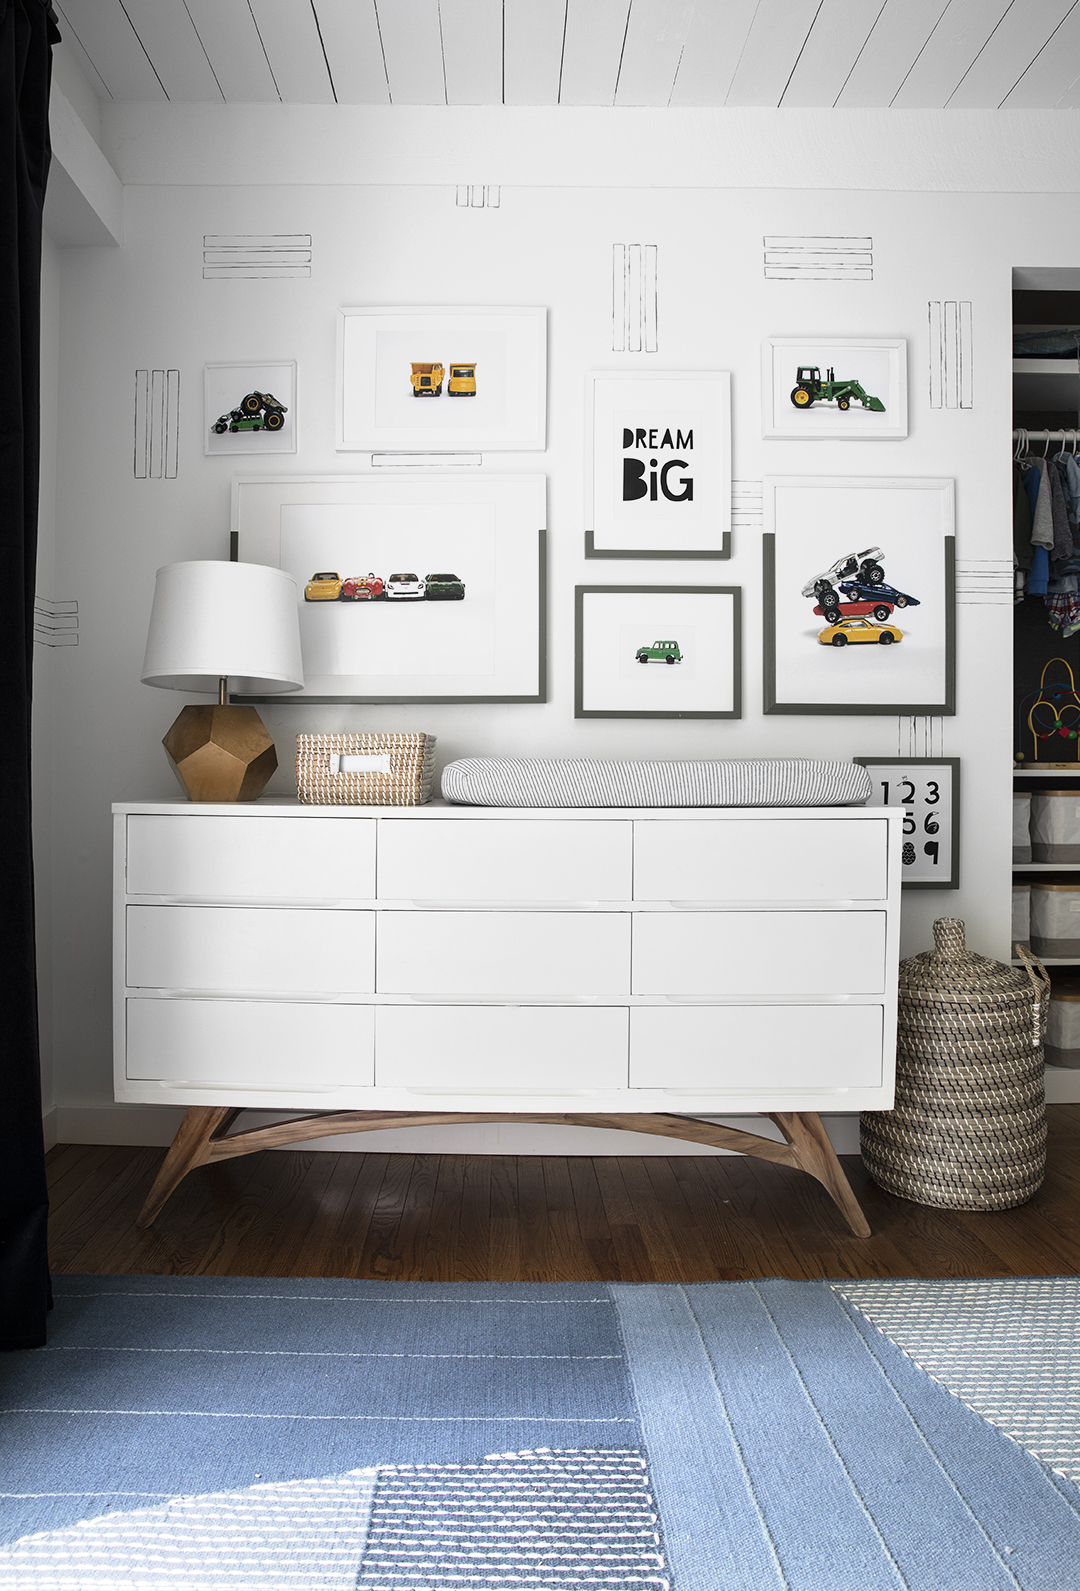
I love how this wall turned out! The two-tone frames add a little bit of interest and a lot of fun! PERFECT for a little boys room!
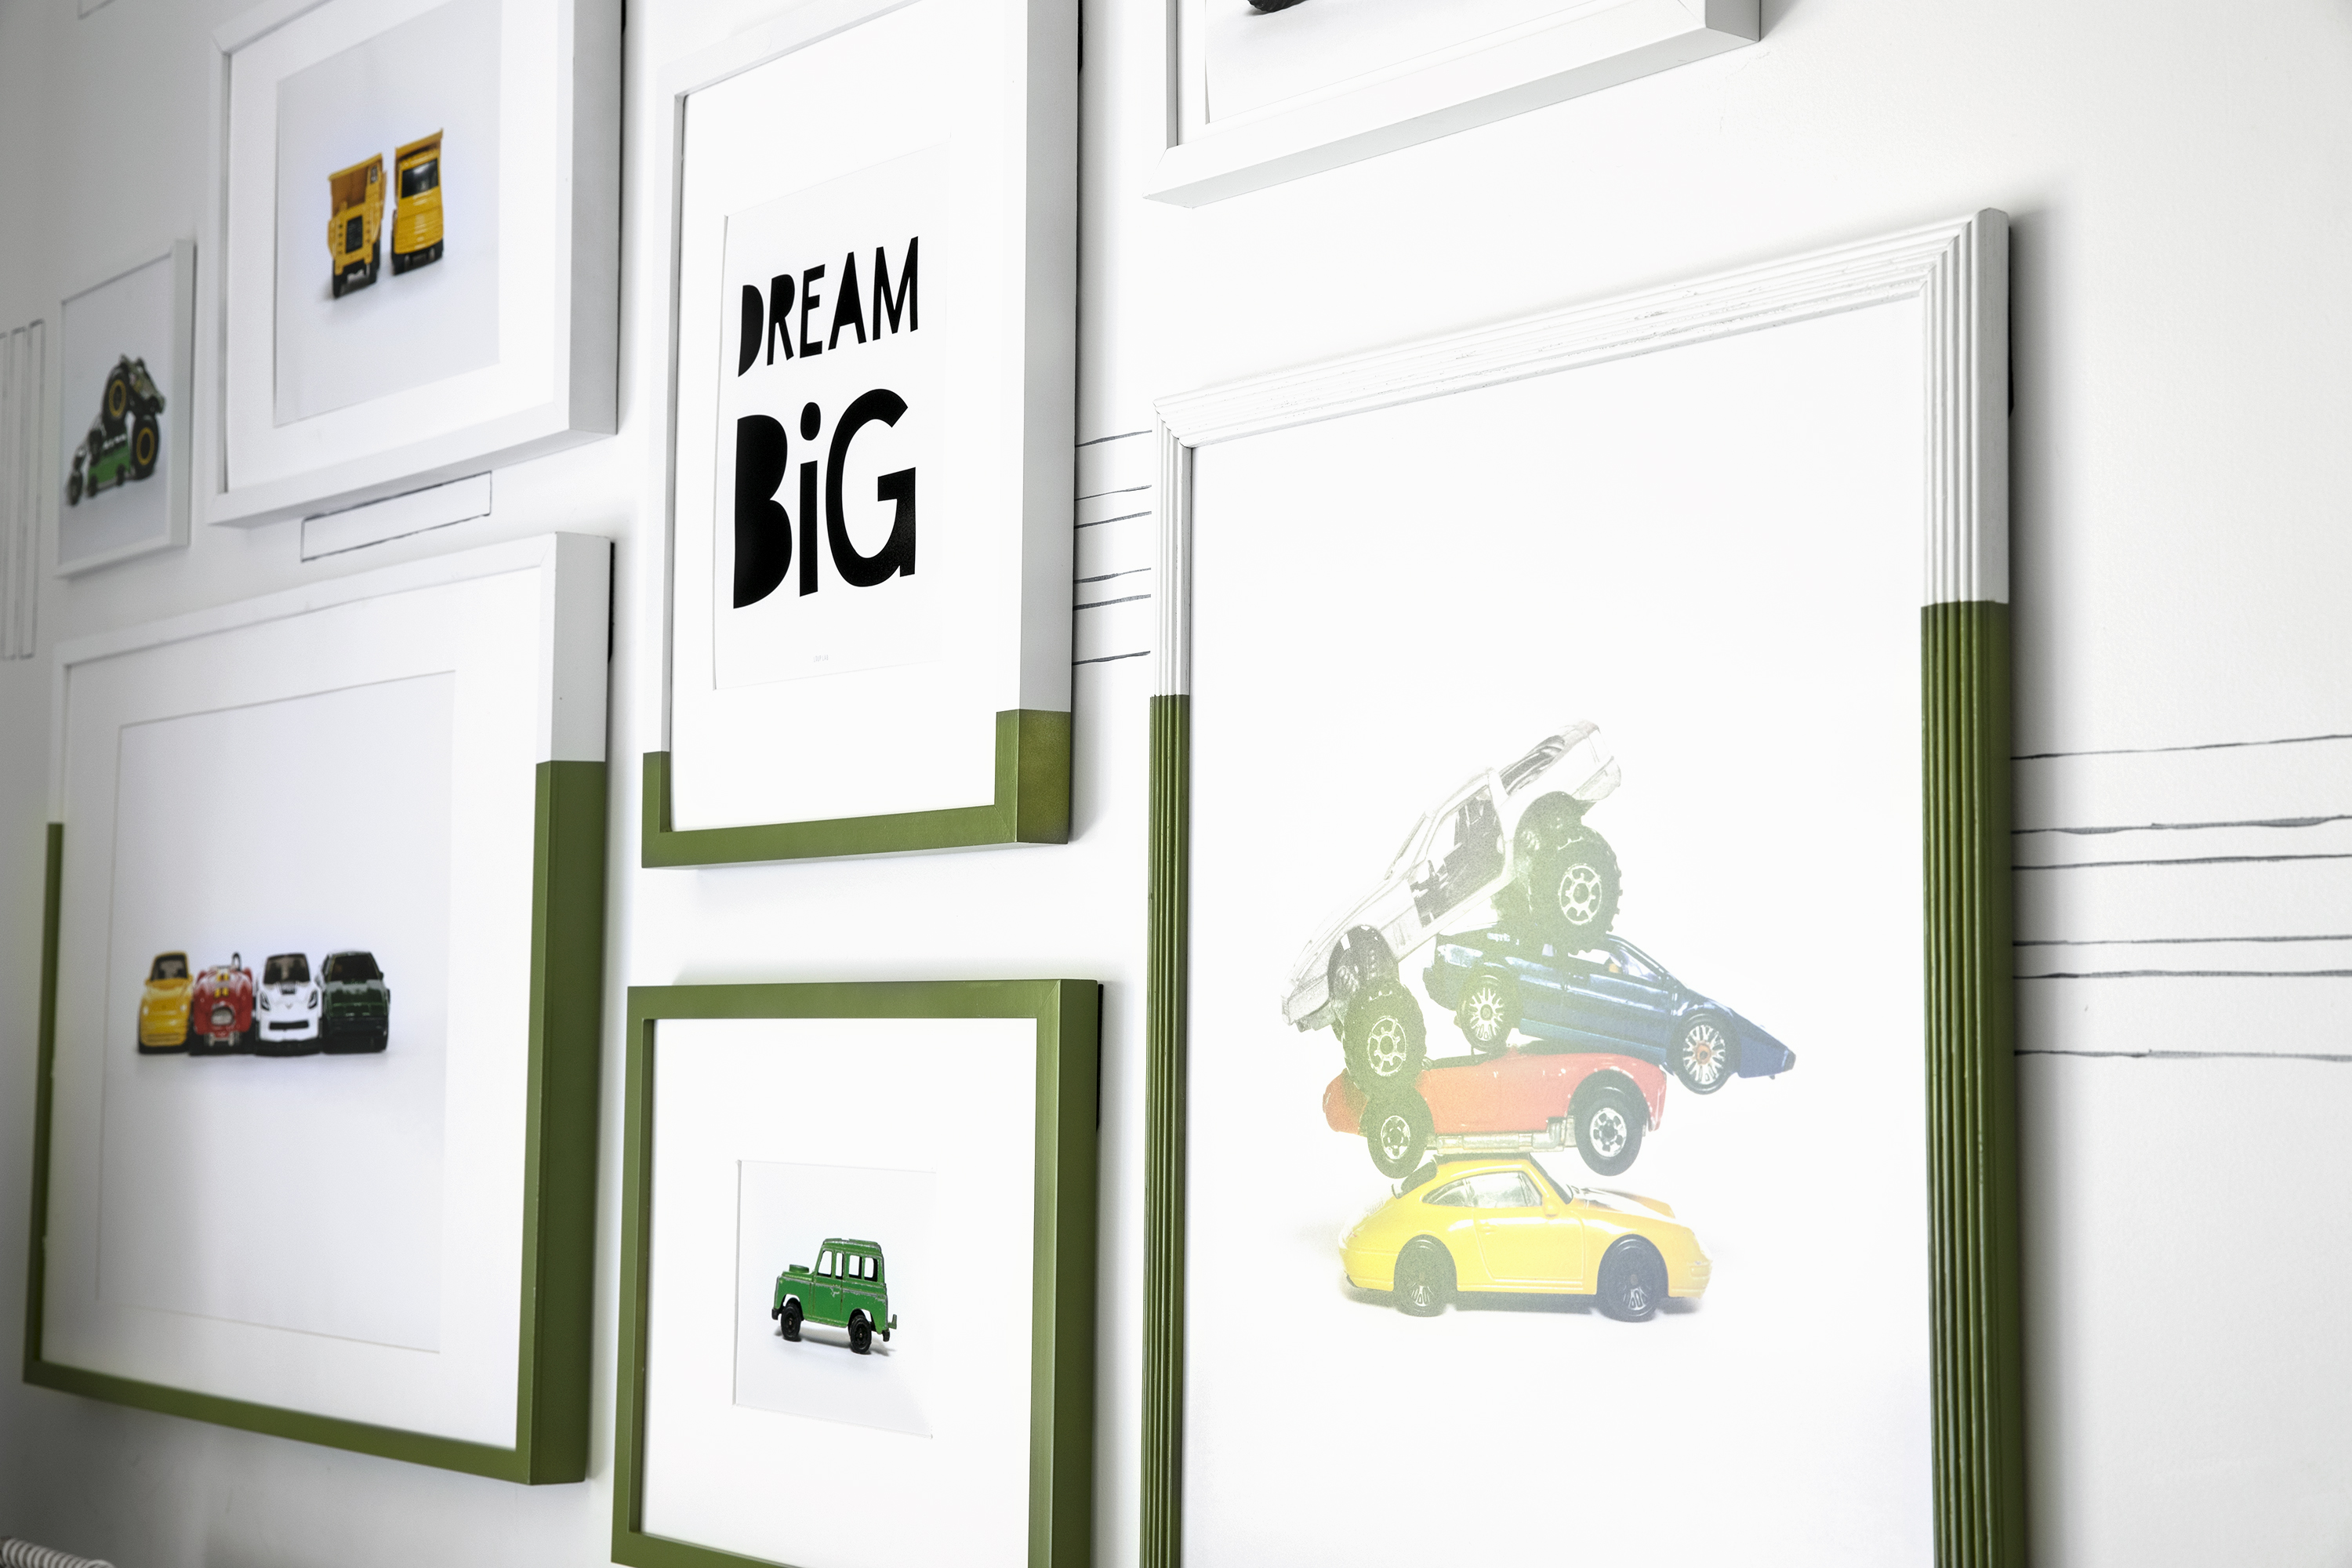
I also love that this will grow with him for several years!
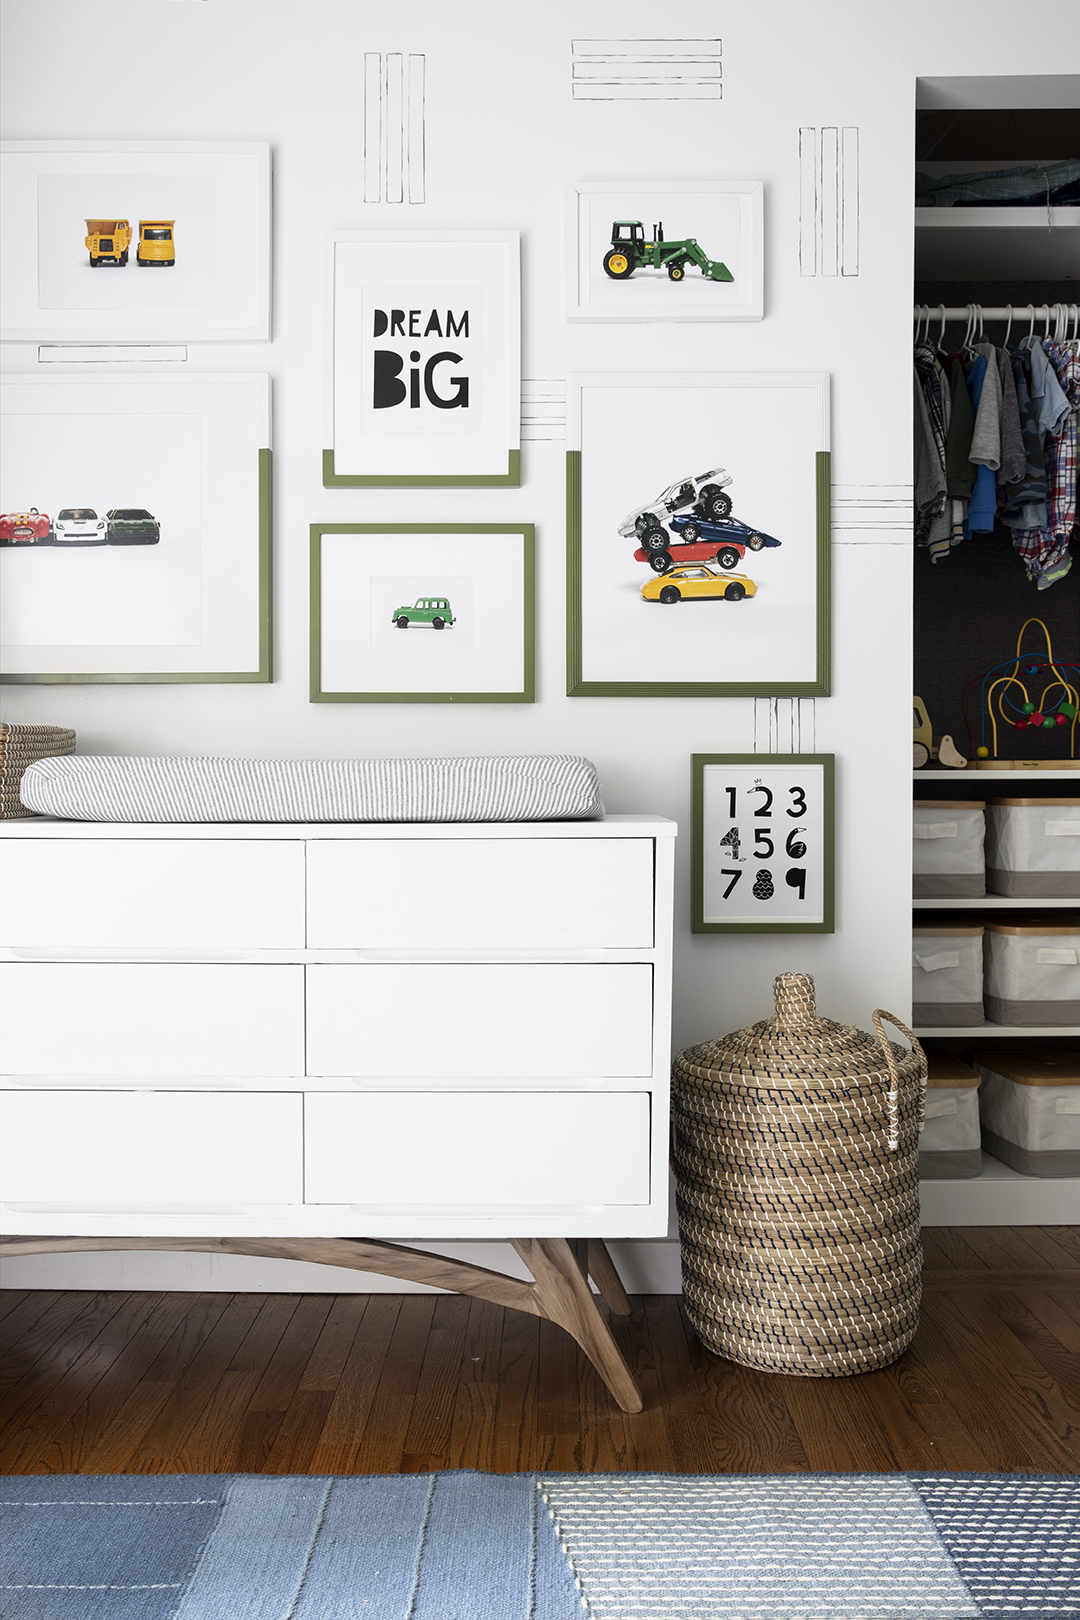
He was SO excited to see his wall, he ran in and said HAPPY! I love when he does that, it just melts my heart!
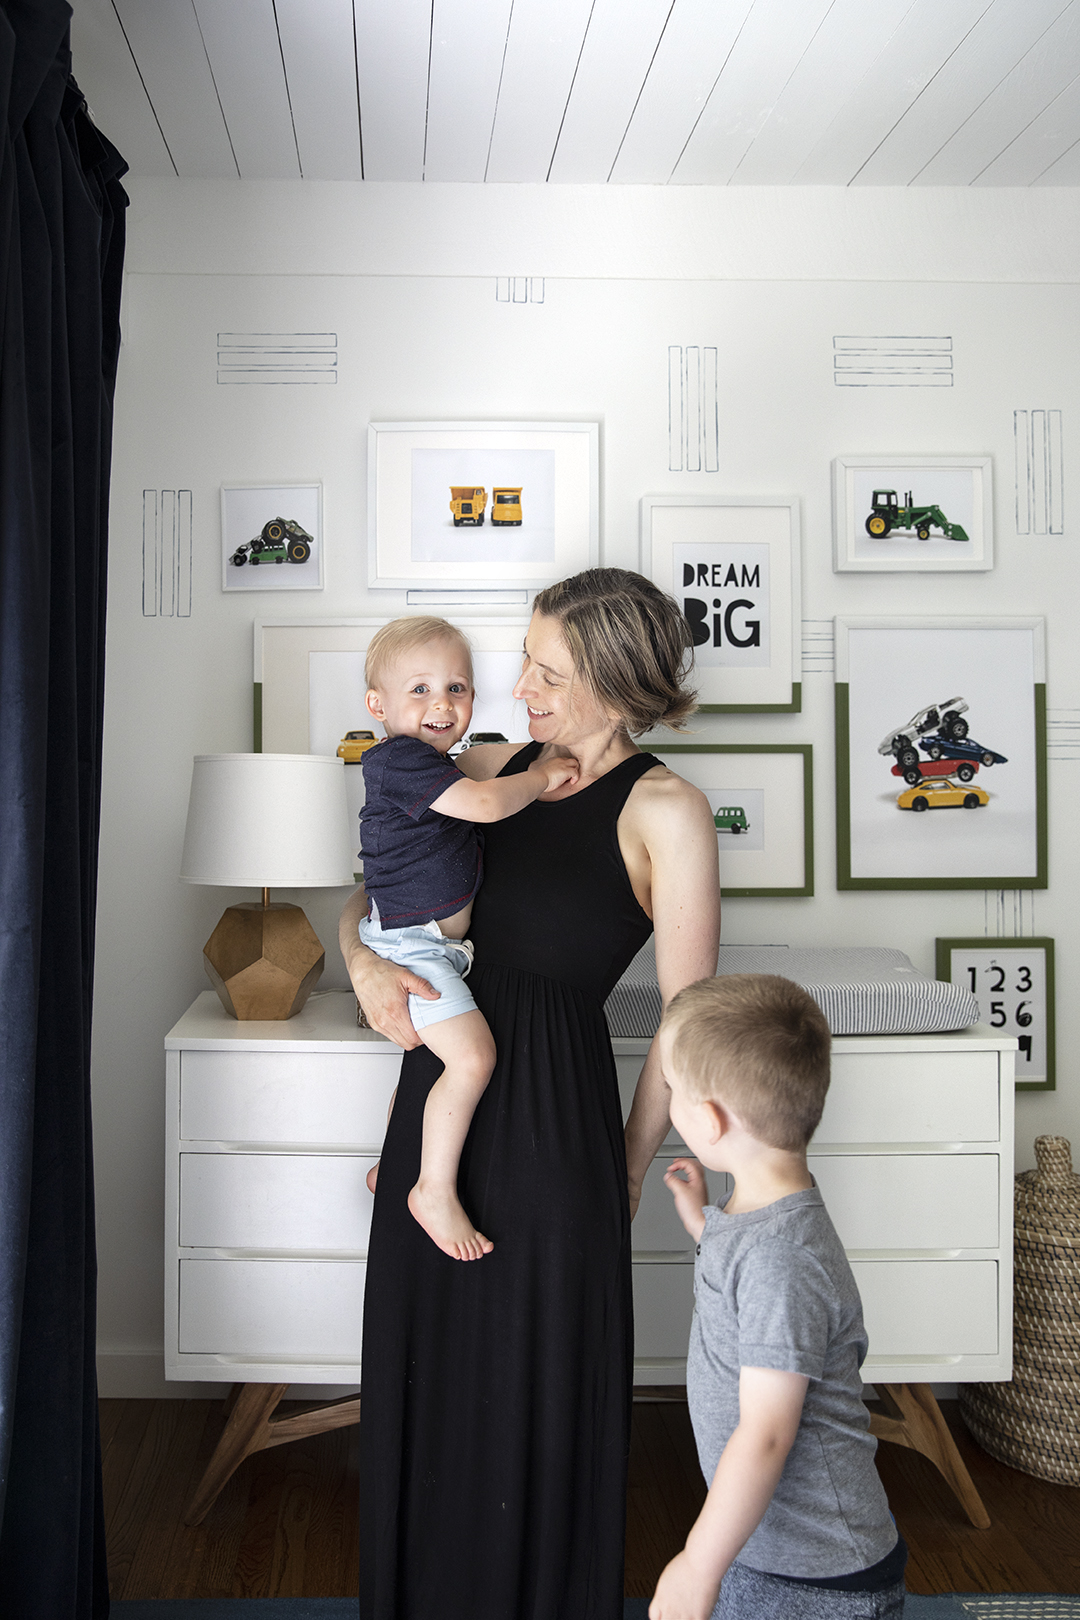
If you give this project a try, I’d love to see, be sure tag me on Instagram or leave a comment here!
Check out full room makeover, including wall paint treatment, also a FrogTape project, linked HERE!
This post has been sponsored by FrogTape, as always, I only share products and companies that I love and have had a good experience with!
I love this idea!!! So clever, all of it. I have two little boys sharing a room with empty walls. They would love something like this! Especially fun that it is his own favourite toys on the wall ❤️