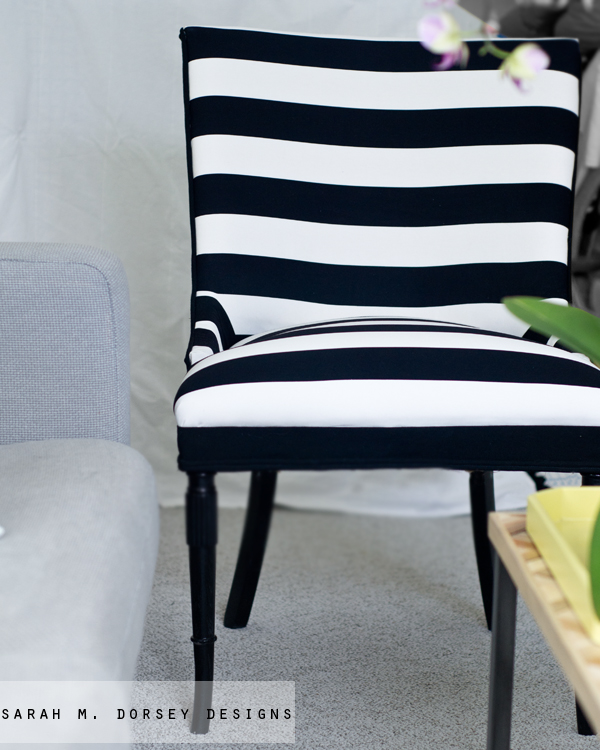
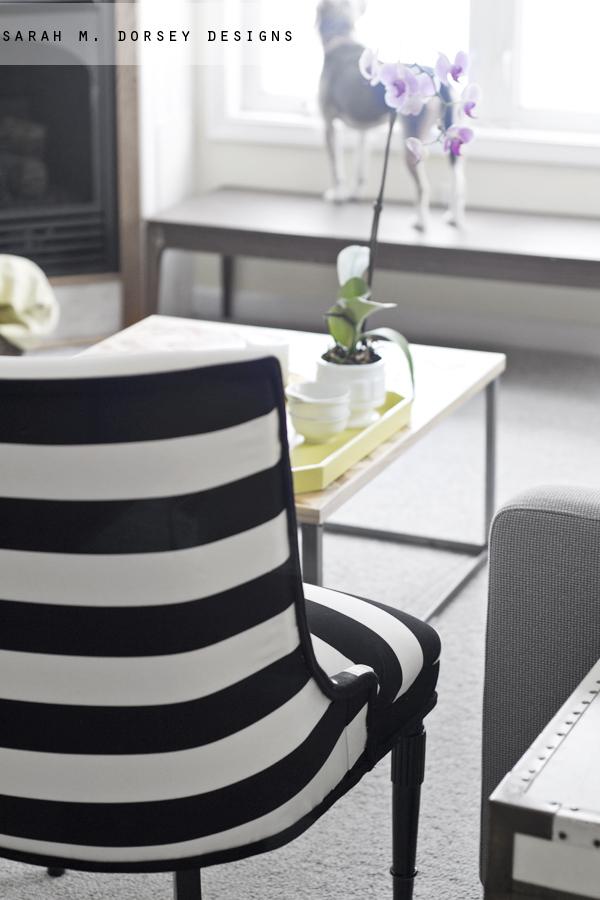
Happy Friday! This week I was determined to finish reupholstering this chair and I did! (barely 🙂
This won’t be a full tutorial, but my general process, my mistakes and what I’d do differently. Hopefully it will help someone avoid my mistakes 🙂
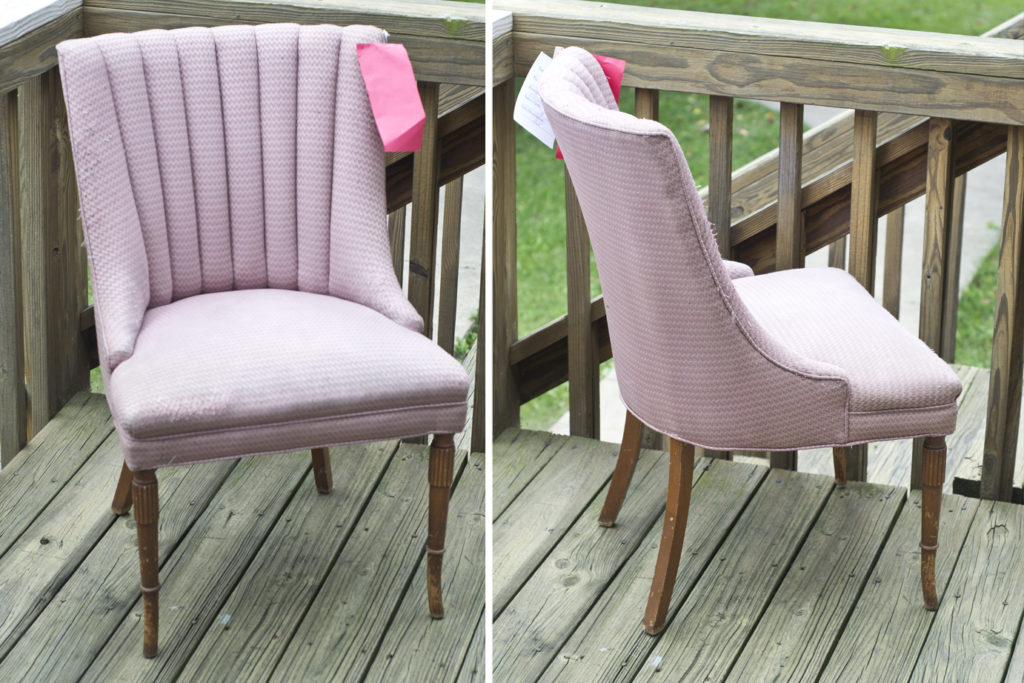
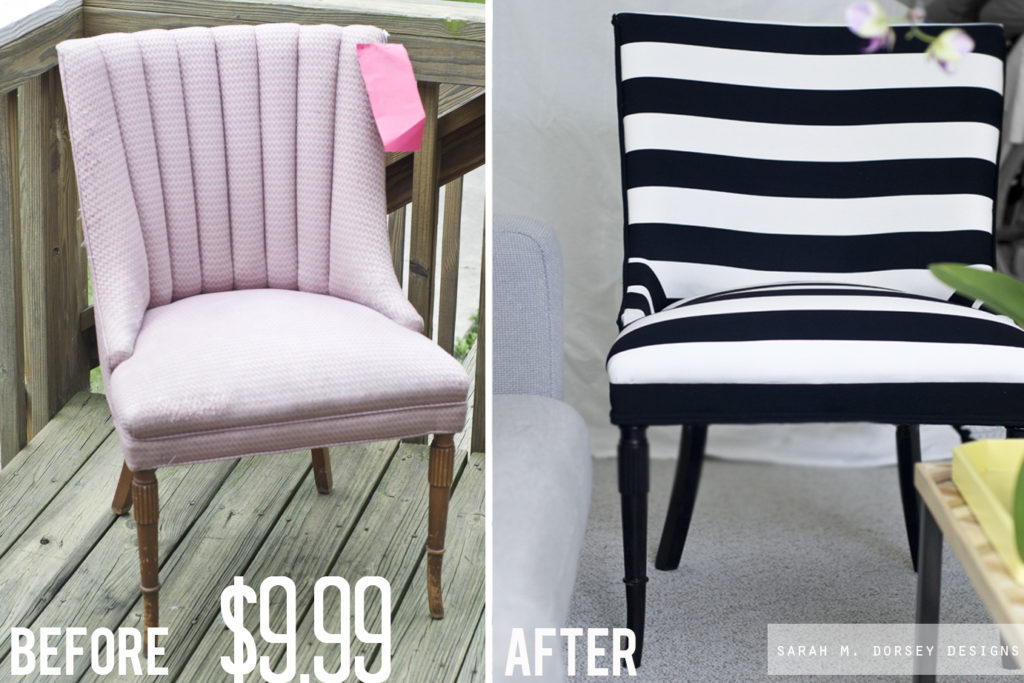
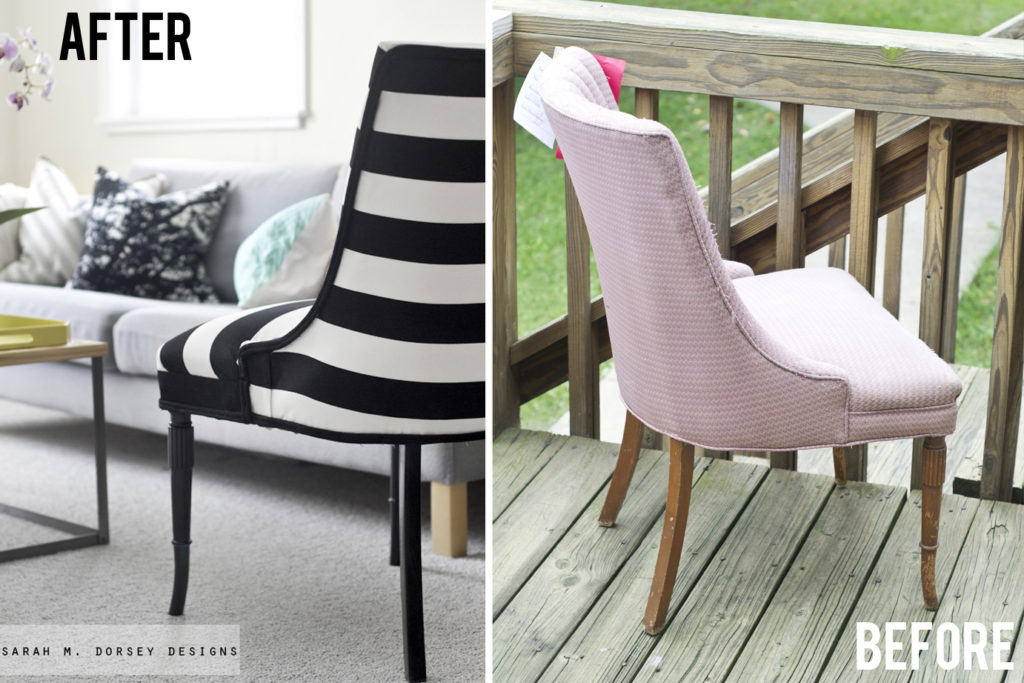
I started with this $9.99 chair from Goodwill. I knew that I didn’t want to attempt the channeling, so I was planning on tufting instead. But it ended up not needing anything! (more on that later)
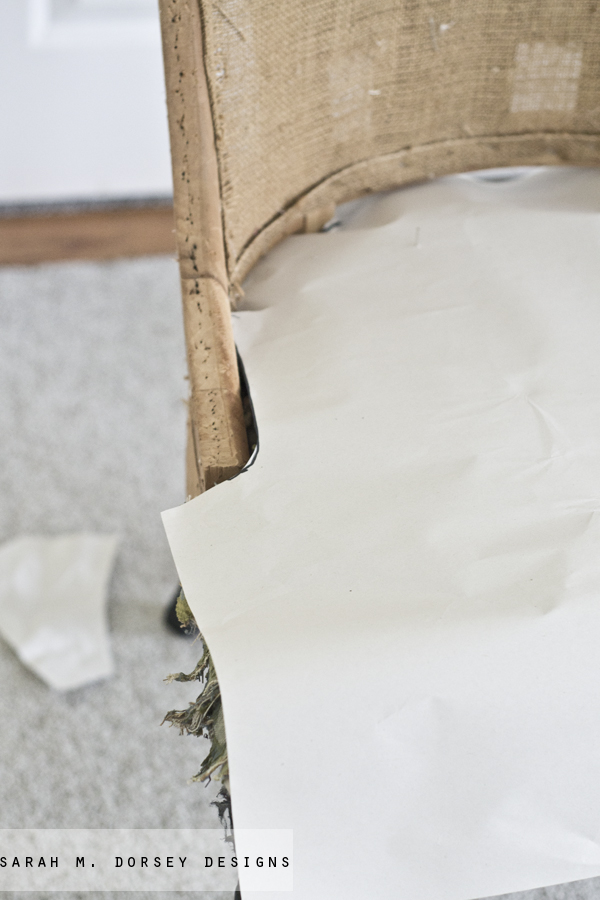
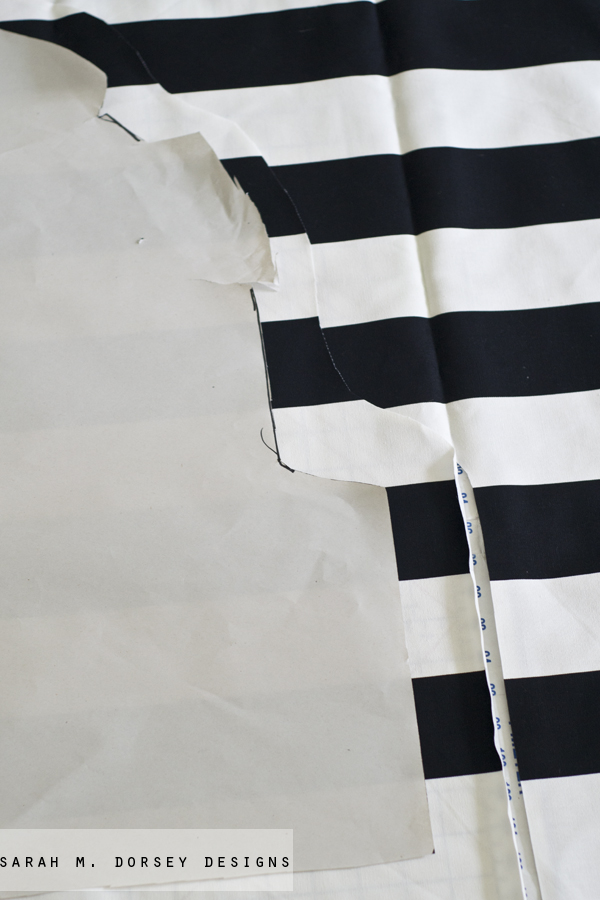
Since the fabric (Sofia from Ikea) wasn’t just a square, I took a large piece of paper roughly pushed it into the crevices, traced with a sharpie, and cut it out for my template.
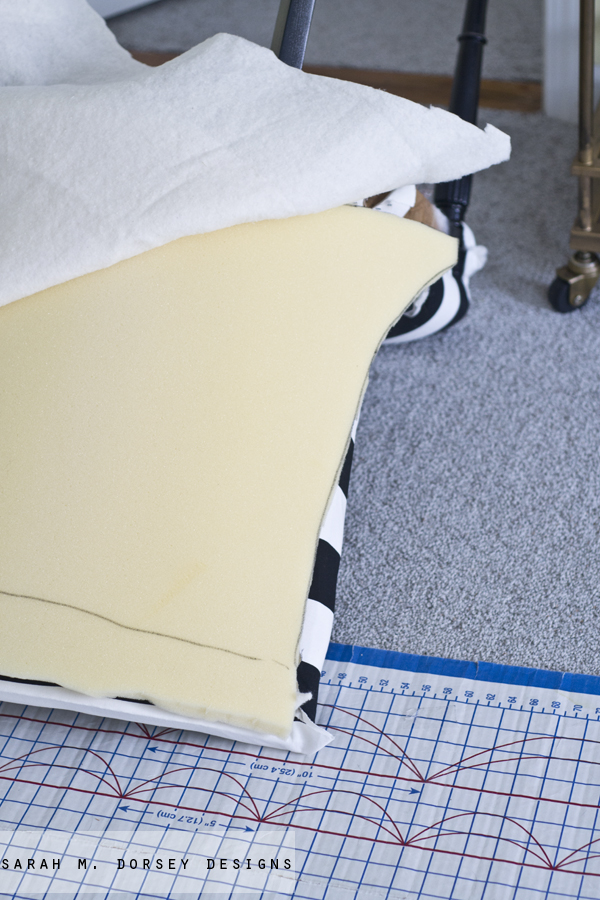
I then used the template to cut my foam, (make sure that the foam is a little big, it crushes on the edges, you can always cut it down, but it generally works best a little big), batting (a little larger than the foam) and the fabric (larger than the batting) *** make sure to cut it larger than you think you’ll need. I cut mine almost too small in a few places and it made it hard to work with. You can always cut away the excess if needed.
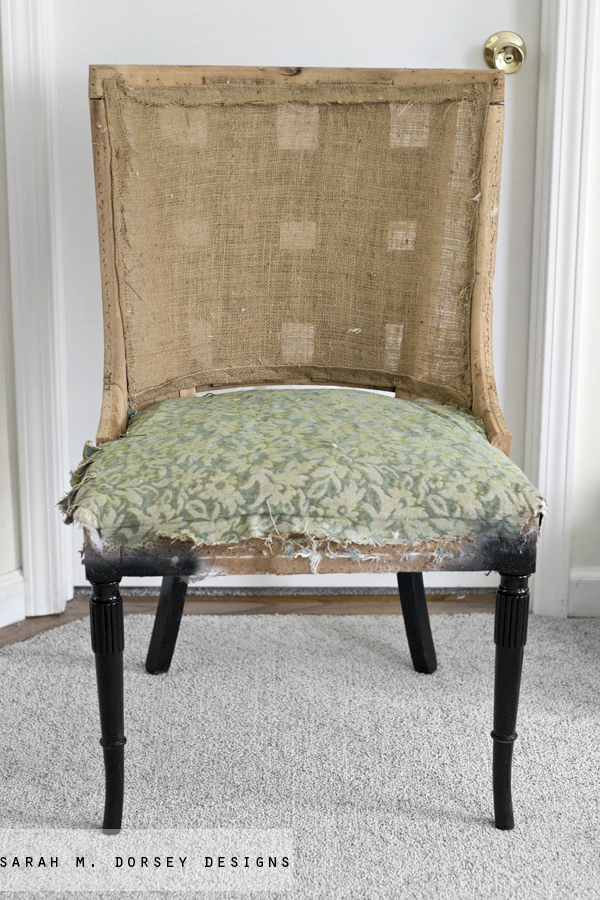
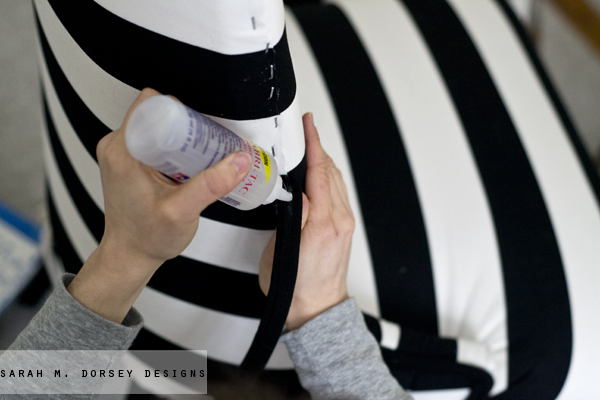
I upholstered the seat first – it took a while, but it wasn’t too bad .. the hardest part was working around the arms and the back supports. I kinda shoved the fabric down and pushed my stapler down between the cushion and arm so that the staples were hidden.
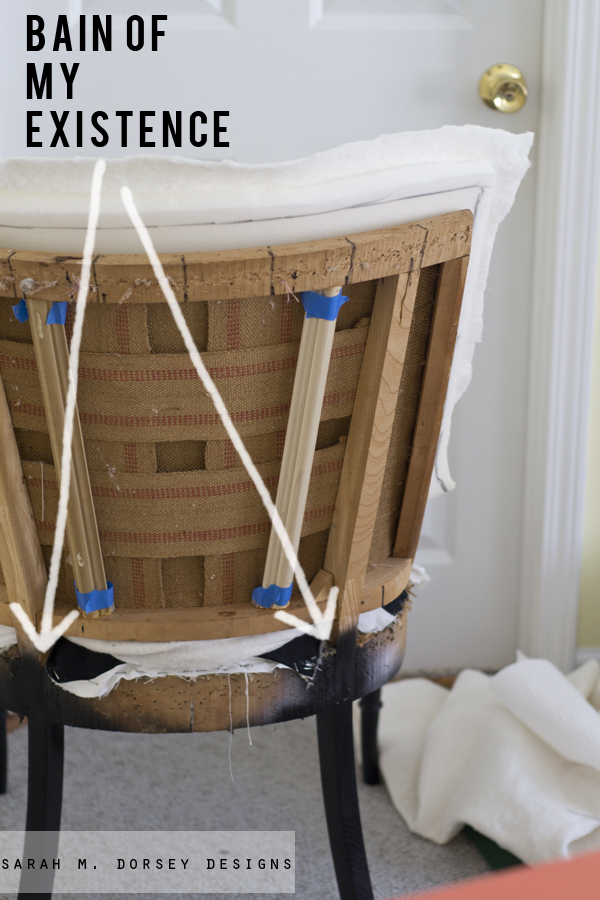
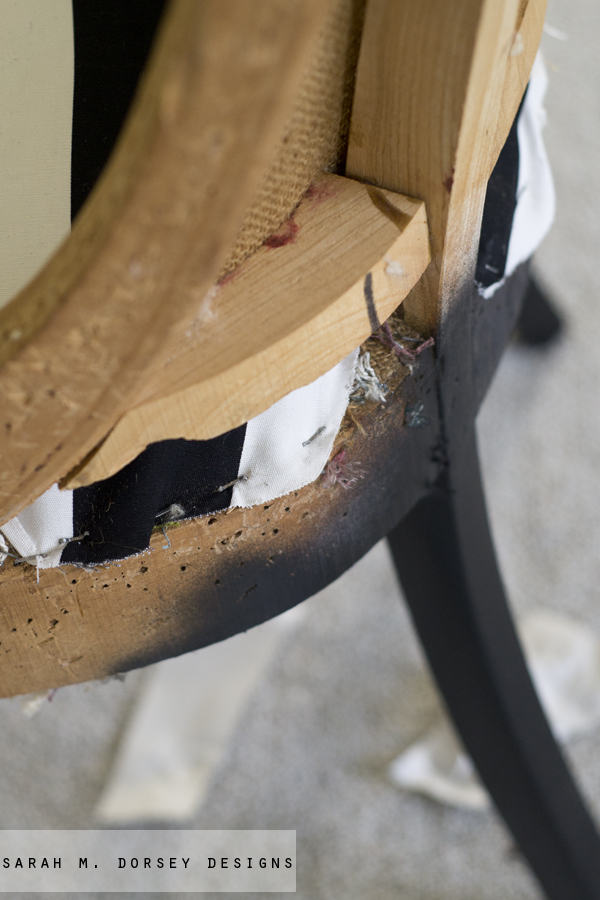
Moving onto the front of the back. I repeated the previous steps (template for foam, batting, fabric). I was having such a hard time getting everything somewhat smooth and tight because of the back supports (the legs ran all the way up). They were NOT easy to work around. ** If I was doing it again, I would have cut them off (in the opening between the back and the seat), pulled all of the fabric evenly/stapled (pulling up on the lower horizontal back support) and then reattached the supports (gluing and re bracing with a metal plate and screws). David ended up finishing up the part since I got too frustrated!! He’s the best 🙂
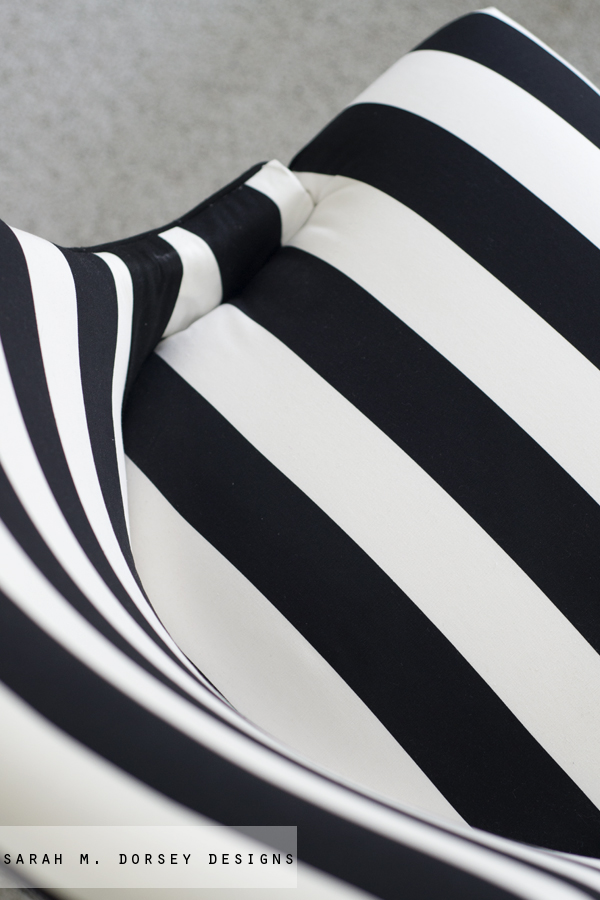
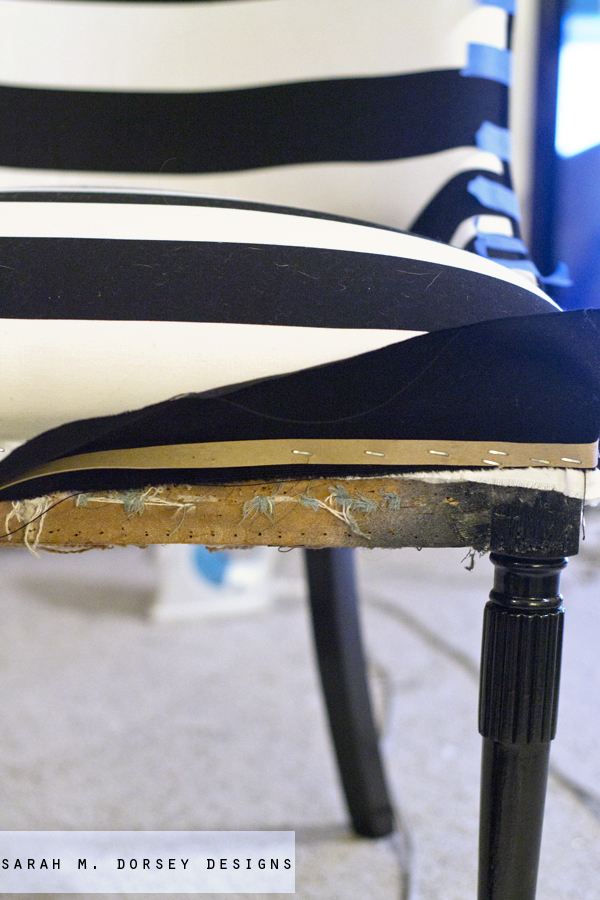
We did add extra supports (made out of extra trim) so we could have the tufting in the center, but we didn’t end up using them .. it got tight enough on it’s own.
Here’s another view of the support.
What an amazing redo! I have only tackled wooden furniture at this time — removing veneer, painting, etc. I have always been intimidated by reupholstering but you make it look easy. Thanks for the tutorial!
It turned out beautifully Sarah!! Wow!! Great job 🙂
Well that does sound a little painful at times but the finished chair is so gorgeous!
Stunning!I I might try this [some year!] 🙂 Congrats on your new home by the way! It's an amazing feeling knowing you can do ANYTHING you want to it. Hugs, Amy
so good! I am dreading doing my first upholstery project but I am pinning this for reference! Thanks for sharing! xo Kristin
Well despite all of the hard work, it really looks amazing!
Beautiful and so sophisticated!! You make me want to attempt this!! I posted a link to this article on my site (http://www.pique-my-interest.com/2014/01/black-and-white-chair-my-process-what.html) I hope you don't mind–I needed to share this!
Oh my goodness, this is amazing…as always!
I gotta say, I worked for an upholstery company for a few years, and this looks awesome. You did a great job, despite all the headaches. If its any consolation, the pro's have them too!!
Looks great! I'm still too nervous to try my hand at reupholstering.
Such an amazing job and thank you for the shout out 😉
Amazing… Thats all I could say.
I re-upholstered a wing back chair, so I know how hard it is to do these things. But your work was worth it! Your chair looks amazing!
I recently redid 2 cane wingback chairs and they were a doozy! Then, one didn't work for me so I sold it b/c I just could not bring myself to start all over again. Oh well! You chair looks amazing!
Wow, amazing transformation! I'll vouch for that Ikea fabric too… It's surprisingly durable. I slip covered a chair in it over two years ago in a white and navy stripe and it still looks good!
{lamourcheznous.com}
This chair is amazing! And so are those lamps!!
It looks amazing! I'm sure working with stripes is a paint, but the end result is so worth it!
What a beautiful chair! Looks like you had a tough time, but luckily it all turned out well!
The chair looks stunning. Upholstery work is in my future and I hope the outcome is just as good as yours.
Very impressive. I wouldn't know where to start but this is very inspiring. Thank you. Btw you mean 'bane' not 'bain'. Sorry, I can't help myself…it's a disease!
you did a fantastic Job! It looks so professional!