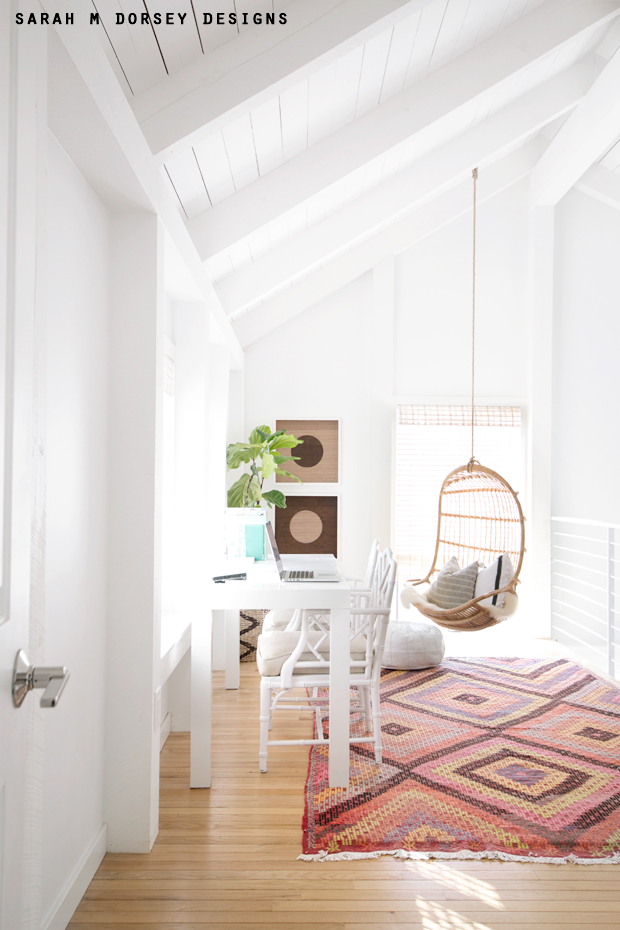
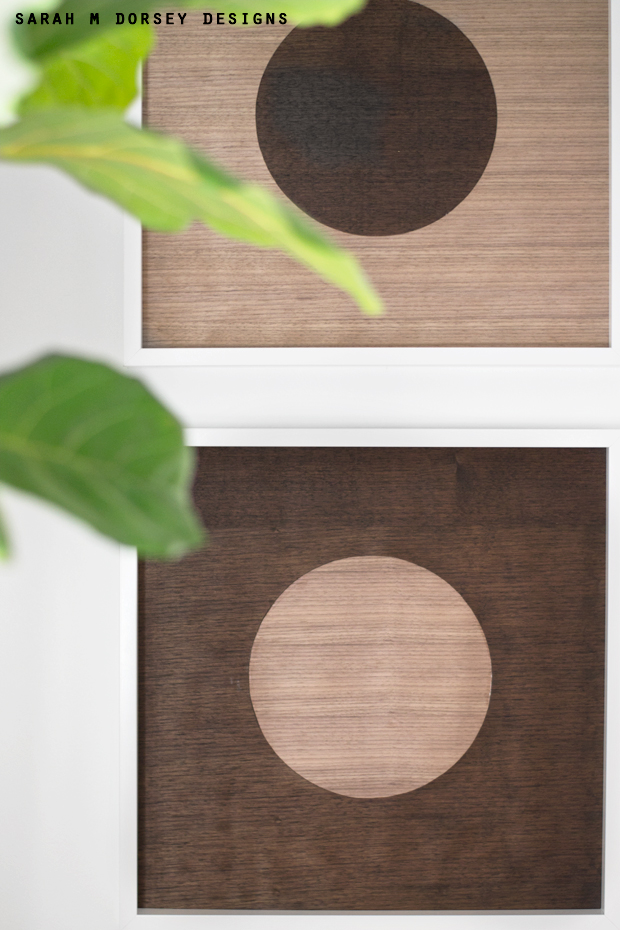
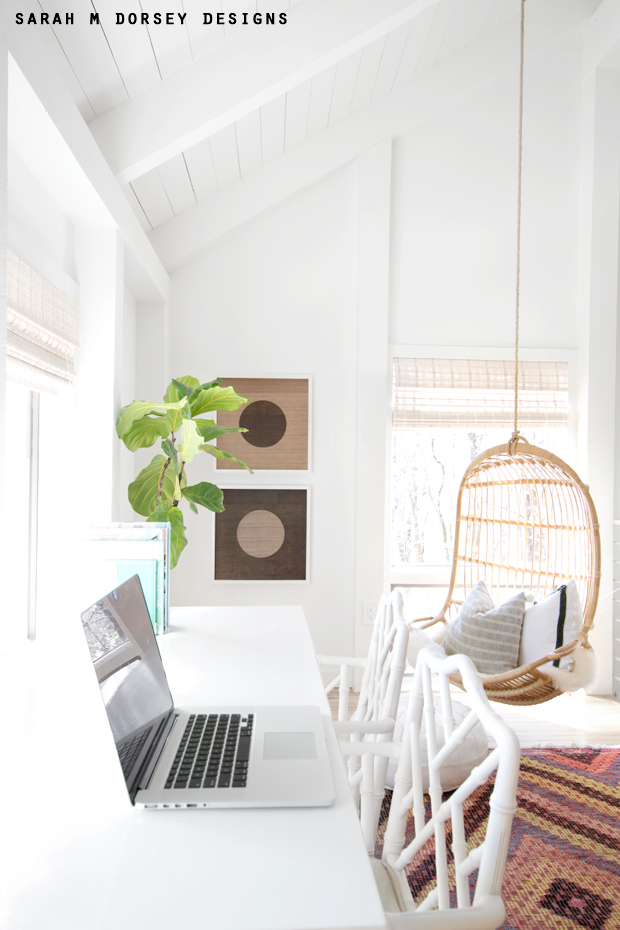
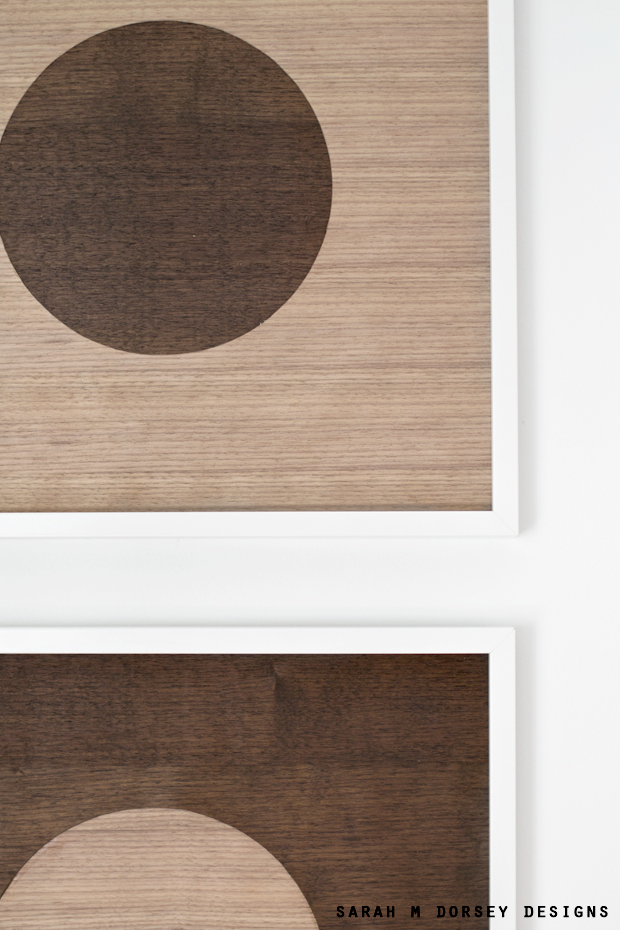
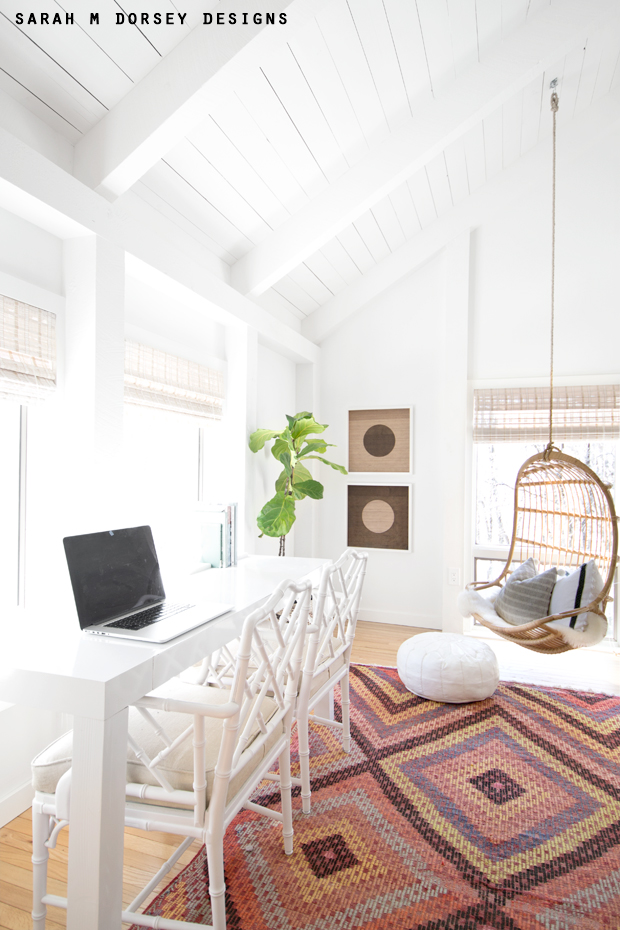
You know when you get an idea in your head and you have to try it!? That’s that way this wood veneer art was for me! I love the wood grain of walnut and using veneer is easier to work with than wood – no saw needed!
I also love that it’s highly customizable! You can cut out a square, triangle, or any other shape. Today, I’ll show you how we created this layered veneer art with a circle!
You will need:
– Wood veneer 10 mil thick / 2′ x 8′ will cover two 20″ x 20″ frames with material left over (I used this veneer) Note: thicker veneer will work, but it will be more difficult to cut.
– Mat board 4 ply / 32″ x 40″ will be enough for two 20″ x 20″ frames (This will be used as backing to adhere the veneer – you can also use any thick paper you have on hand – it should be about the thickness of a standard mat that comes in a frame (4 ply) or a little thinner.)
– Pencil (for marking cuts)
– Metal cork backed ruler 18″ (No substitutes! The metal will stand up to the blade and the cork prevents the ruler from slipping)
– Xacto knife with #11 blades (I like to buy a large pack and change my blade very frequently, a sharp blade will cut much easier!)
– Self healing cutting mat / 32″ x 40″ (This will make cutting much easier – especially for the circle. I’ve had mine since college and still use it often!)
– Yard stick (To be used to measure center, wood is fine)
– Compass (You can also use a large bowl or other object to trace)
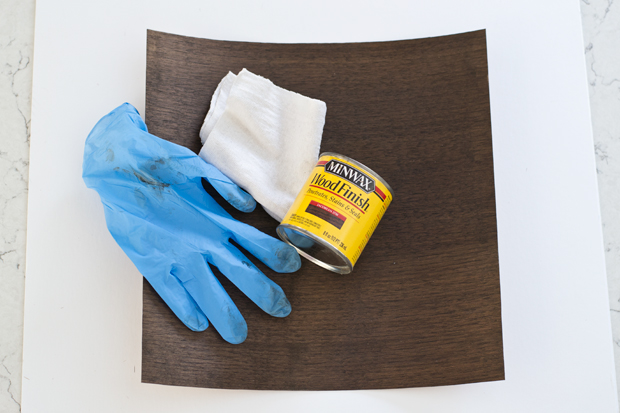
– Wood stain of choice (I used Minewax Jacobean) You want it to be darker than the natural tone of the wood, so that it stands out. My stain was oil based, so I let it air out in the garage for a few days once applied. Water based stain will smell less)
– Gloves, rag, and drop cloth (to stain the wood)
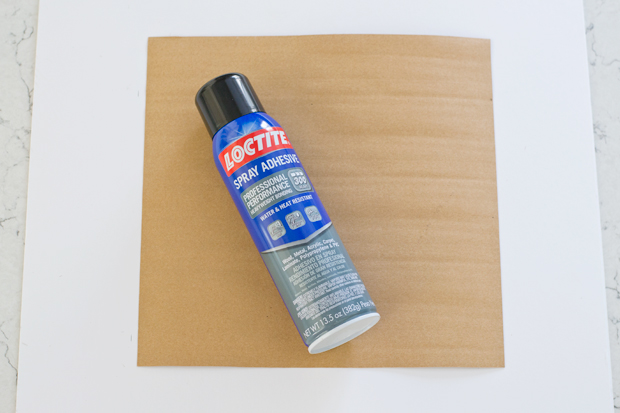
– Heavy duty spray adhesive (Be sure wood is listed as a material that it works with. I used this one)
– Heavy object (To weigh down the veneer as it drys. I used several extra shelves from our kitchen cabinets)
– Frames qty 2 (I used these from Ikea) I like the extra dimension that the shadowbox style adds. Note: When selecting a frame, select one where you are replacing a precut mat or the frame will accommodate the thickness of the mat board and veneer. This will ensure that the frames can be reassembled easily.
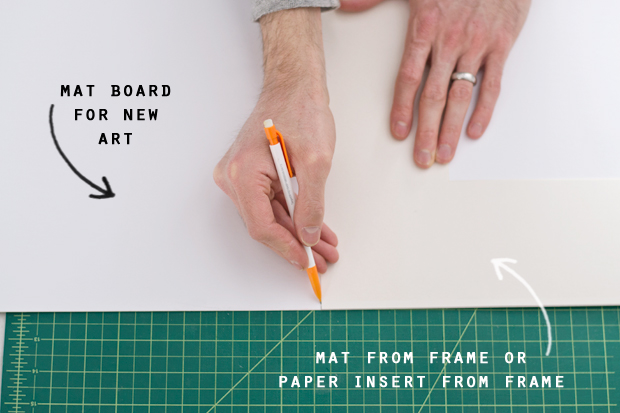
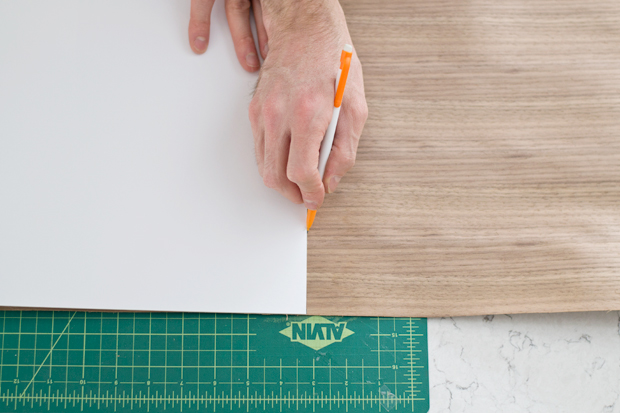
1. To get started, prepare the mat board this is what you will adhere the wood veneer to. It will need to fit inside your frame. From your frame – remove the mat, or front piece of paper to use as a template. Place it on the corner edge of the mat board and make a few marks (about every 8″) on the edge of the template to trace it. You will need two identical pieces that will fit inside your frame. Mine measured 19.75″x19.75″
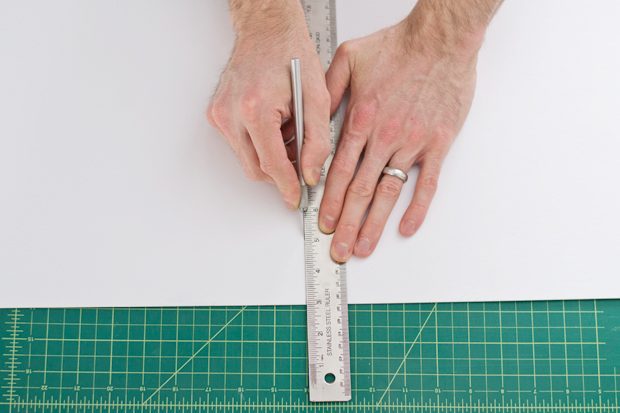
2. Next, cut out the mat board. Line up your metal ruler with the pencil marks created in step one and use an Xacto knife with a #11 blade. For an even cut, you always want to line your metal ruler up on two marks. If your cut is longer than the ruler, cut and then slide your ruler down, line up the marks and finish your cut. You don’t need to cut through the entire piece of mat board in one pass, we typically make a few light passes to cut through.You will need two identical pieces of mat board.
Tip: always keep the ruler on top of the piece that you will be using – this will protect it if your knife strays from the ruler. Also, always look before you cut to make sure your fingers are away from the path of the blade. Keep your hand low and even with the mat board while cutting – you want to drag the heel of your hand on the surface, this will help to keep the blade horizontal versus vertical. It will make cutting much easier and reduce the risk of the blade breaking. And, to ensure a straight cut, running the blade tightly against the ruler will help. Finally, change your blade often, it will make cutting much easier! (I like to buy a 100 pack of blades)
Now, you should have two pieces of mat board (or thick paper that you have on hand) measured to fit inside your frame (ours measured 19.75″ x 19.75″)
Alternately, for steps 1 and 2., local craft stores with a framing department will typically make the cuts for you.
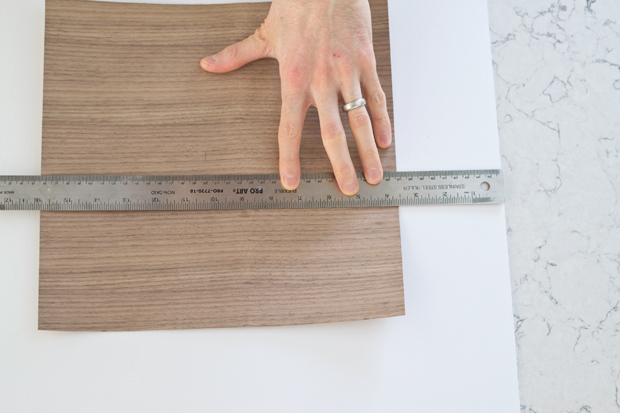
3. Cut the wood veneer. This will be going directly on top of the mat board cut prepared in steps 1 and 2. Repeat the process of tracing the template and cutting from steps 1 and 2.
Cut list:
– Size of mat board (qty 2) (ours measured 19.75″x19.75″)
– Square 2″ larger than your circle (qty 2) (our circle was 10″ so, we cut a 12″ square) (It doesn’t have to be cut perfectly – it just needs to be larger than the circle. Since it will be placed under the larger veneer piece with the circle cut out)
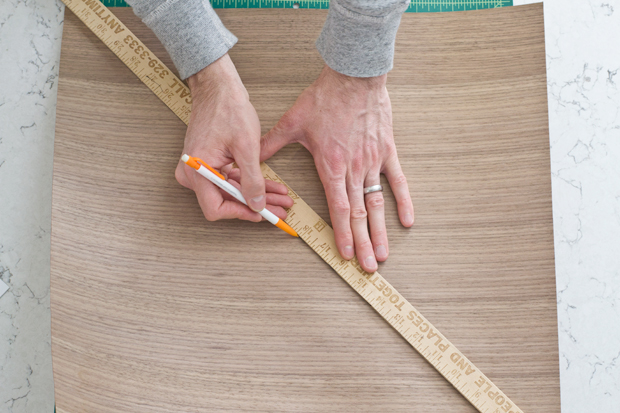
4. Next, take the larger piece of veneer and find center (mine was 19.75″x19.75″). On a diagonal, take the yard stick and make a small mark at the center. On the other diagonal, repeat and make another small mark so it makes and x to find the center of the veneer. Repeat on the other large piece of veneer.
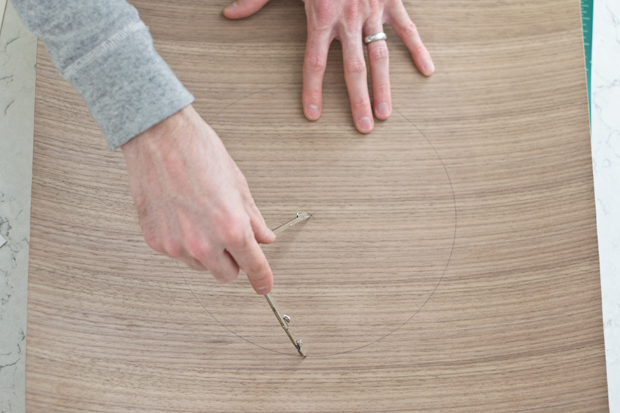
5. Draw the circle. Using a compass, place the metal point on the mark created in step 4. Measure the desired radius of the circle by placing the compass on the ruler (our radius measured 5″ to make a 10″ circle) Repeat on the other large piece of veneer (so you have two large pieces with a circle cut out). Tip: if you don’t have a compass, use a large bowl (or desired shape) and trace. To find center, you will need to measure from all sides to make sure it is even. Leave the small square pieces (qty 2) intact.
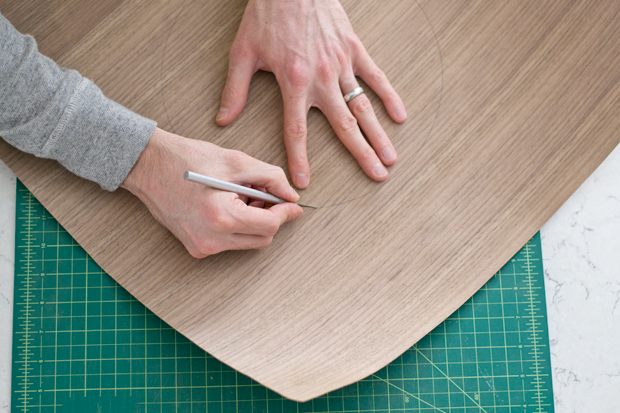
6. Cut out the wood veneer circle. Using the Xacto knife with #11 blade, cut out the circle following the mark created in step 5. Repeat on the other large piece of veneer.
Tip: Don’t worry about cutting through in one pass. We used three thin passes to ensure that our cut was even. Remember to keep your hand low – you want to drag the heel of your hand so that the blade is horizontal. When cutting, think about moving your entire hand with the knife in a fluid motion versus just cutting with the blade. This will help steady the knife and create a clean cut. Slowly cut along the line. Change your blade often to ensure you are cutting with a sharp blade. If you aren’t familiar with using the Xacto knife, try a few practice cuts on a scrap piece of veneer. If you’re unsure about cutting a circle, try a square instead first, straight cuts will be easier! Leave the small square pieces (qty 2) intact.
Now, you will have two large pieces of veneer with a circle cut out and two square small pieces of veneer.
Note: Reserve the circle cut outs for another project. They won’t be needed here.
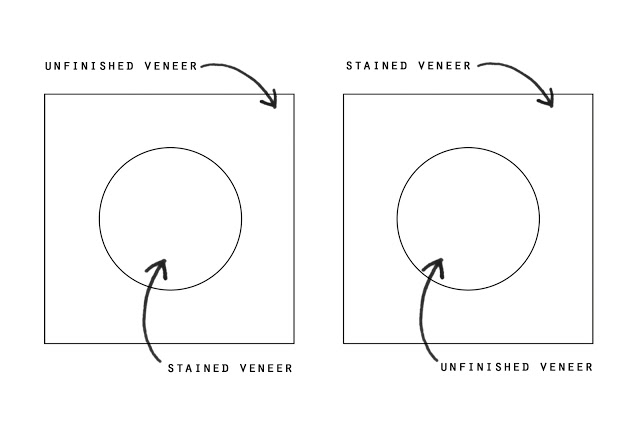
7. Stain the two pieces of veneer. You will stain one large piece of veneer with a circle cut out and one small square piece of veneer. The other large piece of veneer with a circle cut out and one small piece of veneer are left unfinished.
Follow the instructions on the stain for finishing.
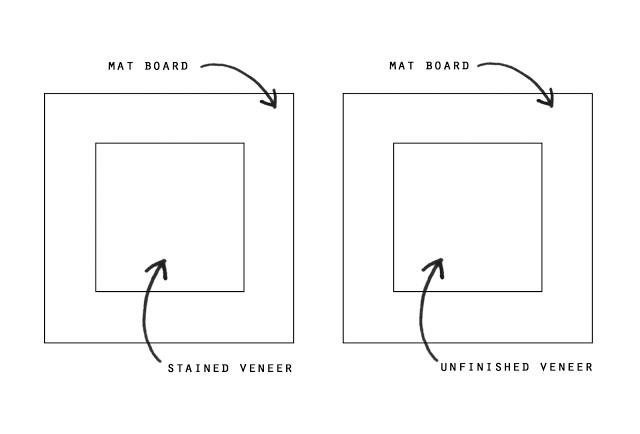
You will have two large pieces of veneer with a circle cut out in the center (one is stained and one is unstained) and two square small pieces of veneer (one is stained and one is unstained).
8. Prepare to adhere the veneer to the mat board. Center the unfinished small square piece on the mat board and mark with a pencil so that you can easily line it up once adhesive is applied. Repeat this for the stained small veneer square.
9. Adhere the small square veneer to the mat board. Use a heavy duty adhesive designed to work with wood and follow the instructions for adhering. Spray on the back side of the veneer. You want even coverage, edge to edge.
Tip: if your adhesive has instructions for extra strength adhesion, follow those instructions. Be sure to spray outside and protect surfaces from over spray. Repeat this for the small square stained veneer.
Now, you will have two pieces of mat board with a small square veneer on each, one is stained and one is unstained.
10. Adhere the large piece of veneer with a circle cut out over the small square veneer. Repeat step 9 and spray the back side of the large piece of veneer with the circle cut out. Once the adhesive is applied, adhere the large piece of veneer with a circle cut out over the small square veneer.
** The large unfinished veneer with circle cut out will go over the small square stained veneer. The large stained veneer with circle cut out will go over the small square unfinished veneer.
I kept the wood grain on both shapes going the same direction, but feel free to mix it up if you like!
11. Weigh with heavy objects. To make sure that the adhesive dries evenly and strongly, place completed veneer pieces on the floor or a flat table and place heavy objects on top. I used a scrap piece of plywood (a little large than the finished art and several heavy plywood shelves from my kitchen cabinets) Allow to dry, following instructions on the can.
Tip: To ensure even drying, make sure that the entire surface is covered and that the objects are very heavy – my shelves weighed about 15-20 lbs. If any veneer is loose after drying, apply a small amount of tacky glue with the tip of a knife under the veneer, where it is loose and weigh down again.
That’s it! Due to the stain, I allowed mine to air out in the garage for a few days.
I love the wood grain! I think it’s reminiscent of a piece from Natural Curiosities!
If you decide to give it a try, I’d love to see! Be sure to tag me on Instagram!
Leave a Reply