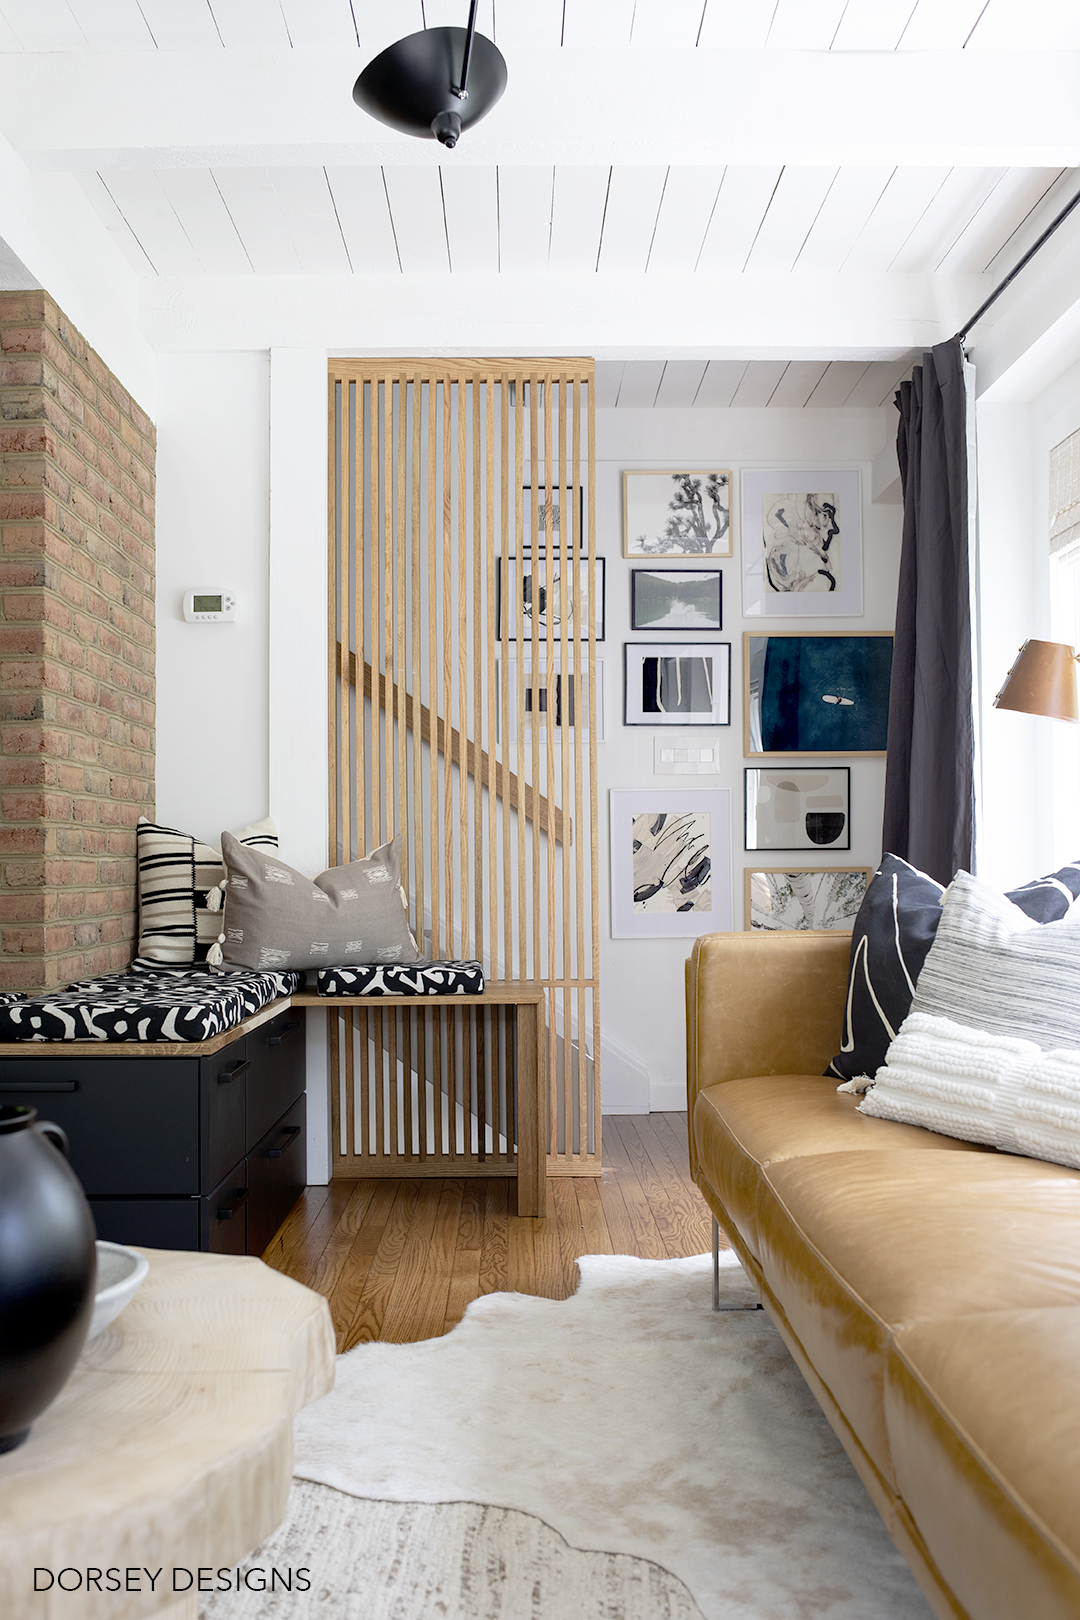
Hi all! Today, I’m posting the first tutorial from our spring One Room Challenge – the slat wall at our stairs! (All sources are listed at bottom of the post)

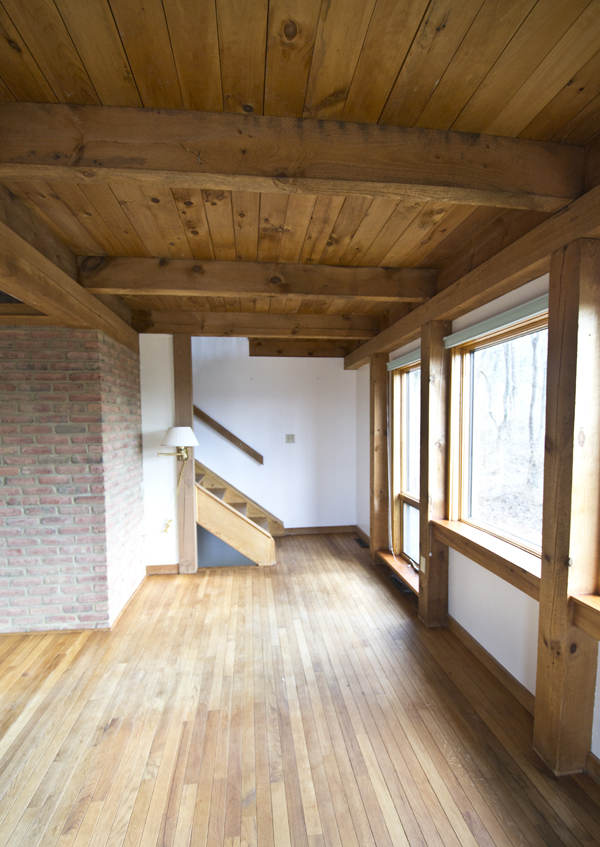
Here’s a photo of what the space looked like when we first moved in. With a little one (and one on the way) that triangle hole below the stairs had to go! Perfect example of form and function – baby proofing doesn’t have to (always) be ugly!

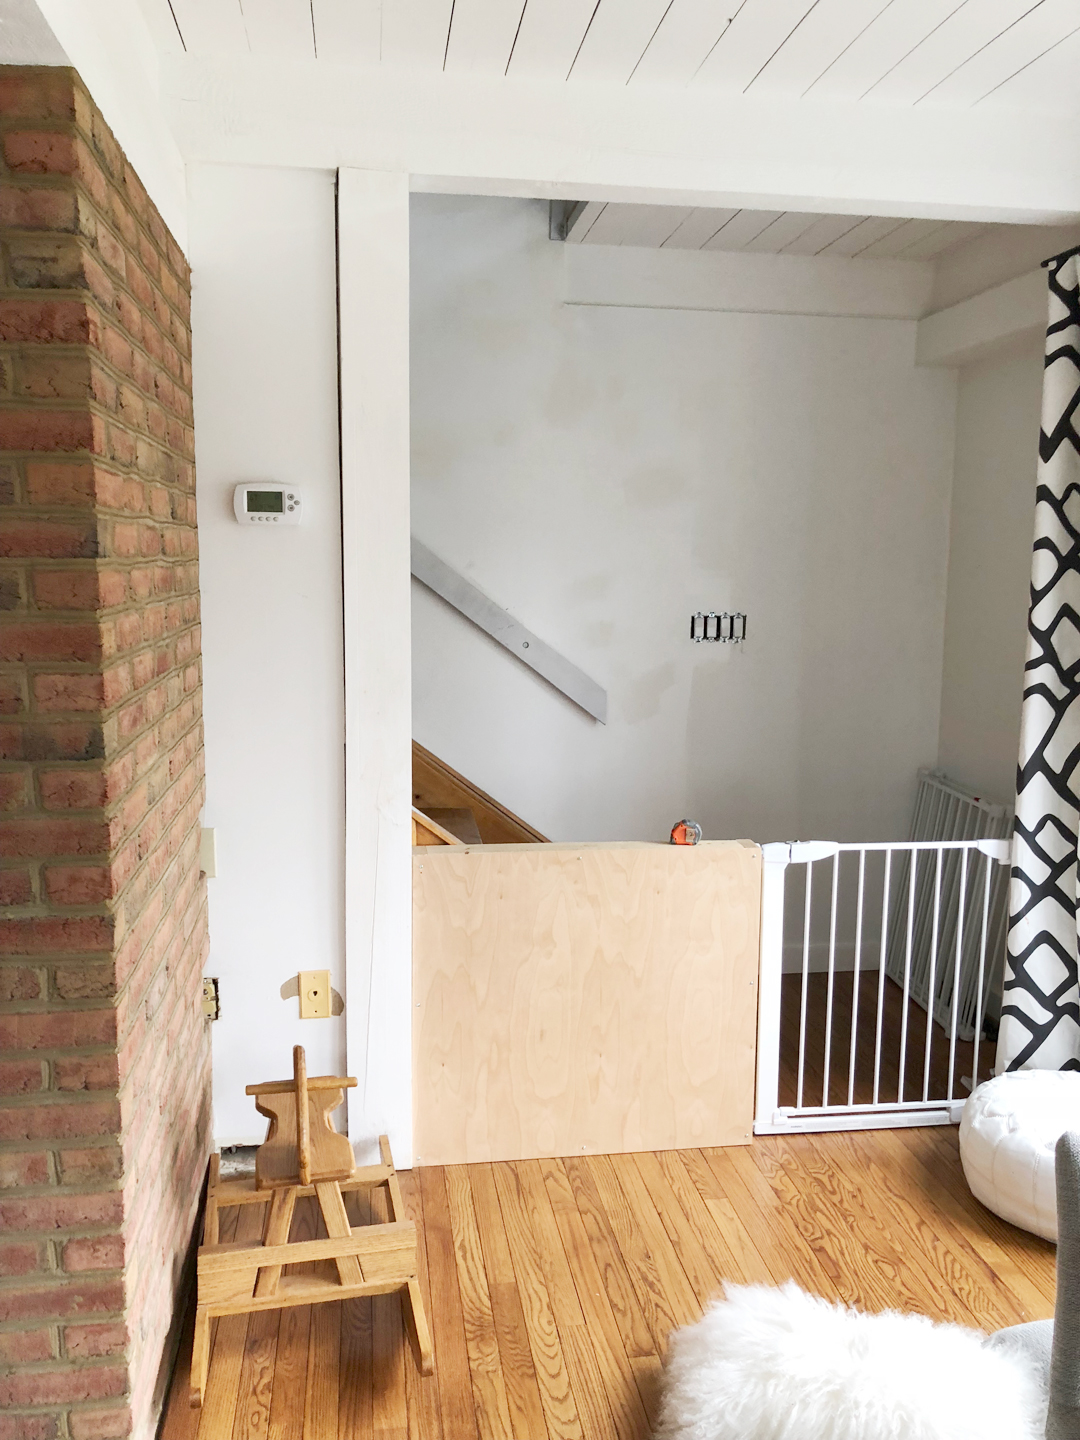
Our original, temporary solution was to build a little wall, just to make it safe. WOW! Was that an eyesore, I hated walking past it everyday!

To get started, we measured the desired width and height for our slat wall. For us, we measured from the wall on the left to the bottom edge of the stairs – the height was from floor to ceiling.
Next, David used the jointer and planer to finish oak pieces to size. We had the wood and equipment on hand so that’s what we used. If you’re looking for a similar scale, a 1×2 would be the equivalent for pre cut wood. Note: you’ll want to check each board carefully to make sure it’s straight – this will help the entire piece to come together nicely.
Our spacing was the 1x side of the board, negative space of 1x, repeated until desired width of slat wall. We had 19 1×2 oak boards.
Next to provide stability, David cut the top and bottom sections from 2″ thick oak. He ripped them down to 2-1/4 x 1-1/2″, cut them to width and laid out the spacing for the joints. He used a dado blade on the table saw to create the 3/4″ x 3/4″ dado joints for each 1x slat.

Once the top and bottom piece were cut, we began assembling. We put blocks in the negative space while in process to help give it stability. To secure the 1×2 pieces, we pre drilled and countersunk holes so that the screws would be inset. At this point, our boards weren’t completely straight, so we decided to add center supports to help stabilize it. We added them at the height of the bench, to minimize the horizontal lines in the space. These were simply glued in place.

Once assembled, applied wood filler, let that dry and sanded with 220 grit sandpaper. Removed dust with a microfiber cloth and applied Danish Oil in Medium Walnut (this closely matches our hardwood floors). We let it sit in the garage for several days since it smelled some while drying.
To install, we secured it to the wall, floor and ceiling with screws.
That’s it! Have any questions? Feel free to leave in the comments below or leave a comment on Instagram!
Check out our One Room Challenge reveal post HERE, in case you missed it.
Sources //
Dining Room
dining table // dining chairs // chandeliers // large frosted light bulbs // rug // library ladder and library ladder hardware // built in door pulls // drapery // black front door // front door hardware // olive branch arrangement // black sconces // jill rosenwald black bowl // capiz box // black box trio // folded paper art // drapery rod diy // art over built in // long trivet, (diy tutorial in my upcoming book, currently available for pre order!) // light bulbs in sconces // legrand adorne switches and outlets
Living Room
leather sofa (mont blanc sugar cookie leather) // black and teak side chairs // bench (home goods) // rug // cowhide rug // black three arm chandelier // nesting wood slice coffee tables diy // bench cushion fabric // black graffito pillow// lumbar pillow on sofa// white ludo pillow // black and white with tassels, griege lumbar on built in bench, throw on bench // stripe pillow on built in bench // vase on coffee table // olive branches (currently not on website) // beads in bowl diy // bowl on coffee table home sense // sconces (diy leather shade added, tutorial in my upcoming book, currently available for pre order!) // fiddle leaf fig Home Depot planter home goods // black and white art on built in bench // ocean print // abstract hair print // draperies // drapery rod diy // gallery wall art // birch trees // joshua tree // black and white pink abstract art // surfboard //abstract shape art //light bulbs in chandelier // legrand adorne switches and outlets
Leave a Reply