Hey friends! We’re sharing our process to make the bench at the end of our bed! It’s the starting point of our bedroom refresh. We just sold our bed (we’re on the look out for something low!) and we’re thinking about moving the bed to this wall. If we do, we’ll add a third window.
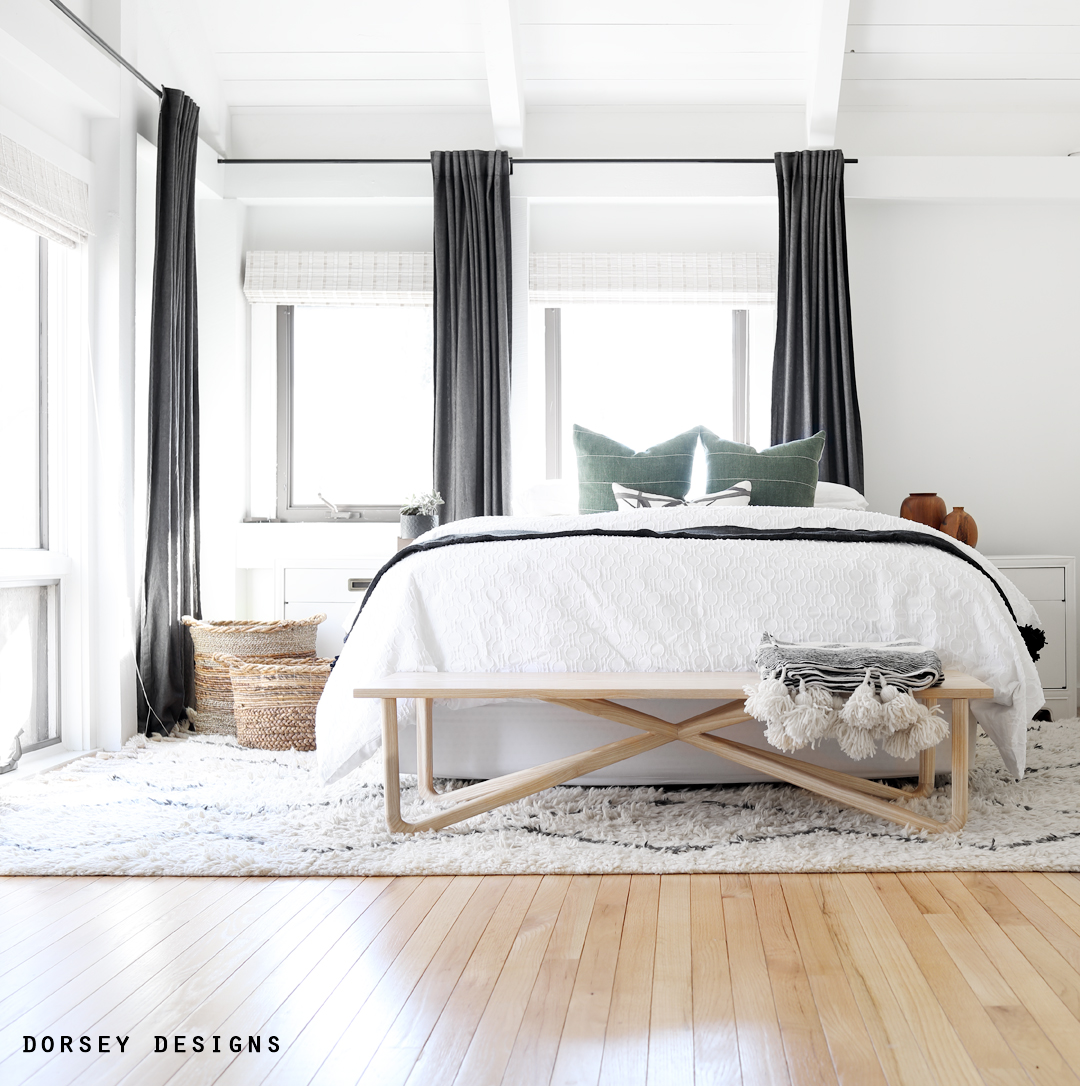
This wasn’t the easiest project, so it’s not for everyone. But I’m hoping it will be helpful for someone! Read on to see how we did it.
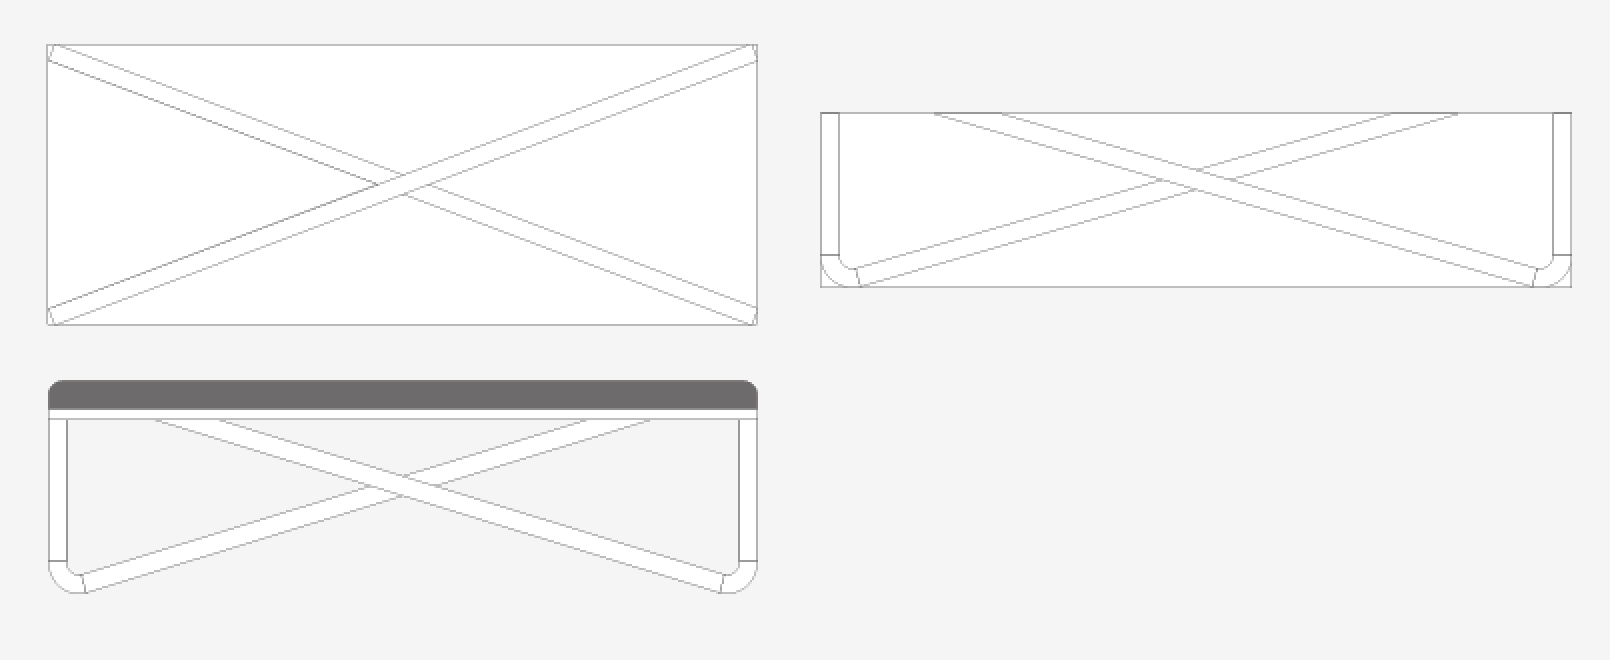
First, we drew the bench to scale in Adobe Illustrator. We started with the front view and tweaked the scale and angles until we were happy with the design. Next we drew the top view to show to the required length of the legs going from corner to corner. We then copied the design into a rectangle sized for the corner to corner measurement which was now the template for the X legs.
We were so excited to complete the first project from the Ash trees from our backyard that we had milled a few years ago. We’ve since had to remove all of Ash trees that have died from the Emerald Ash Bore 🙁 David’s planning to get a chainsaw mill so hopefully we’ll at least be able to use more of it for projects.
David created the legs from rough sawn 1.5″ boards so after finishing them on the jointer and planer, we were left with 1.25″ finished boards. He ripped enough on the table saw to 1.25″ square rods for all of the straight runs.
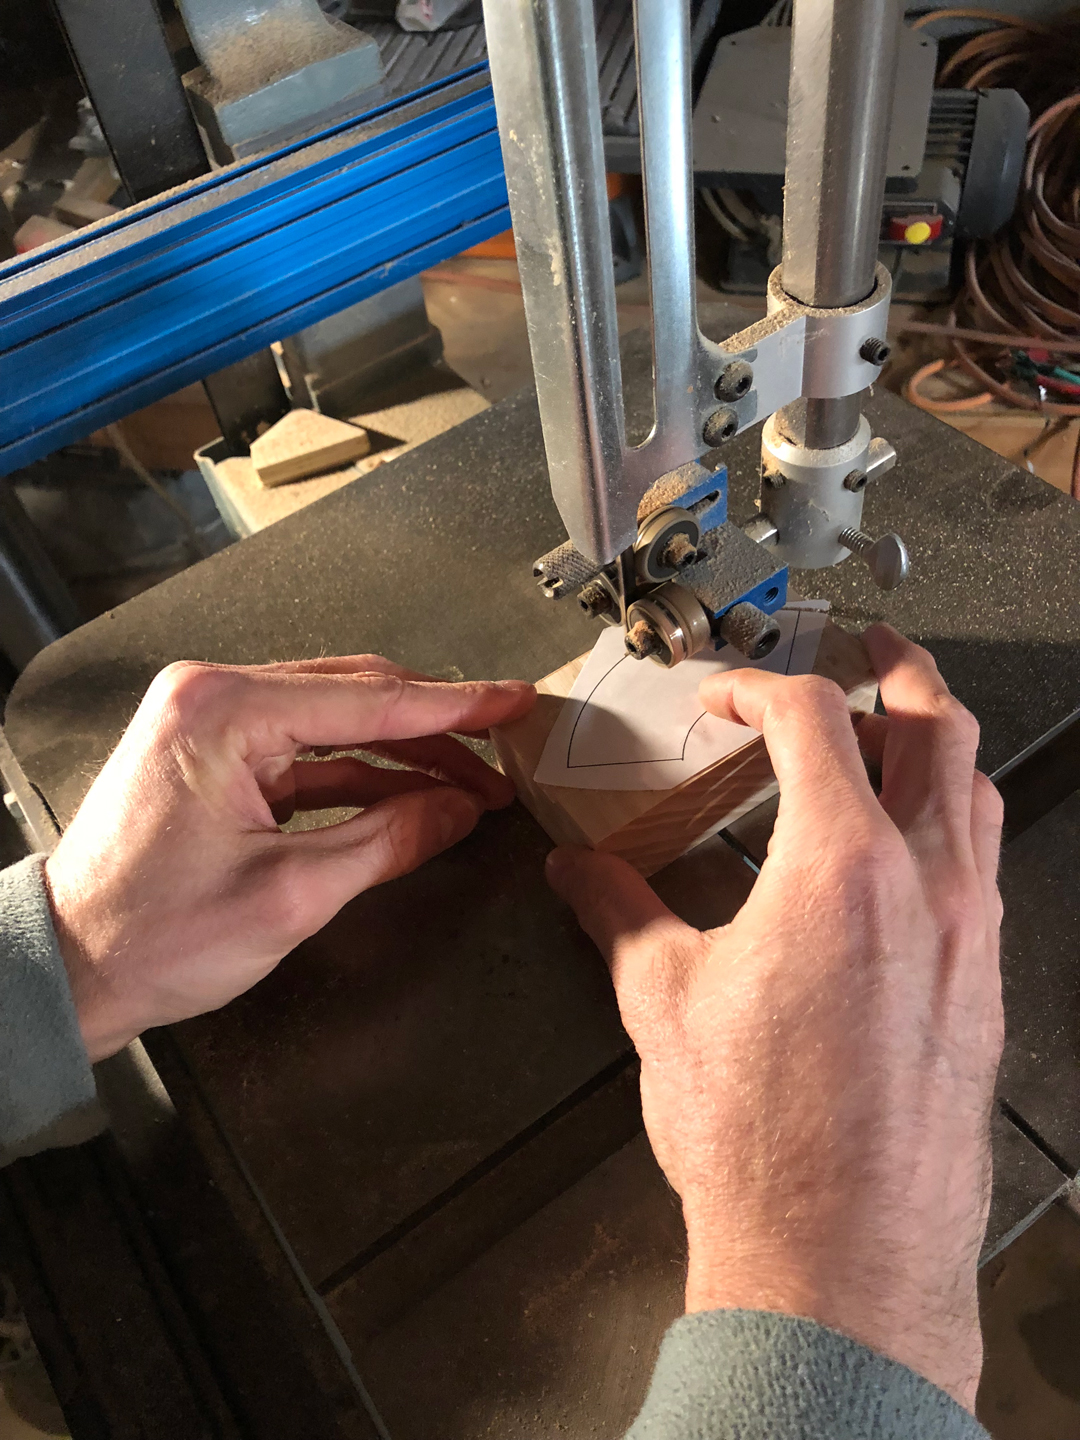
We printed out the curved section from the Illustrator drawing to scale and used it as a template for cutting with the bandsaw.
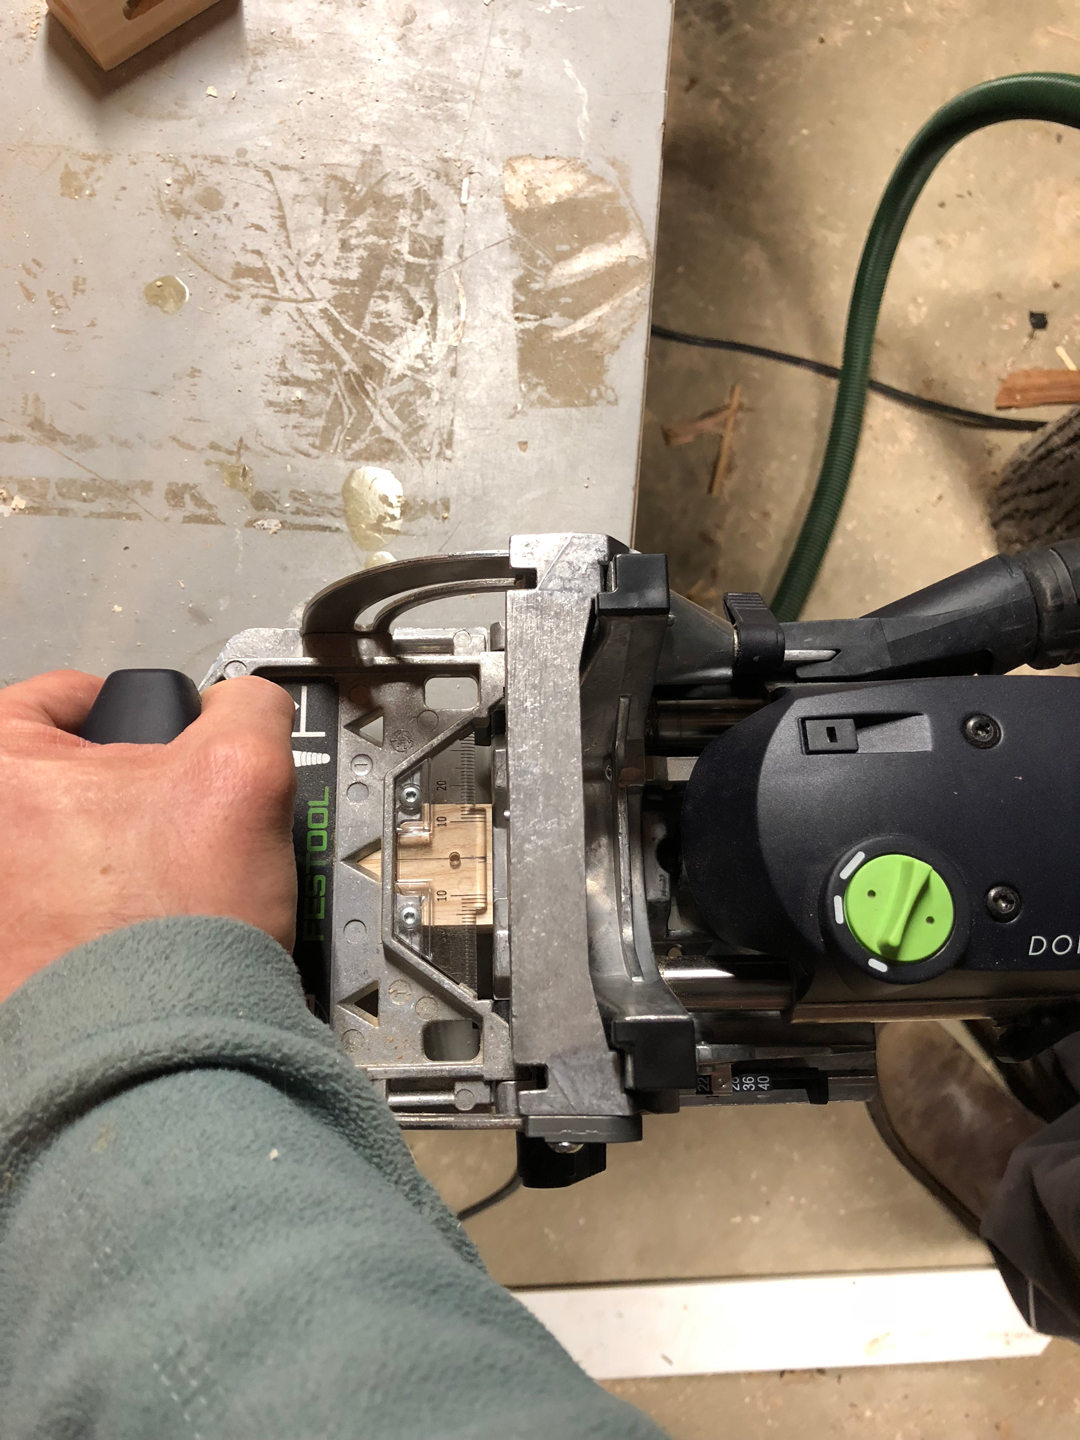
We used a Festool Domino joiner to attach all of the pieces. It easily creates a loose mortise and tenon joint that can be glued in place.
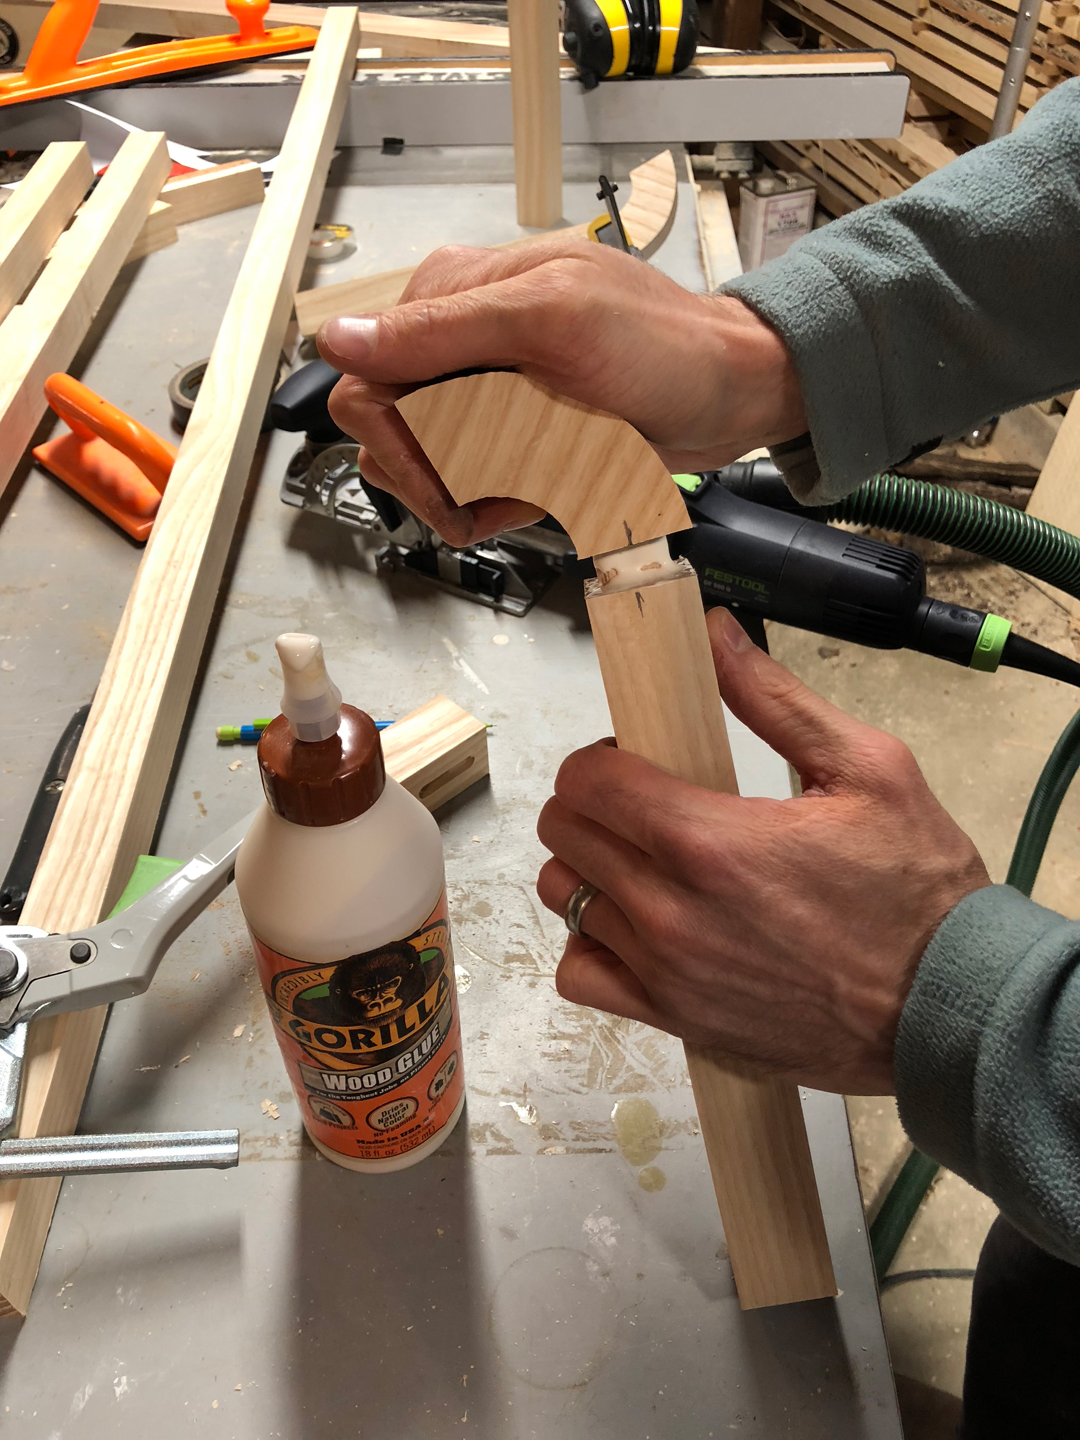
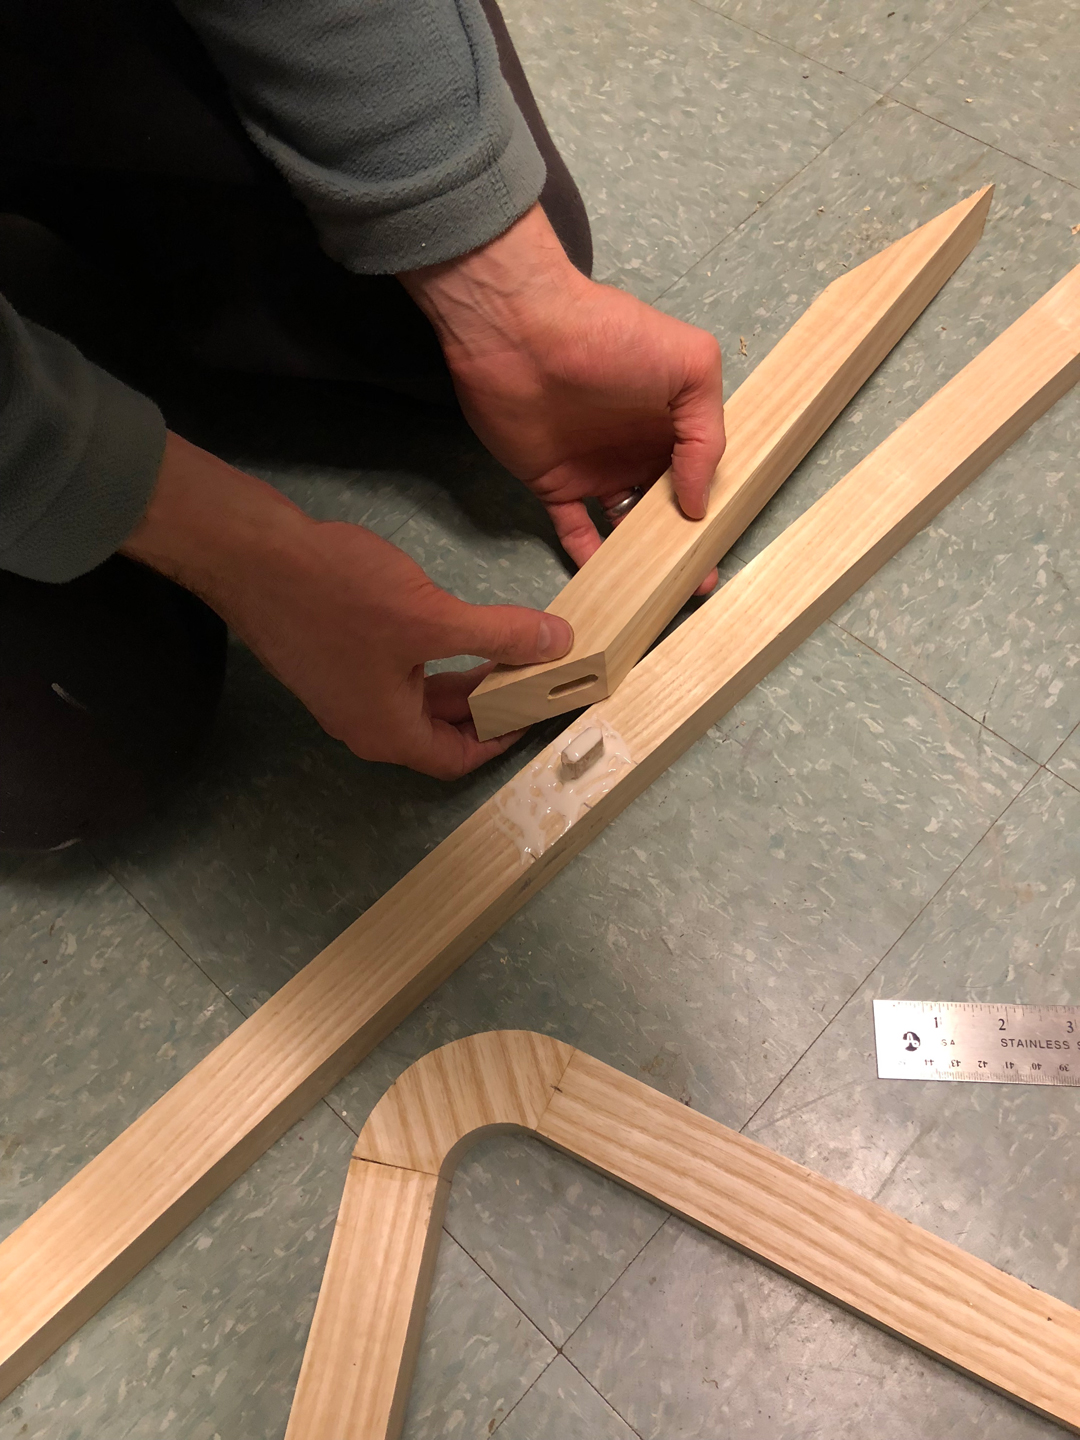
The X joint required a 56 degree cut so it was easy to make with a chop saw. We used the Domino joiner again to attach the angled joints.
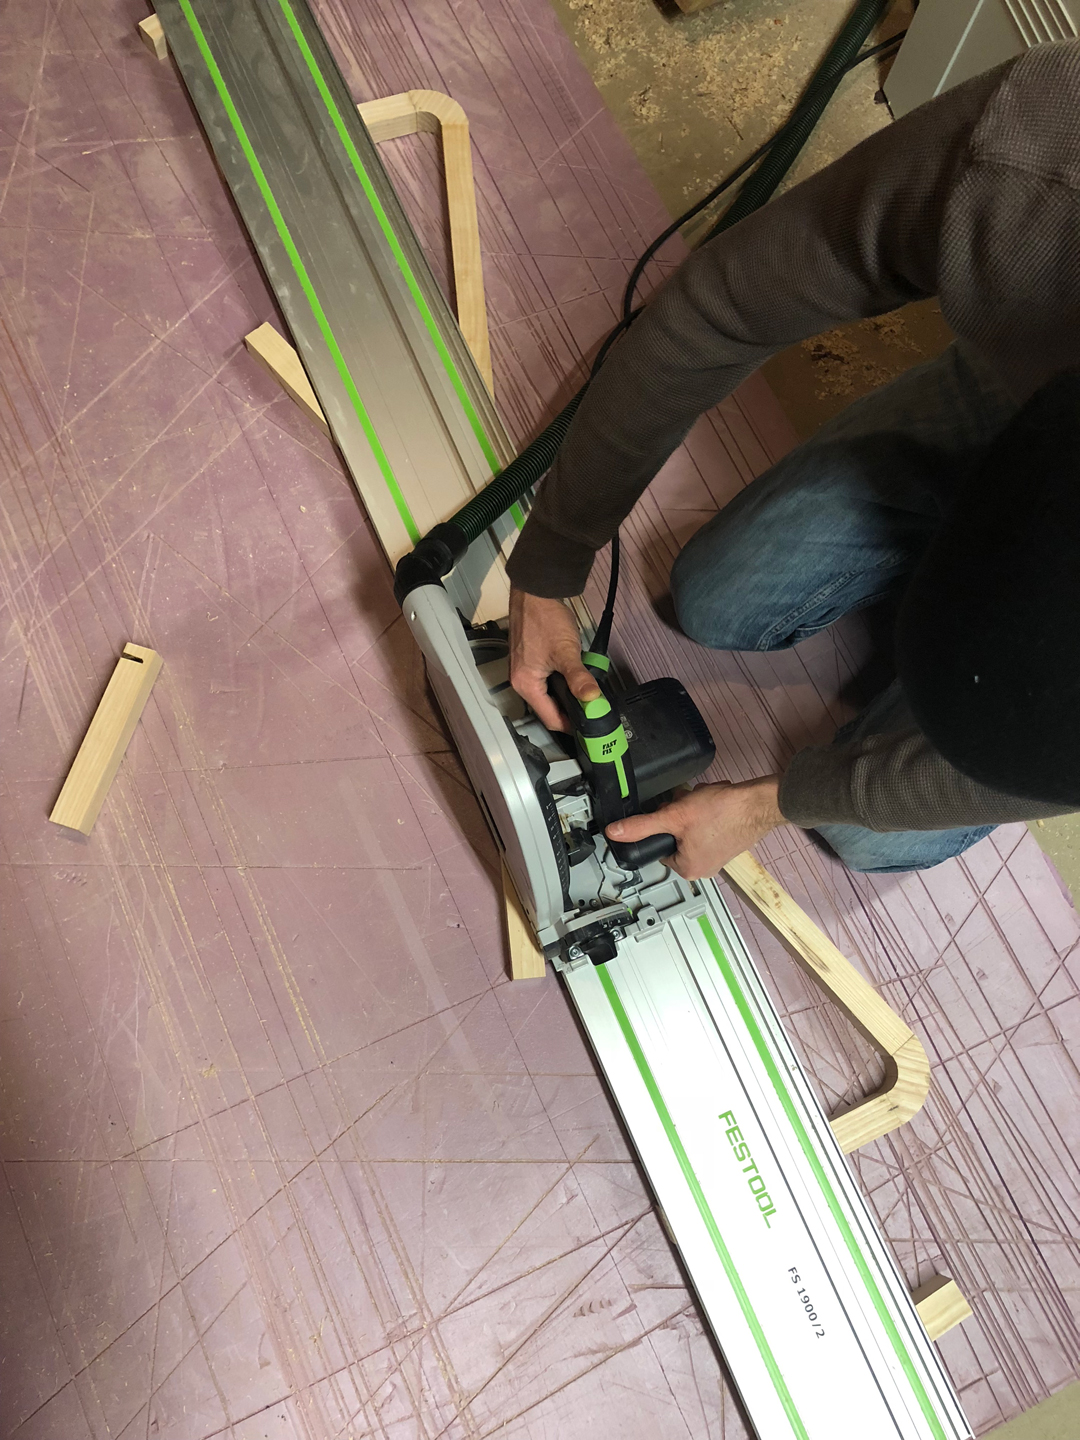
We left the center boards long so that we could cut them with the track saw. This made the sharp angle easy to cut and ensured a straight edge where all four parts meet the top.
We repeated all of these steps to complete the second X section and then routered the edges one one X section with a 3/8″ round over bit.
We made the top from three 1″ ash boards that were finished to a 3/4″ thickness and edge glued together.
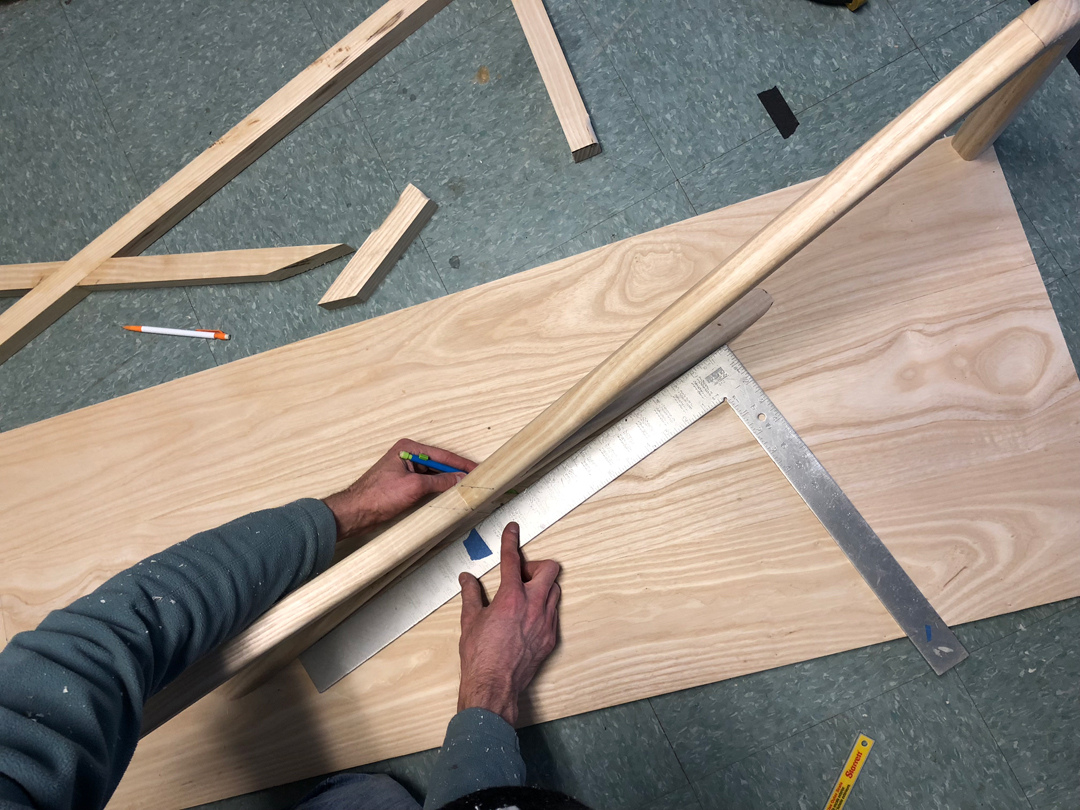
To ensure the angles for the center cut were perfect, We held each set in place and used a straight edge to draw the meeting angles onto the top board.
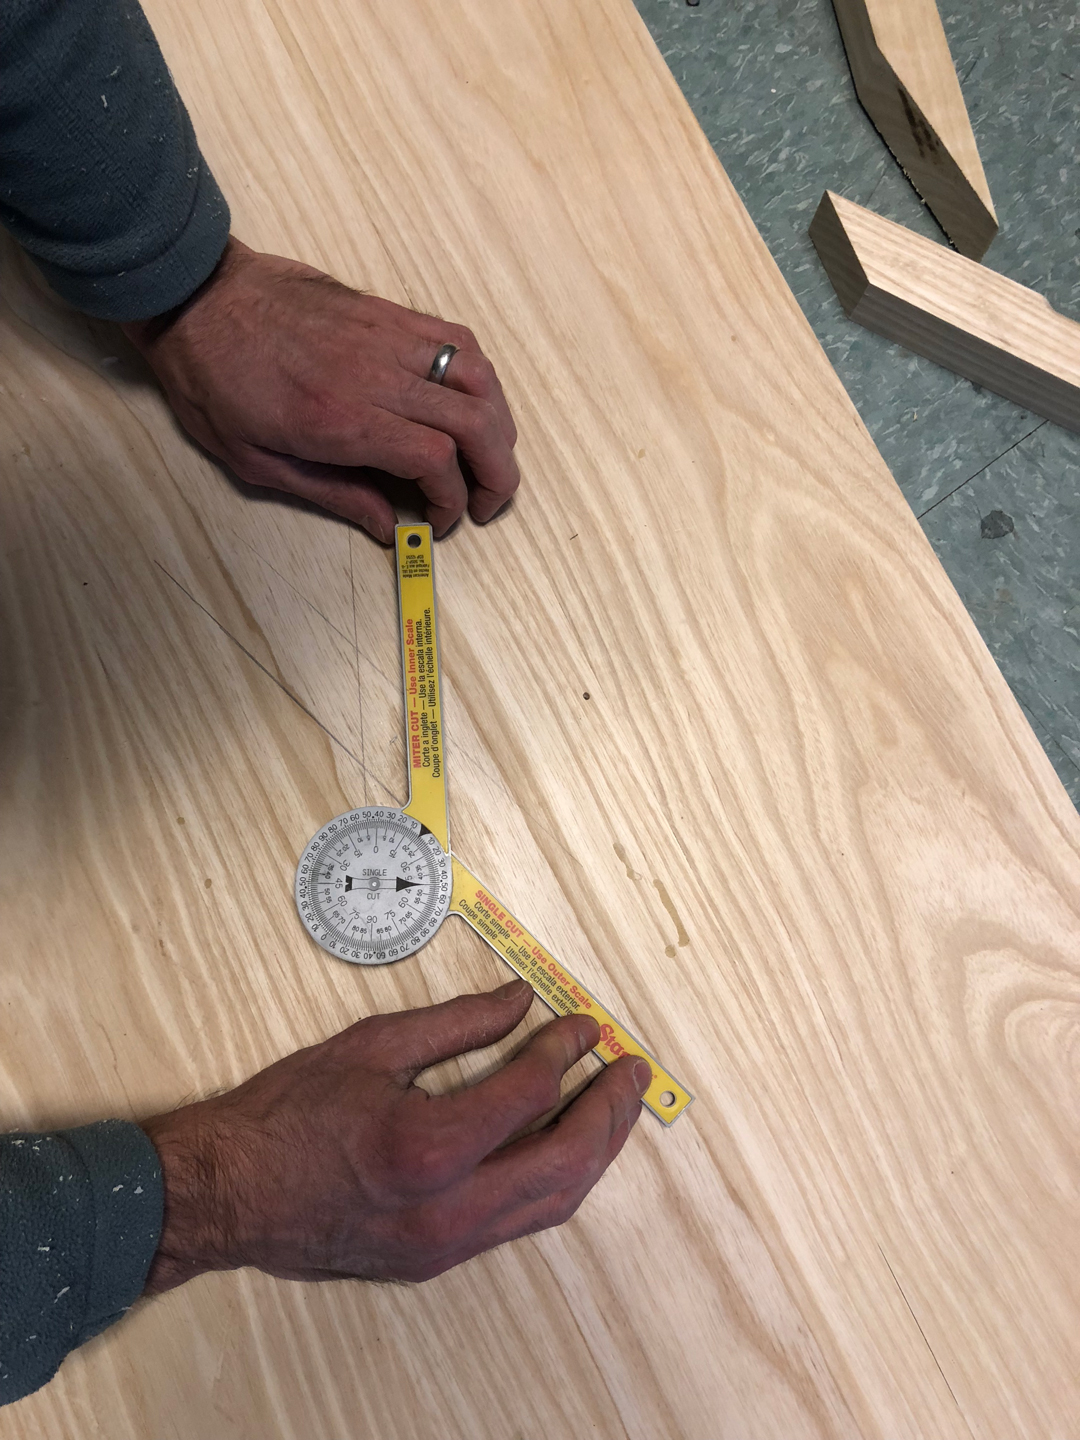
We used an angle finder to confirm the angle required for the cuts.
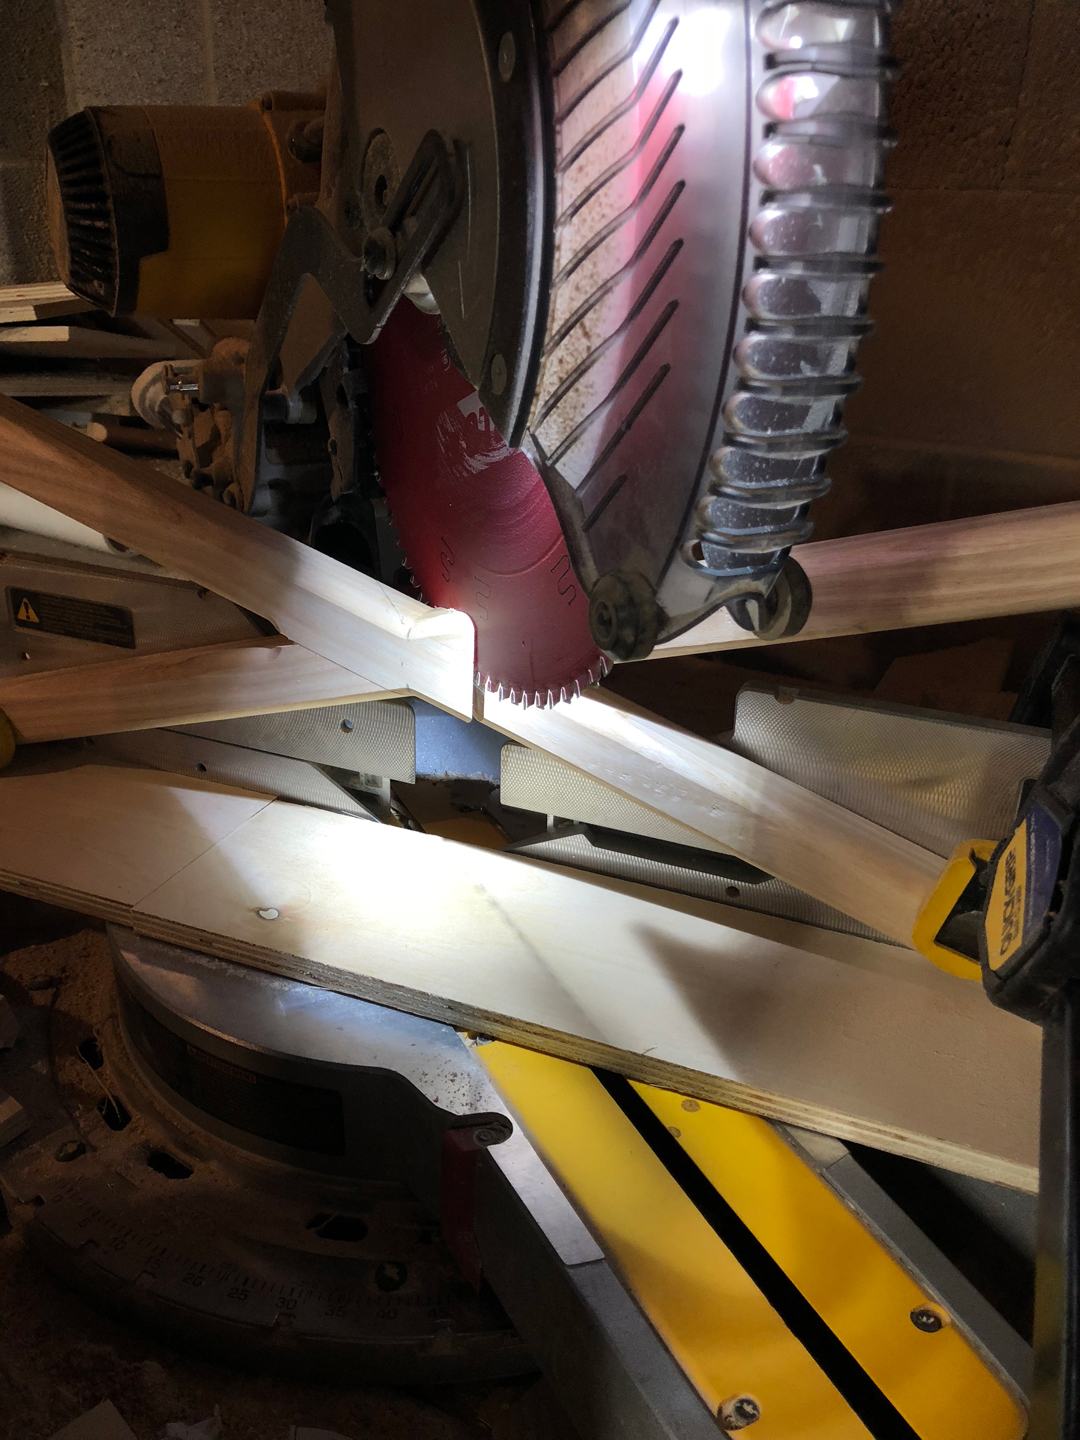 David cut one X section to remove portion that would intersect with the other X.
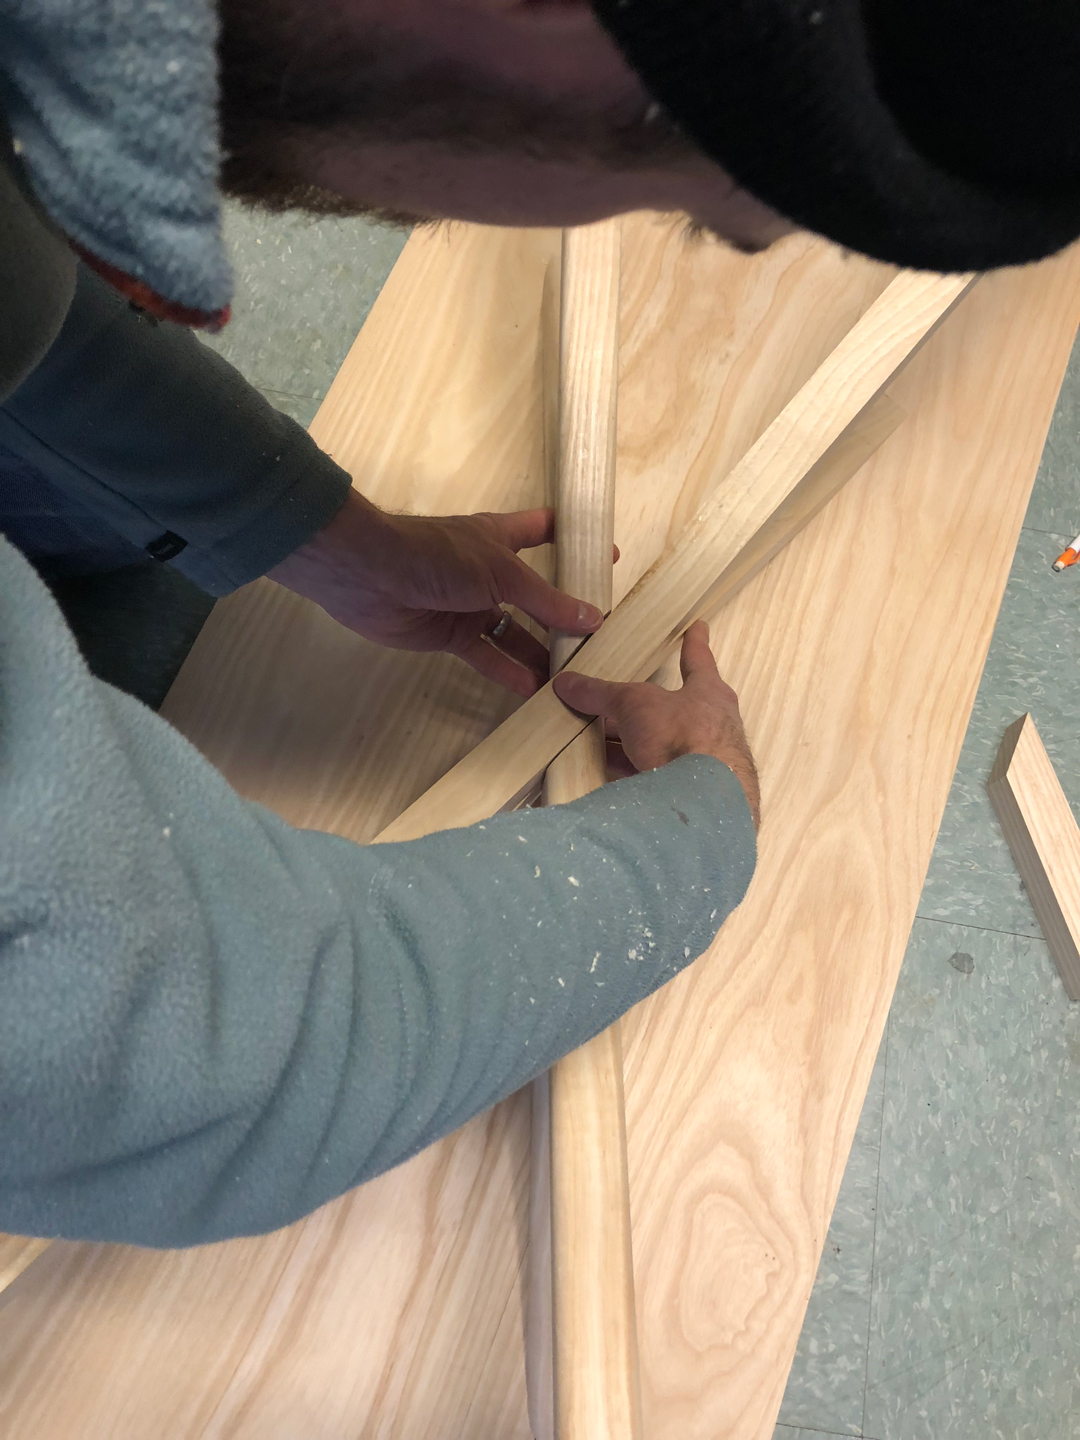
And it worked! A little nerve racking making the cuts after spending the time to build the X.
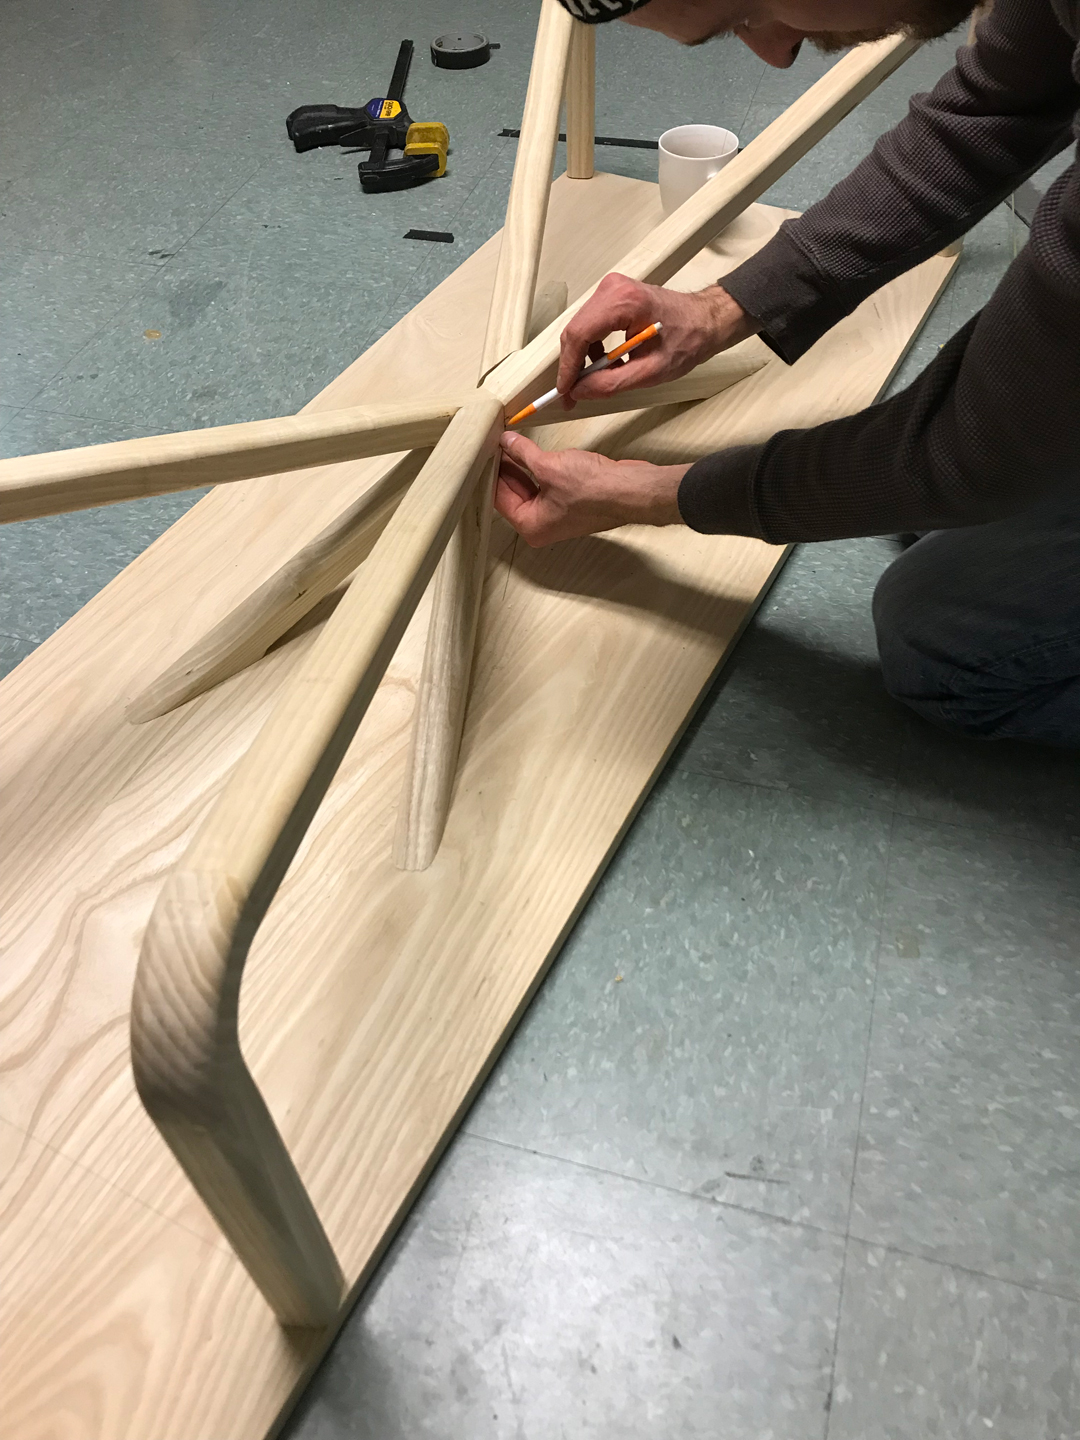
We finished routering the other X accounting for sections at the center that didn’t need to be routered based on the intersection. and then marked where the center sections needed to be joined.
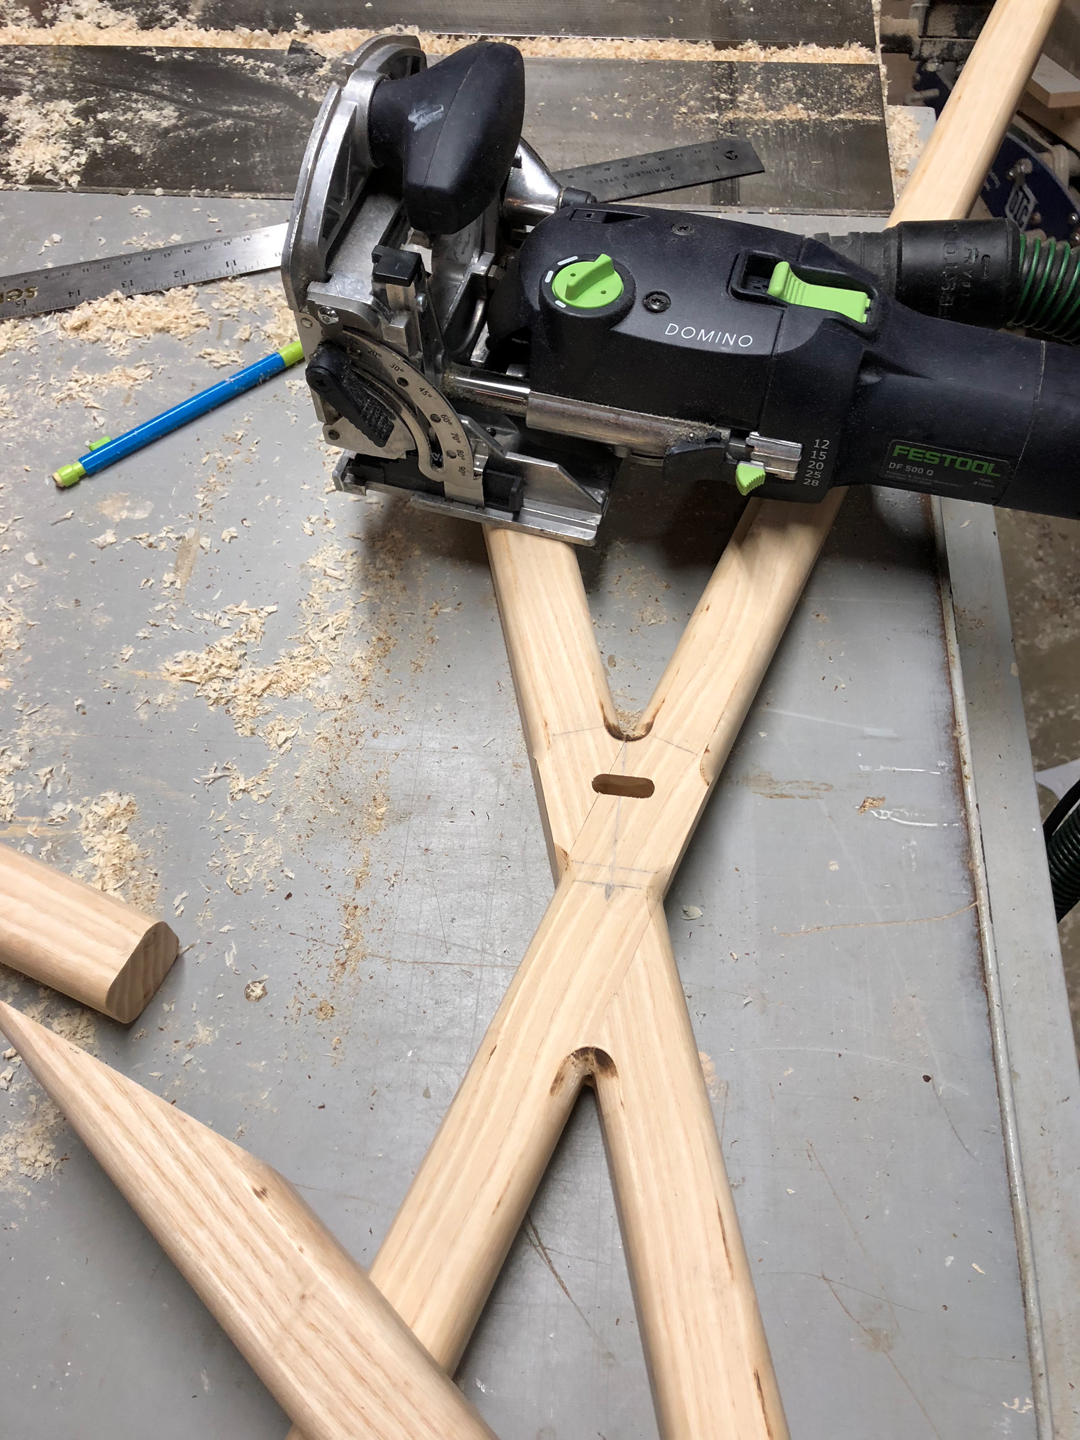
We used the jointer again to attach the cut sections to the complete X.
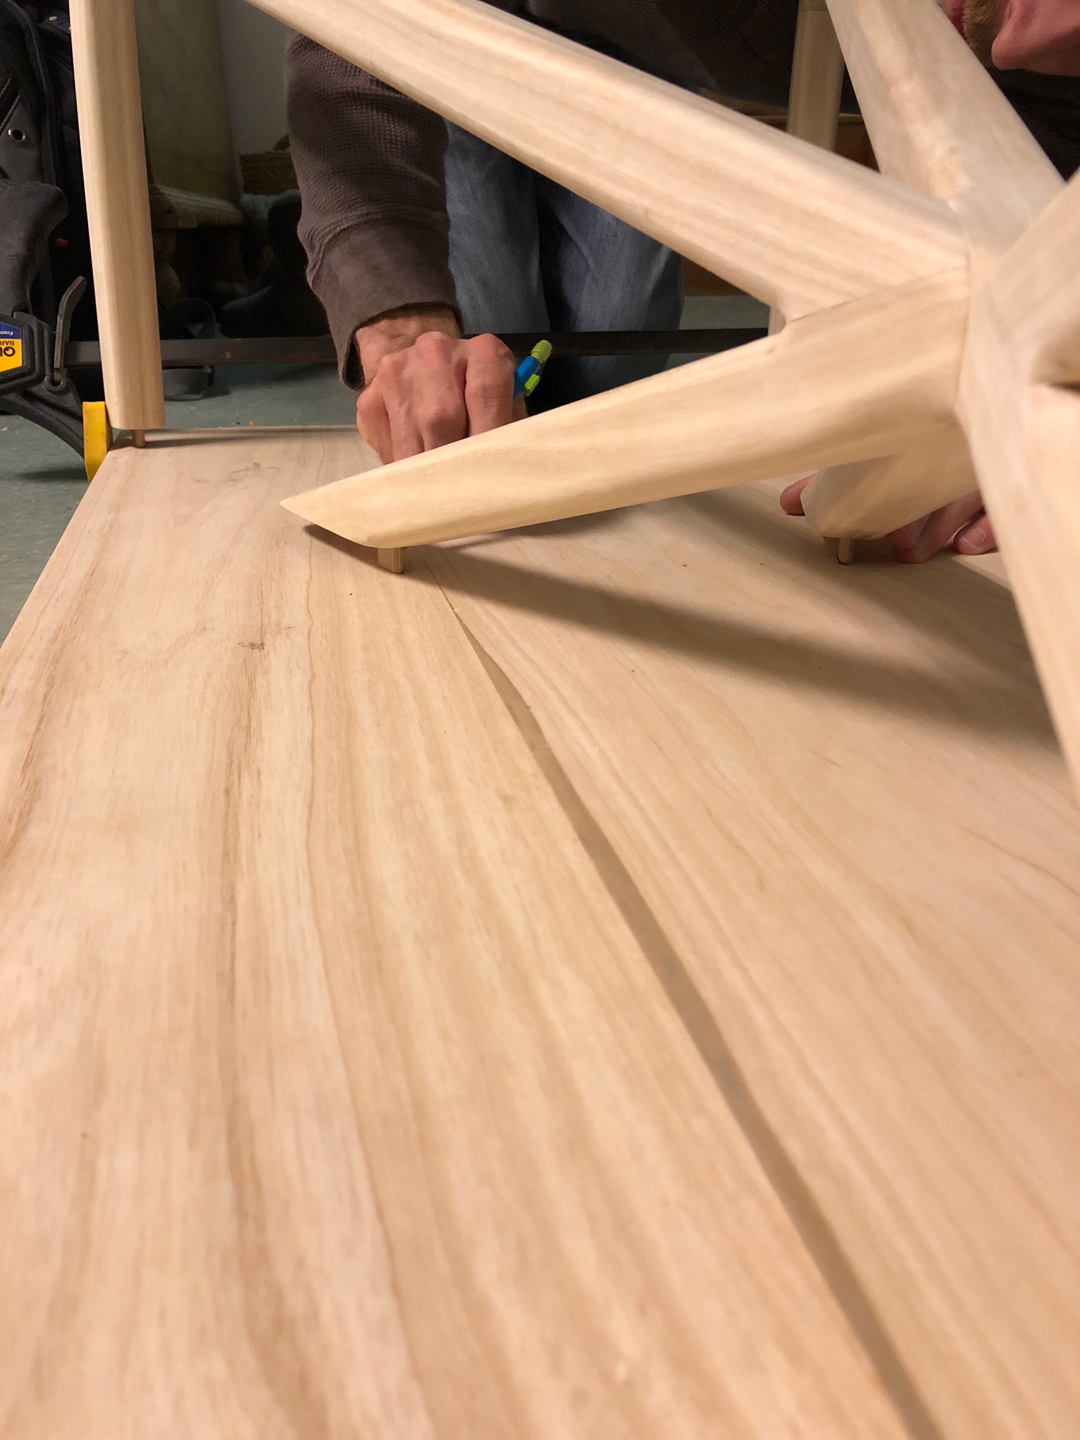
We used the joiner one last time to attached the eight leg intersections to the top. We finished it with wood cutting board oil and we’re planning to add a cushion on top.
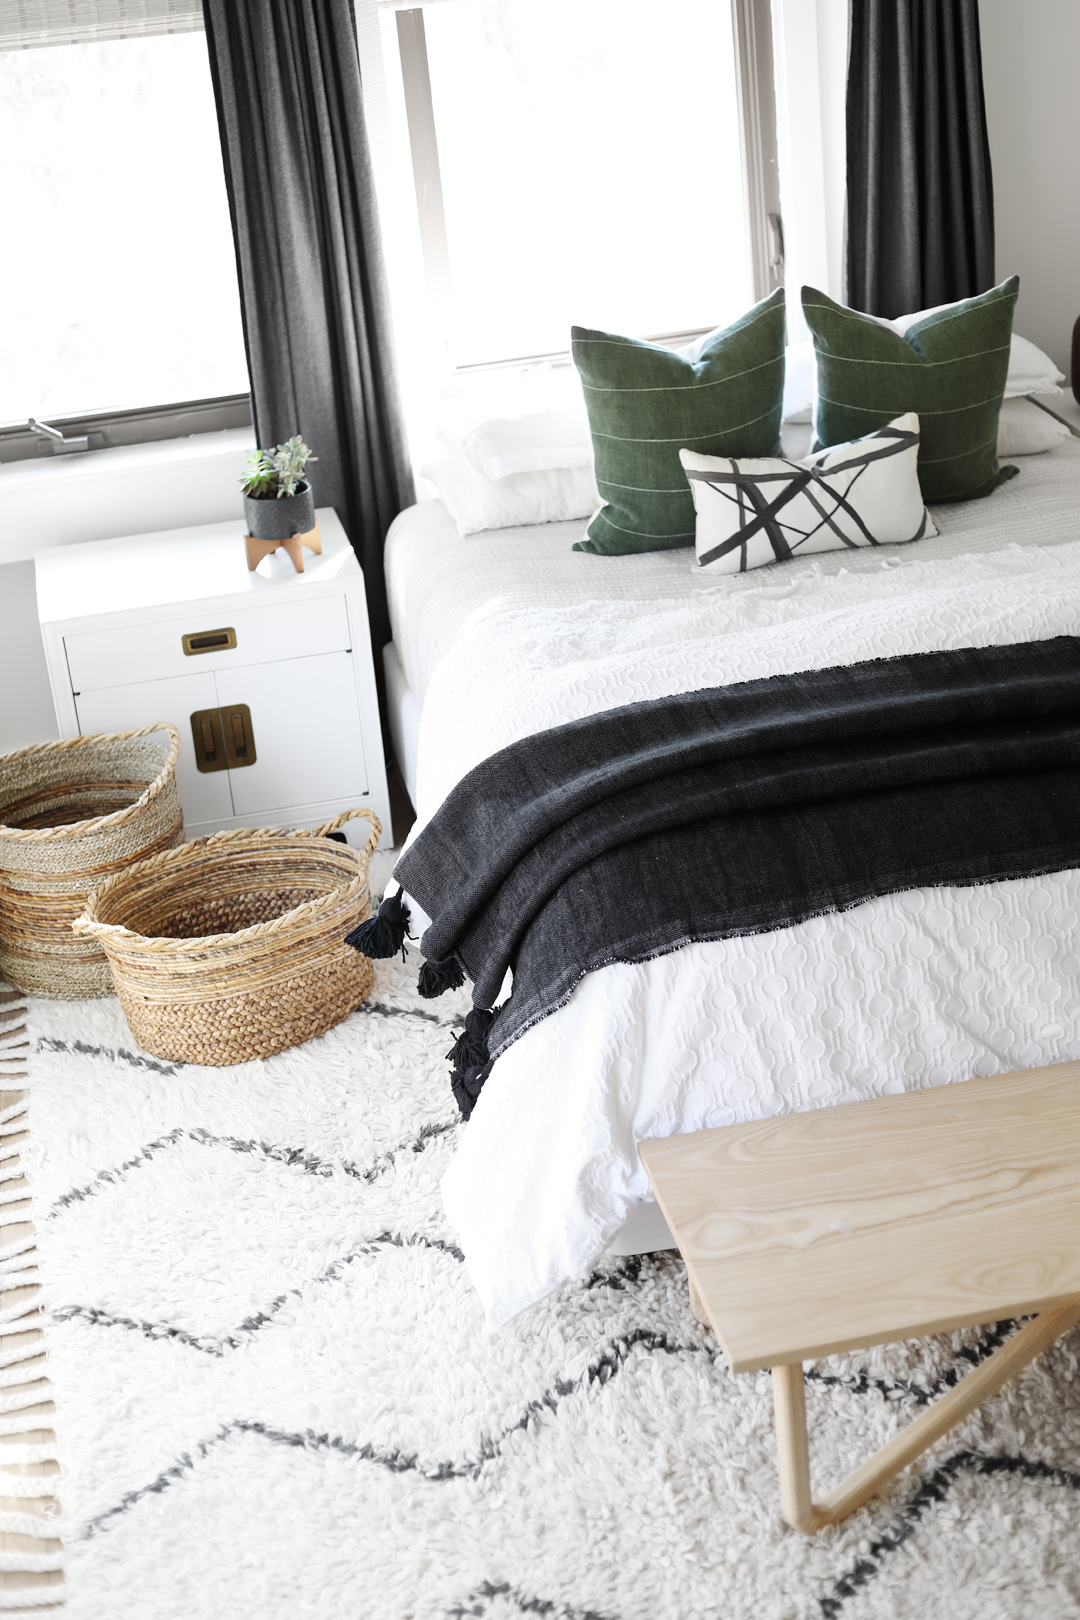
If you have any questions, feel free to reach out!
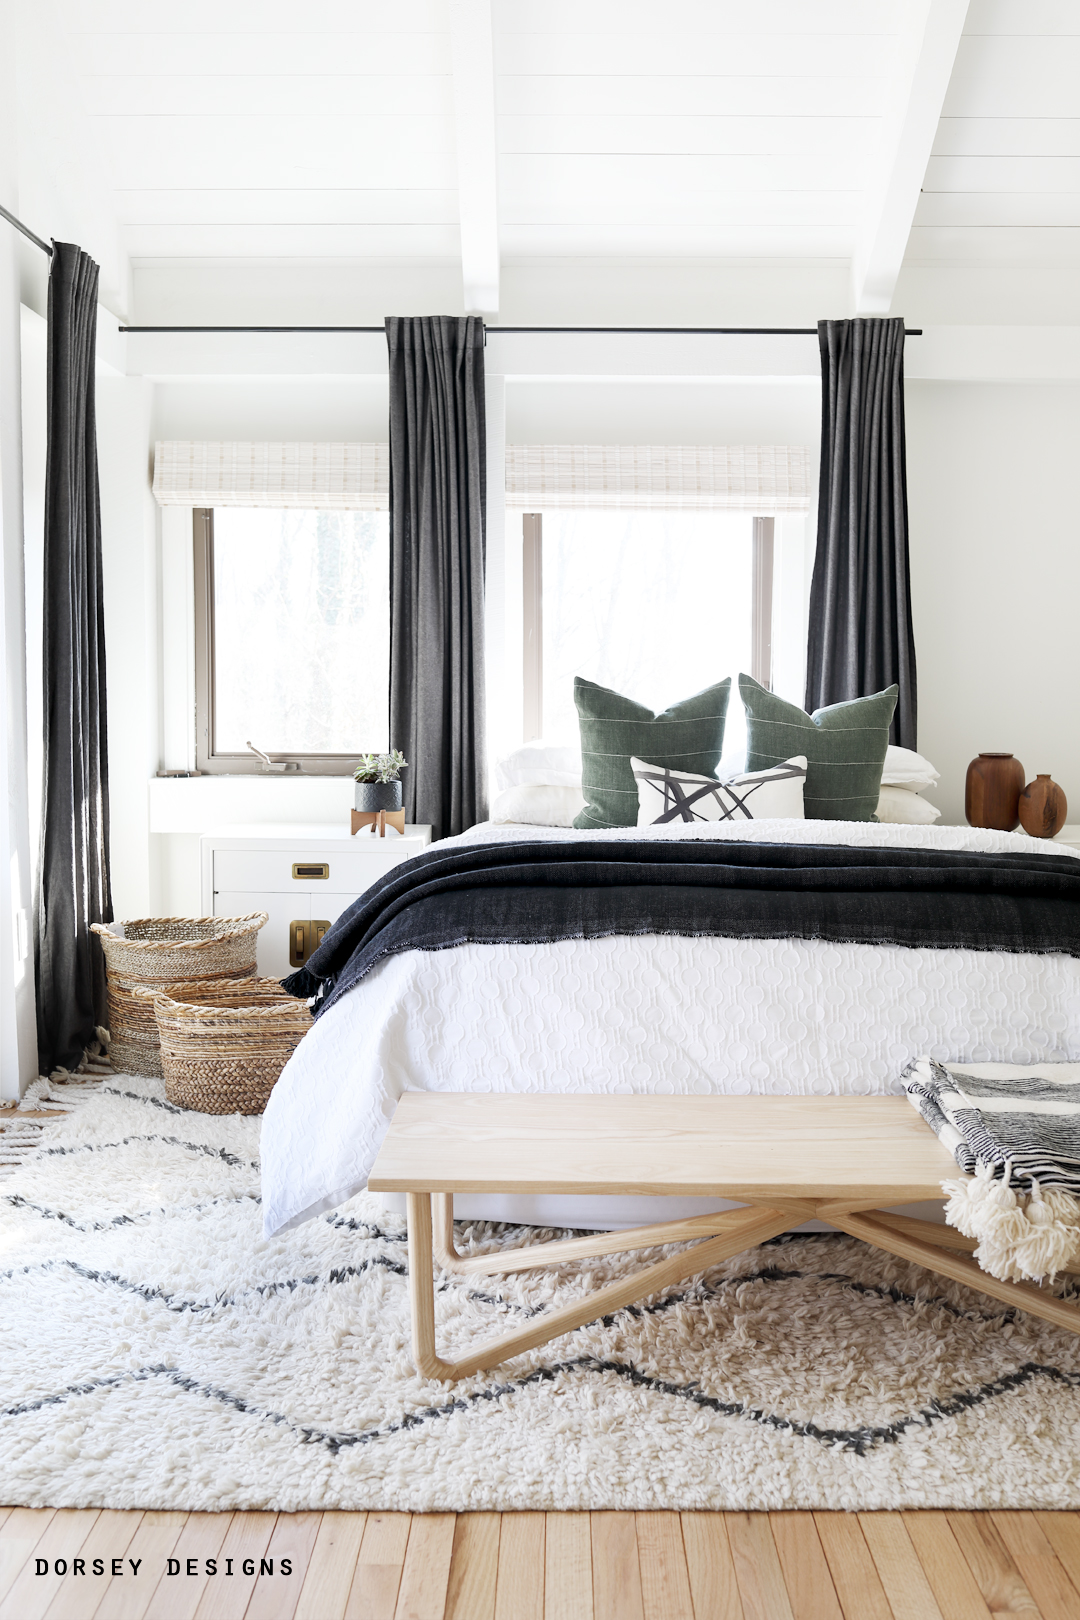
Great bench, along with impressive carpentery and design. Cheers to making the perfect piece when needed.
Thank you Danielle! David is so good at figuring out my crazy designs!