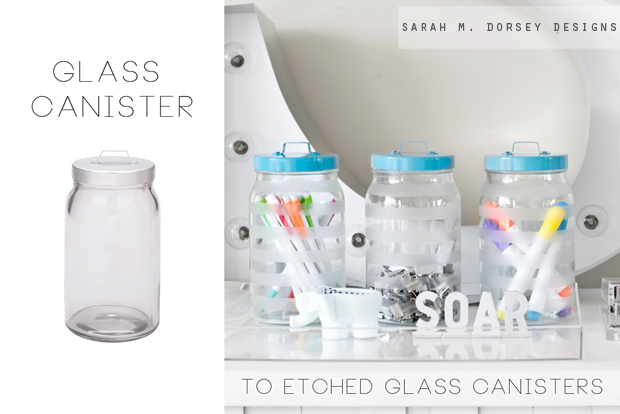
If you saw my large cork board tutorial at Infarrantly Creative last week, you may have noticed a few etched glass canisters, today, I’m going to share how to make them!
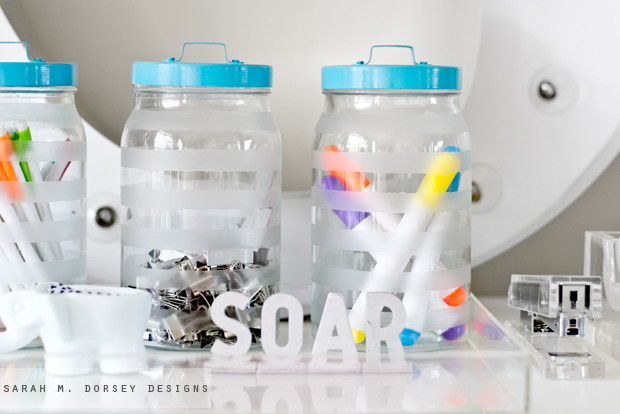
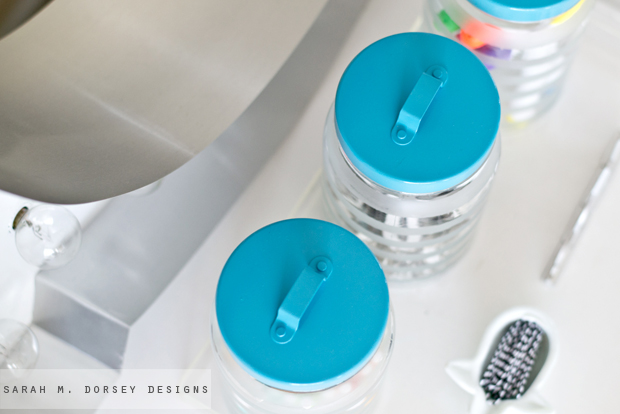
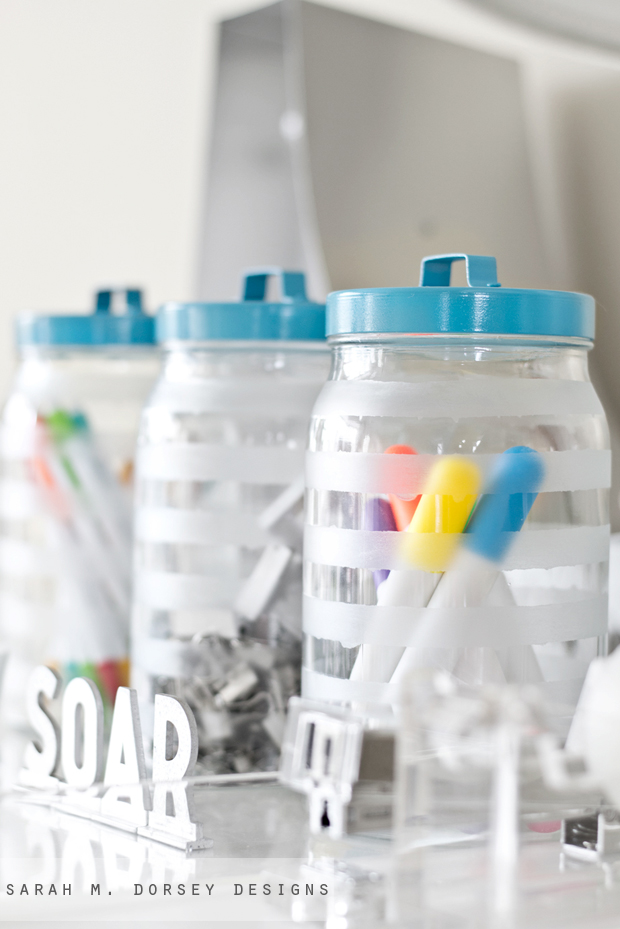
If you’re looking for a stylish way to keep your office accessories organized but within easy reach – these etched glass canisters might be the perfect solution! The etched glass partially obscures the view while adding a design element to the glass. In a few hours, with minimal effort, you can have your own customized glass canisters! These would be perfect organizing office odds and ends, bath products, craft supplies, etc. Today, I’m going to show you how to make your own with a simple stripe pattern and colorful lid. At just a few dollars each, these are super affordable!
Materials:
Glass canisters (I used Ikea Burken)
Painters tape (I used 1 3/8″ cut into .5″ sections (two .5″ sections per piece)
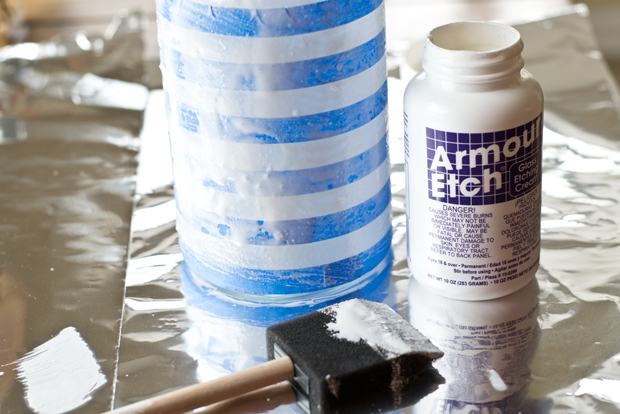
Etching cream (I used less than 1/4 of the jar, so a smaller size would work too)
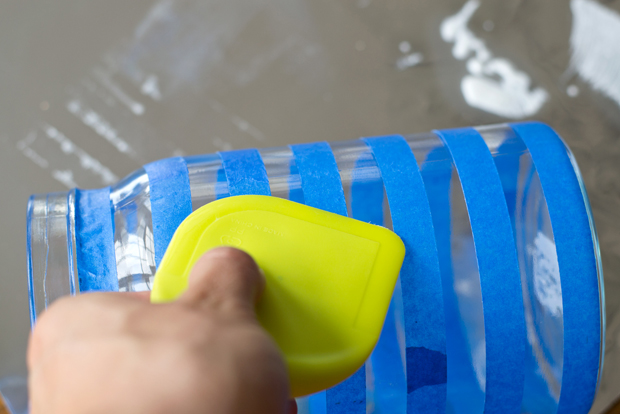
Plastic scraper
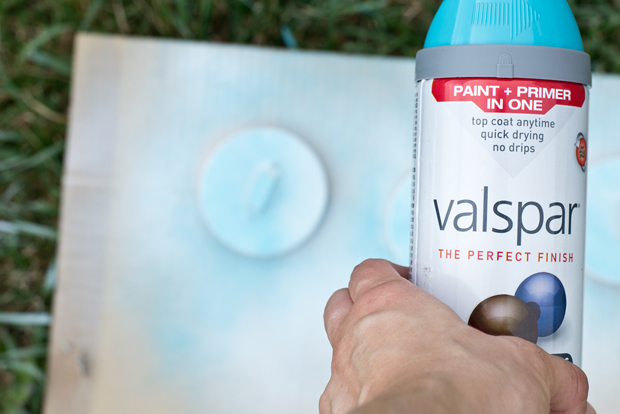
Spray paint (I used Valspar Exotic Sea, Gloss)
Gloves / Safety Googles when working with etching cream
1. First, prepare the painter’s tape by cutting it into .5″ sections.
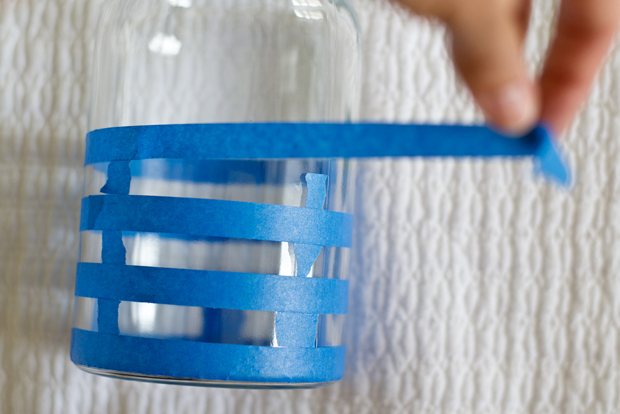
2. After washing and drying your canister, apply a strip of painter’s tape at the bottom.
3. Apply small pieces of .5″ painter’s tape as a spacer.
4. Once all of the tape is laid out, remove the spacers.
6. Apply the etching cream with a brush. Make sure that it is fairly thick and has even coverage – this prevents brush strokes. Let the etching cream sit following the manufacturer’s instructions. Be careful not to touch the etching cream with your skin, wear gloves if you’re going to come into contact.
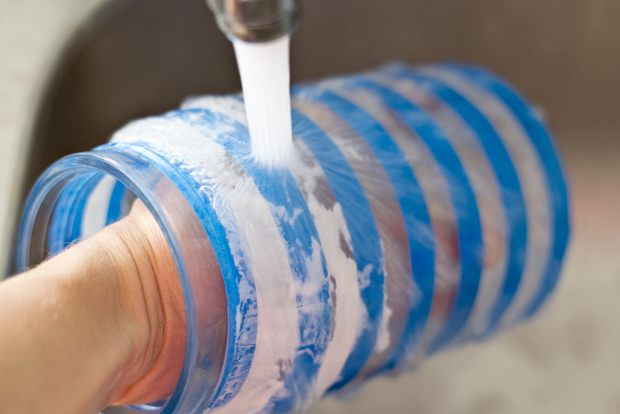
7. Once the etching cream has set (I let mine sit for about 45 minutes), wash off all excess with water. (Etching cream is safe on stainless sinks, but not all materials, if yours is different, research first)
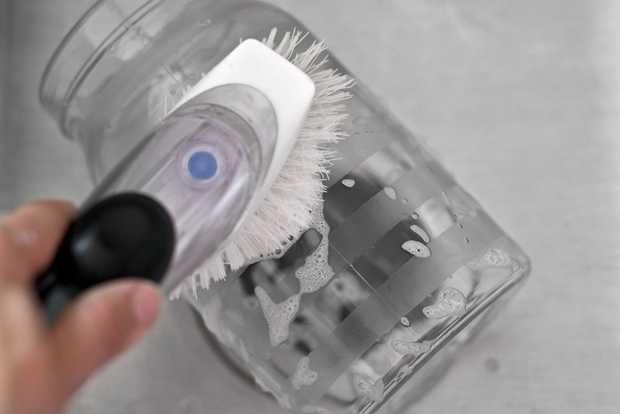
8. Remove the painters tape and wash canister with soap, water and a utility brush. (Once the etching cream is removed, the finish is permanent and ready to use)
9. If desired, paint the lid with spray paint.
Load up with your favorite office accessories and start organizing!
The Ikea Burken canisters have a small handle – making it easy to take the lid on and off.




these are gorgeous!!!! i love the clean lines and i just said to sarah "only sarah dorsey can make jars look so pretty!"
Ok now I can handle this kind of project!
I saw your great find yesterday on Instagram. Score!
I love these and have been wanting to use etching cream for a while, thanks for the inspiration!!
This is so pretty. I recently used one of these in my kitchen and painted the lid too. I love the strong shape of this container!
This would be perfect for my daughter's hair clips. Looks so pretty
So cute, Sarah!! Seems a lot simpler than I thought. Can't wait to try it out =) Also, I'm so jealous of your new MCM goodies!!
Love these!
Just discovered your blog and is this a great way to start! Love this DIY!
x Lily
http://whilemyboyfriendsaway.blogspot.com/
Looks very pretty!