Today I’m sharing how to make a custom drapery rod (~30′) for under $20 – you’ll never buy one again!
First, you’ll need 1/2-in electrical tube conduit – it’s only $2.48 for a 10′ section (super affordable!)
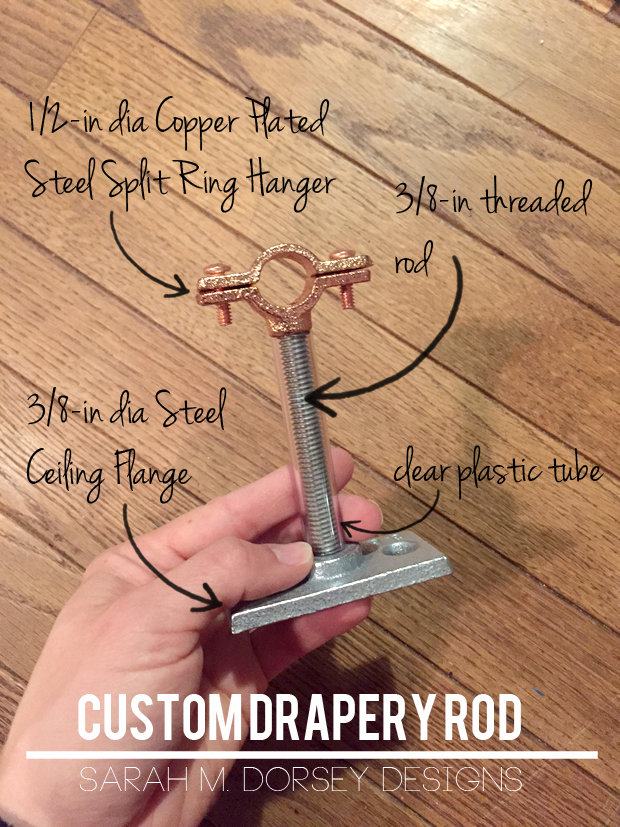
For the hanger, you will need the following parts:
1/2-in dia copper pleated steel split ring hanger // 3/8-in dia steel ceiling flange // 3/8-in threaded rod // clear plastic tube
Plan on one for about every 10′ section – so that the conduit can be joined inside the hanger.
Since we wanted it black, it would need to be painted, so we weren’t concerned about the metals matching. But the copper hanger could be swapped with a steel hanger – it was a little more bulky, so we preferred this one. Also, you could most likely find a steel tube to fit over the threaded rod (try Ace Hardware) but we couldn’t find one locally, so we just went with a plastic tube.
Sorry for the nighttime IPhone photos! We primarily worked on this at night ..
The process was pretty simple – we planned to place a hanger on each post and measured the conduit (the rod) to fit (for each exposed end, we inserted a copper end cap – found in the plumbing section). The threaded rod was cut into 4″ sections with the angle grinder and a cutoff wheel (clamped to the bench) The plastic tube was also cut into 4″ sections. (Note: I know Home Depot has a pipe cutter, so they’ll cut it in store for you, maybe they have a machine to cut the threaded rod in store? I’m not sure, but might be worth asking if you don’t have a tool to cut metal at home.)
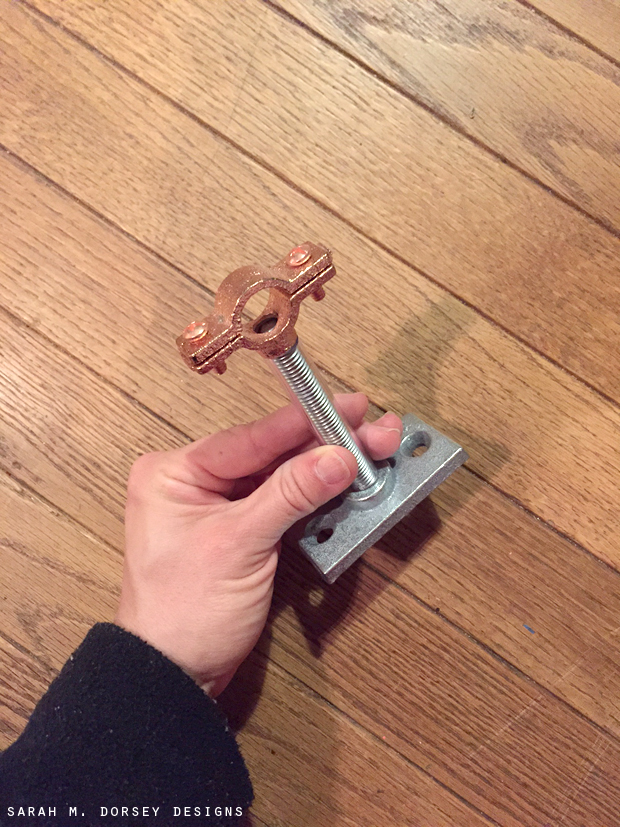
Then the threaded rod just screwed into the ceiling flange, the plastic tube slipped over, then the split ring hanger screwed into place. (Note: when the conduit is placed inside the hanger, the split ring hanger sits with about a .25″ gap, so it doesn’t sit flush as shown above)
Next, prep for paint. Sand (as much as possible, the metal isn’t super important, but you want to give the plastic a good sanding since it’s glossy) Also, it’s easier to sand the plastic tube prior to installing it, so I’d recommend trying that.
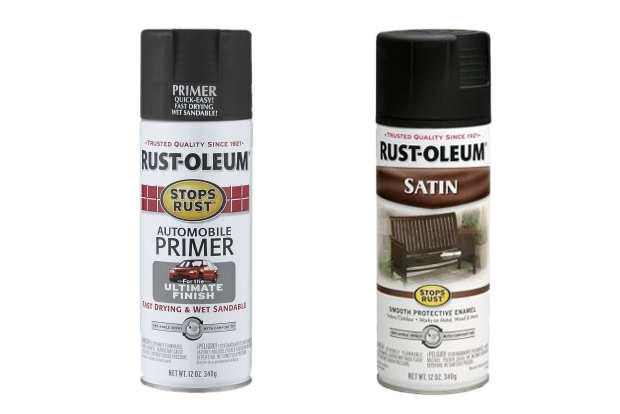
For paint, we chose gray auto primer and satin enamel paint. We found this combo very durable, so I’d recommend!!
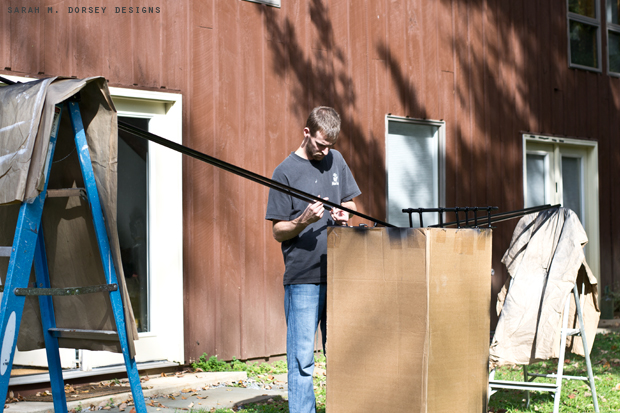
To paint, we set up two ladders (with paper over top to protect the ladders) and a cardboard box in between. This worked well to easily access most of the surface – we just had to flip it once dry to get the ends. The hangers were clamped on an extra piece of pipe – this made it easy to paint everything that was visible (though it’s not necessary, just make sure to open them up some prior to painting) (Note: we also painted the screws used to install the hangers, they were just screwed into the side of the cardboard) Also, David is just checking to see if the paint is dry .. you want to make sure to use a respirator while painting, especially since it’s close to your face.
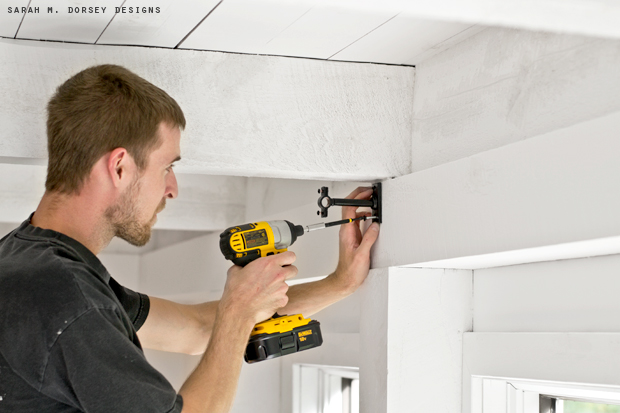
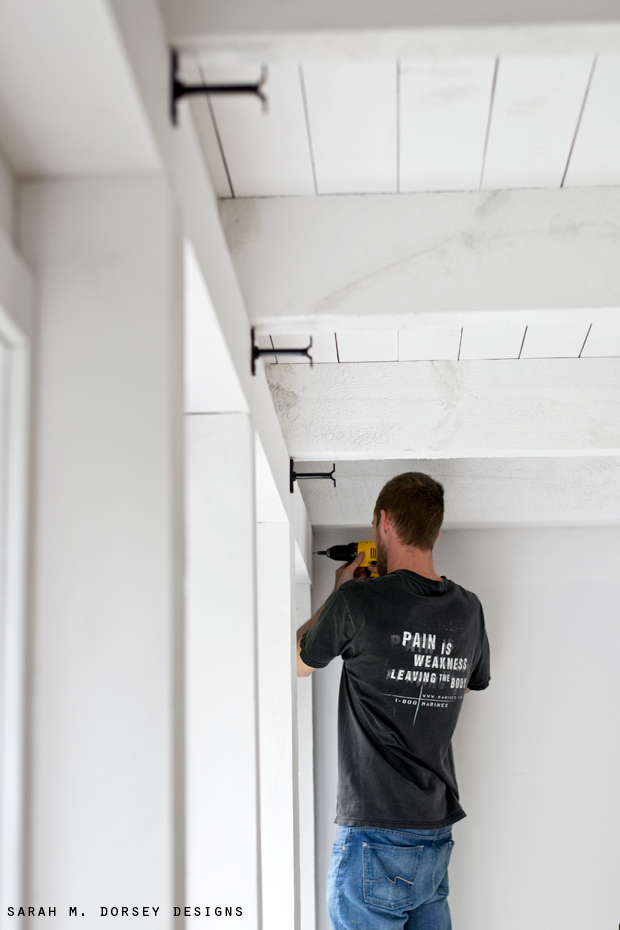
Once dry, we installed the hangers on each post.
Since we were going into wood, we just used wood screws, but if you’re going into drywall, make sure to screw into the studs or use drywall anchors to support the weight.
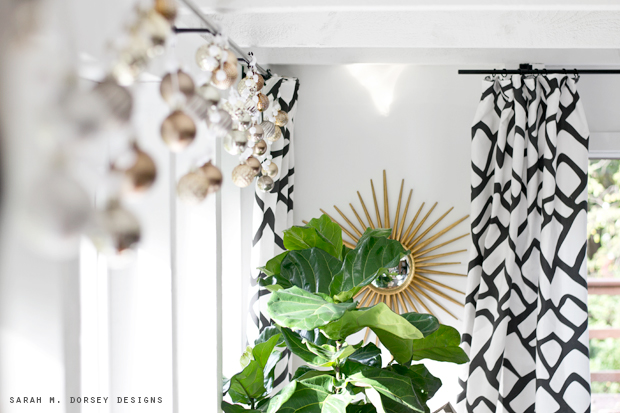
Once the hangers are up, remove the front of the hanger (or do so before installing them on the wall) and place the rod inside. Re-install the front of the hanger (make sure to put the drapery rings on prior to installing the front of the hanger).
I forgot to take non-christmasy photos (we were in the process of completing The Home Depot Holiday Style Challenge, in case you’re wondering why we’re decorating for Christmas in October 🙂 .. and I’m currently in TN, so I couldn’t take new photos. So sorry! I’ll include better photos with the full living room reveal (mini living room reveal here).
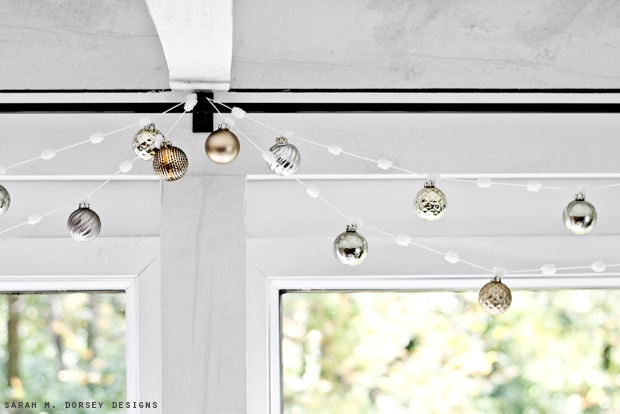
To prevent the rings from slipping off the end, we simply placed a hidden screw behind the end of the rod.
Our preference would have been to connect the two rods in the corner, but since the window on the left is only 6″ from the wall, the drapery panel would have been in the window, so we made the best of it!
Total cost for the conduit (rod) and hanger supplies was under $20, SUCH a good price for a long rod!! It’s so easy too!! Only requiring a few cuts!
I hope you’ll give it a try!


Such a great affordable way to hang curtains. Can't believe how cheap!!
Thank you so much for sharing. I have a long bank of windows in my living room that need curtains. I have wanted one continuous rod, but have not wanted to spend $$$ for one. This will work perfectly! PS- I think this is one of my favorite rooms of all time. I love every detail. If you ever get done with all of your projects in your home, I'd gladly welcome into mine and give you free reign! 🙂 You are amazingly talented and I love your style!
Always love an affordable option that looks so high end…and those beautiful ceilings! Your taste is just impeccable.
Such a great tutorial, Sarah! Thanks for sharing! Xo
This is amazing!! LOVE it, thank you for posting!
Love the rug! Where is it from?!
THANK YOU for this awesome tutorial, Sarah! You have solved a problem for me in my dining room. Love this solution and it looks beautiful. I am a HUGE fan of your work–followed your from the beginning in Creating With the Stars! In fact, you were a huge inspiration of my recent craft room makeover 🙂 Tasha @ Designer Trapped in a Lawyer's Body
Hi I love how this came out. I have used different things for the hangers but my challenge has always been finding the little plastic cap you put on the end so you can purchase store brought….cant think of the name right now…the pretty decorative thing you put on the end. Do tou know where to get them? I searched high and low for years and its like the beat kept secret. Just a little plastic thing every curtain rod has.
Hi Jacki! Decorative ends (finials) can be found at Ikea – I haven’t really looked elsewhere, but if you search for finials, lots of options should come up. We purchased just an end cap, the same width of the rod from Home Depot. I hope this helps a little, let me know if you have more questions! Thank you for stopping by 🙂