Today I’m sharing how we refinished the rattan chairs. They were a little extra work than originally anticipated (as usual in goodwill/craigslist, etc. I was enamored by the potential and didn’t see all of the work …) All in all, it wasn’t too bad and the end result definitely made it worth it!
Here’s our process.
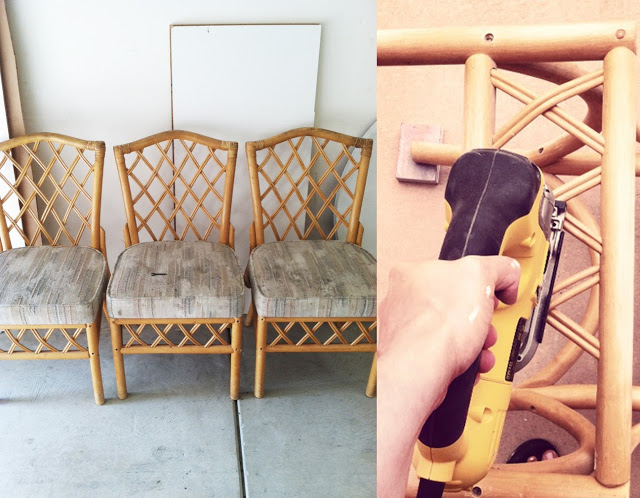
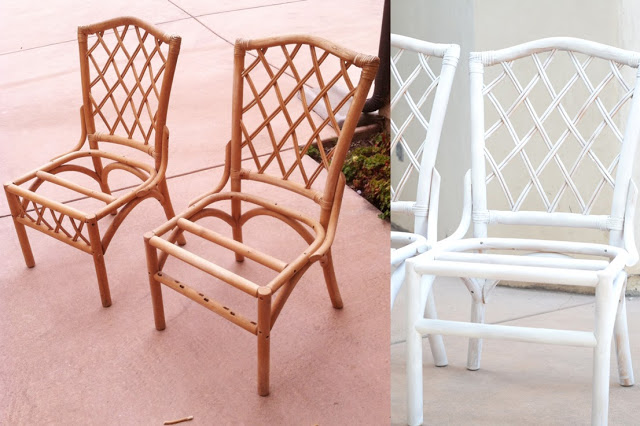
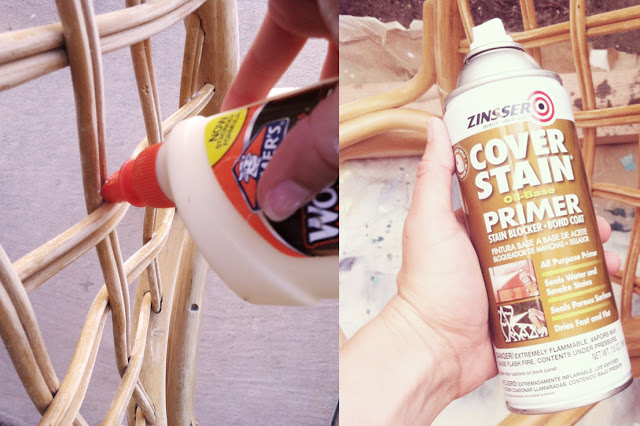
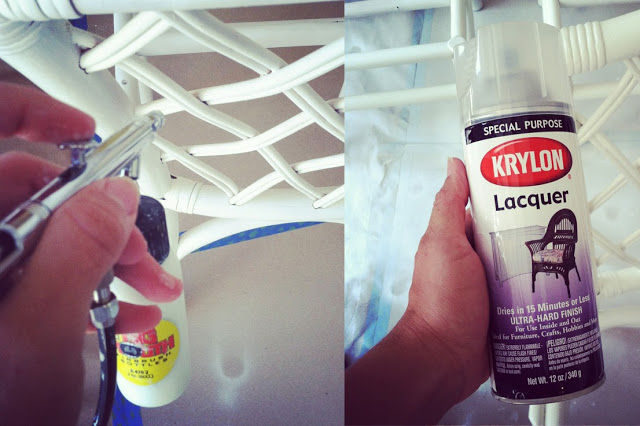
First things first, I removed the seat cushions and the nasty fabric and foam (probably the worst I’ve seen … yuck!) and then scrubbed down the rattan with white vinegar and water. David and I decided that the bottom x’s made the chair feel bottom heavy so I used the jigsaw to cut through the middle and then I pulled them out.
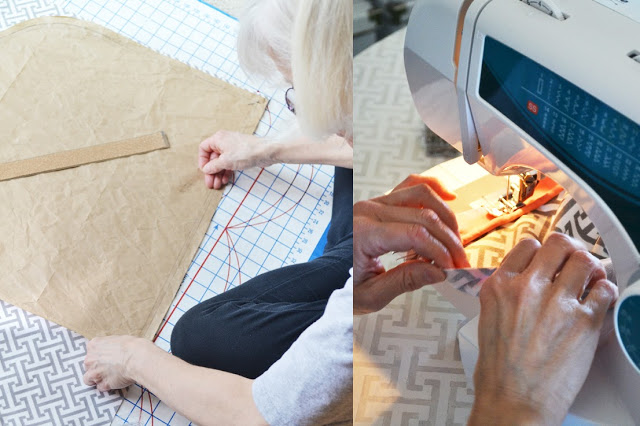
Mom’s here this week and her timing couldn’t of been more perfect to help with the cushions! She is a sewing master and volunteered to make the cushions for me (thanks mom!) First Mom made the cording by cutting coral fabric on the bias (diagonally across the fabric) which helps the cording bend. Here’s a tutorial on how to make double cord welting that I’ve used before, the principle is the same, but you don’t use the second step.
Next, mom made a template for the top of the cushion, cut it out and then sewed the cording to the top of the cushion.
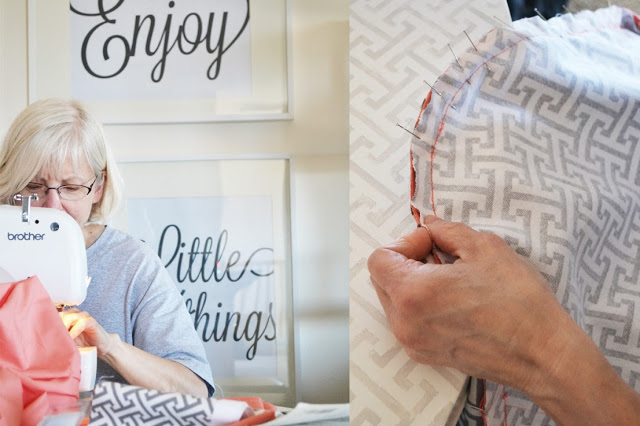
With the pieces right side in, mom pinned the bottom panel and sewed those pieces together.
We cut the new foam (Home Depot sells 3″ camping pads for $20) out about an 1″ larger than the MDF bottom. This worked best with the cover to make it tight, but you want at least .5″ overhang since the foam will crush. Tip: to cut the foam, we used a very sharp kitchen knife (David likes to use the filet knife), it cuts SO easily and literally only takes about a minute!
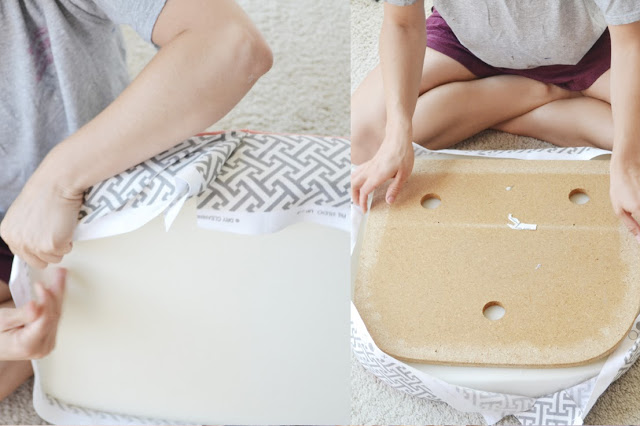
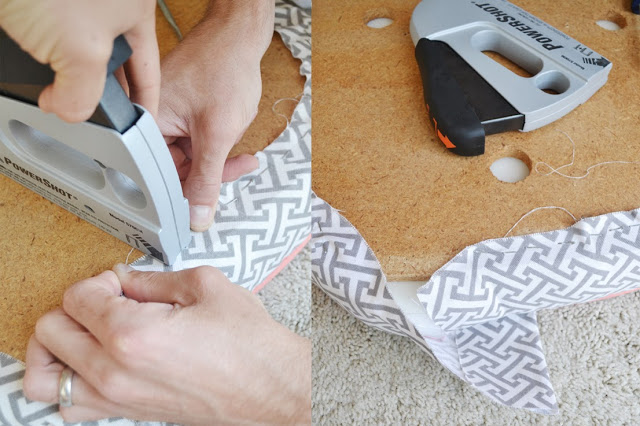
Almost done! Mom modeled the seat cover after the original one, which had an open seam in the back. After a little trial and error, we realized that the traditional pulling tight alternating from all four sides wouldn’t work. Instead we started the center of the front and worked around both sides (alternating). For the front corners, I pulled in the center of the corner and then very slightly gathered the fabric to the side of the corner under the MDF so that there wasn’t any creases in the front of the fabric.
Finally, the flap on the back allowed us to make up the difference and pull tight. It’s definitely doable with one person, but we found it easiest if one person pulled tight and the other stapled.
We reattached the seats and then we were done!
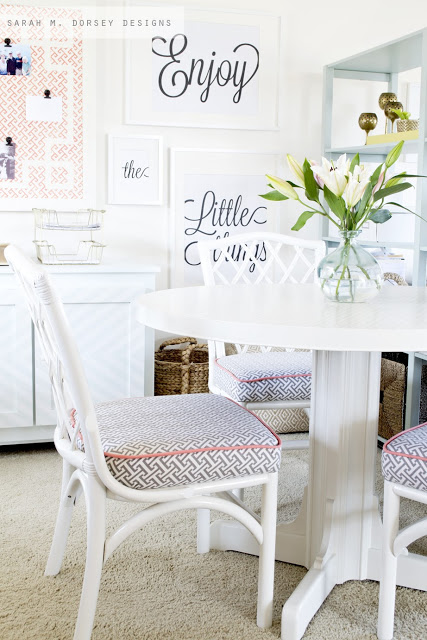
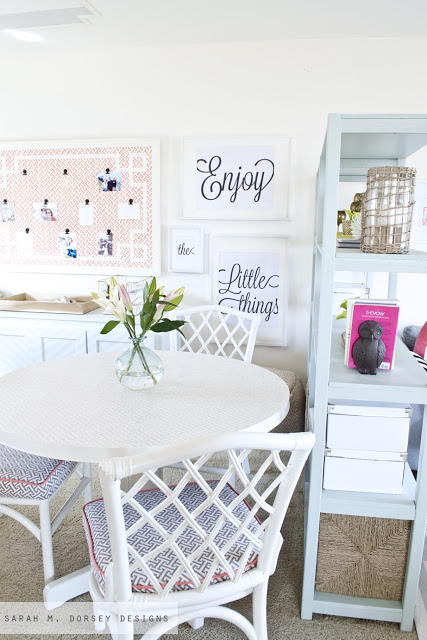
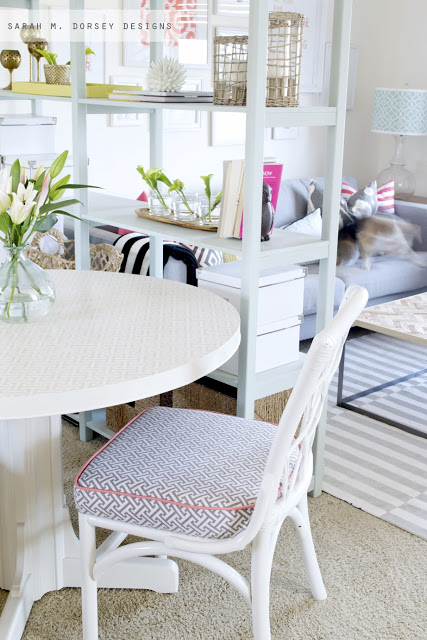
We’re planning to use them as accent chairs in the living room/office until we finish the mid century modern chairs, but for now they are at the round table.
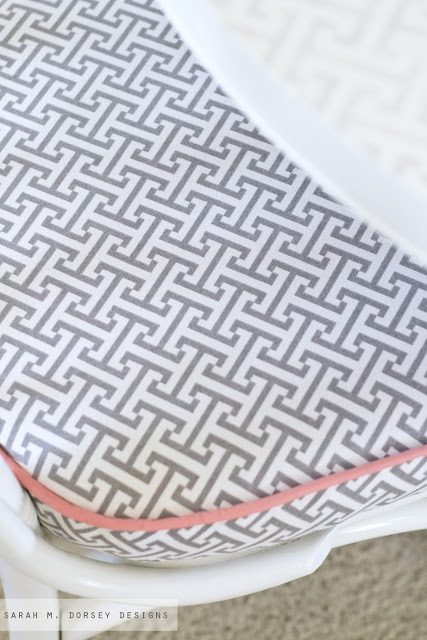
I think the coral piping is my favorite 🙂
Annabelle made a brief appearance for the photo shoot 🙂
These chairs have come a long way from their neglected, dirt covered beginnings!
—
We recently scored another set of chairs and we’re almost done with those too! Stay tuned!! 🙂
they are just stunning and removing the bottom x's was perfect!
Your chairs are so gorgeous! My mom does all my sewing when I catch her at the right time. I need to learn to sew really bad. The pink welt is too cute 🙂
Absolutely gorgeous! The whole room is stunning and needs to be in a magazine, or something! P.S. can I please hire you and your mom to make over some cushions for me? ;)#nosewingskillstospeakof
Sarah – great job by all of you! Looks fantastic!!!!
these turned out great! boy, do i know what you mean about the "facade of a deal." i just picked up a chair on the side of the road the other day. i don't have anywhere to put it, but i really loved the shape and it wasn't something i've seem a lot. i started sanding it the other day and realized that it's covered in scratches and dents. the front two legs have huge gashes in them!
it's amazing what we are blind to in the heat of the moment. 🙂
Which Home Depot do you go to? I can never seem to find the foam pads…
Hi Jenny! San Luis obispo. In mine it's near the carpet section.
Incredible job! I love the touch of pink welting in the cushions…gorgeous!
These chairs look incredible and the cushions are gorgeous! Great tutorial, I just wish that all the great Zinnser products were available in Germany!
That is a fantastic job, I've been thinking about restoring furniture myself. How much extra value do you think you've put on this set?
Thanks Dan! I consigned them before we left CA, and the three chairs and round table sold for 325.
Thats' fantastic Sarah, well done. I think I might go looking round the markets this weekend
That's fantastic Sarah, well done. I think I might go looking round the markets this weekend see if I can bag a bargain 🙂 Here in the UK I would retail that at £399 ($595 USD)
Sarah! I love when I google for how tos & your name pops up! You are da bomb!
XX jana
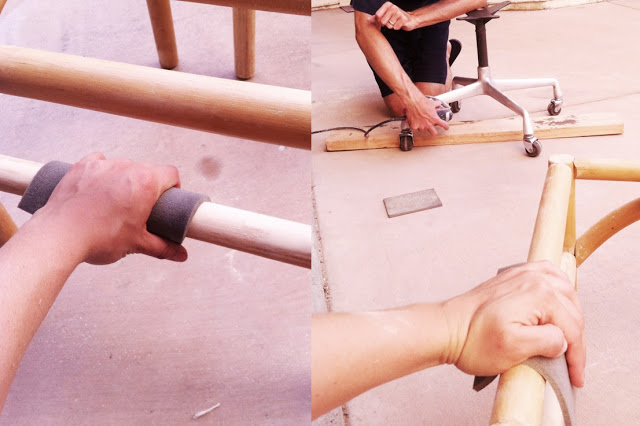
Sarah- Thank you for showing me how to paint a very important piece of rattan furniture. Your tutorial is fabulous and your work is stunning! Q1: How fine a grit should I use when I sand with the flexible foam pads? Q2: Would you suggest *not* sanding the fragile rattan wrappers? (Will the Zinsser Cover Stain do the trick?) Thank you, Stacy
Hi Stacy, I'd start with a medium grit and finish with a fine grit. I'd lightly sand the rattan back and the zinsser cover stain works great!