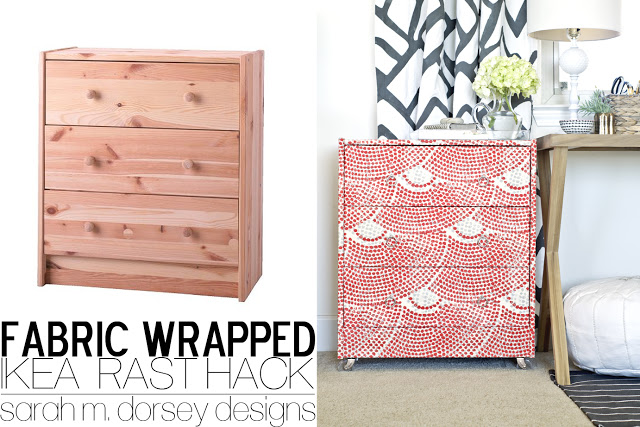
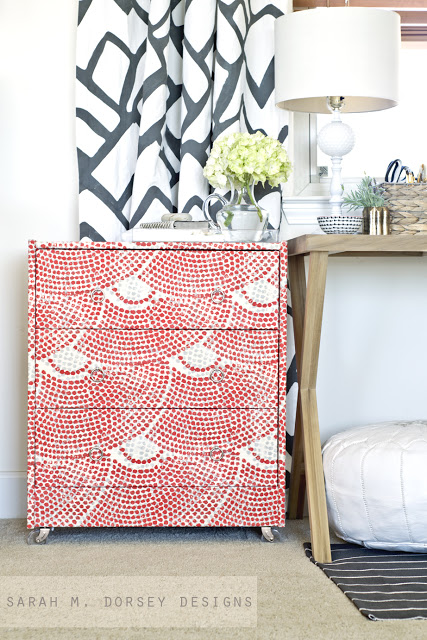
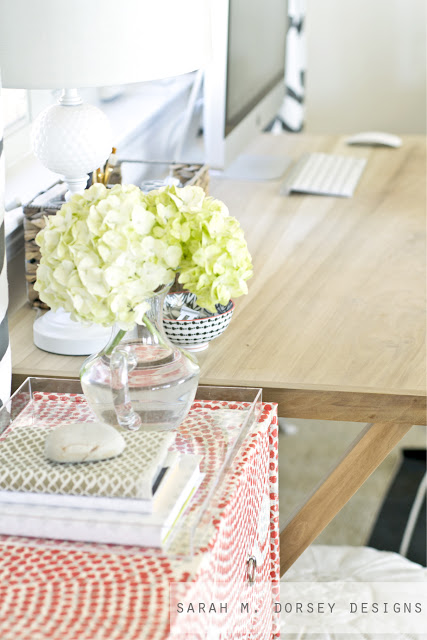
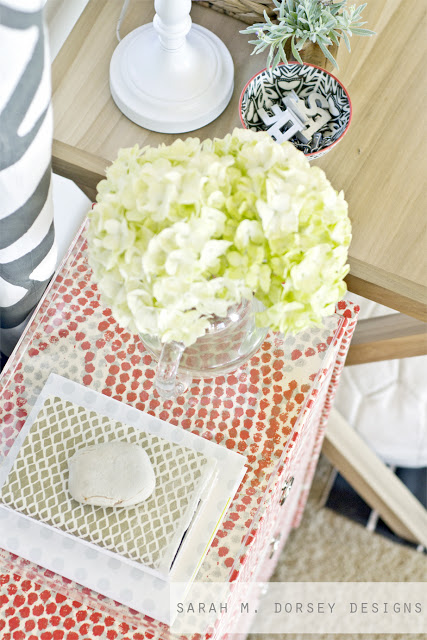
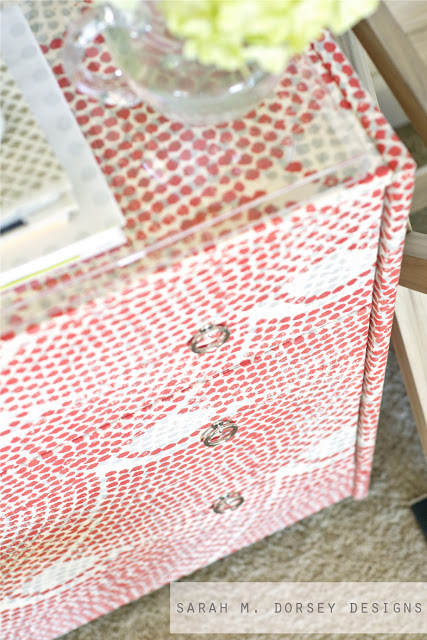
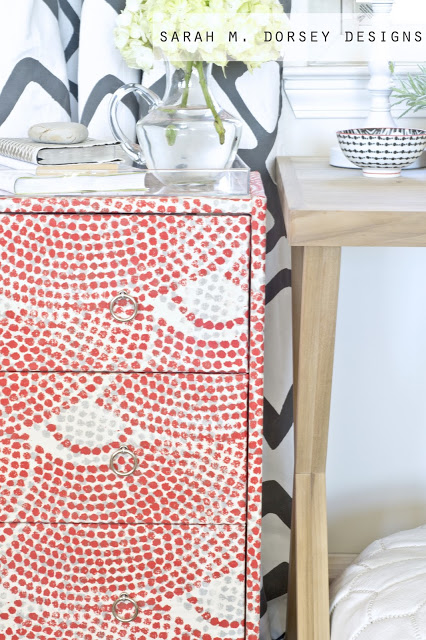
Over the weekend we finally finished our fabric wrapped Ikea Rast dresser!
These dressers are such an amazing price, only $35! The wood and building materials to make this yourself would be more, so buying is definitely worth it! While Rast hacks are nothing new, I couldn’t help putting my own spin on it! Here are a few of my favorite fabric wrapped pieces, Centsational Girl, Hello Boudreau, and Recently.
I basically followed Martha Stewart’s instructions to cover a table top with linen, here’s how we did it!
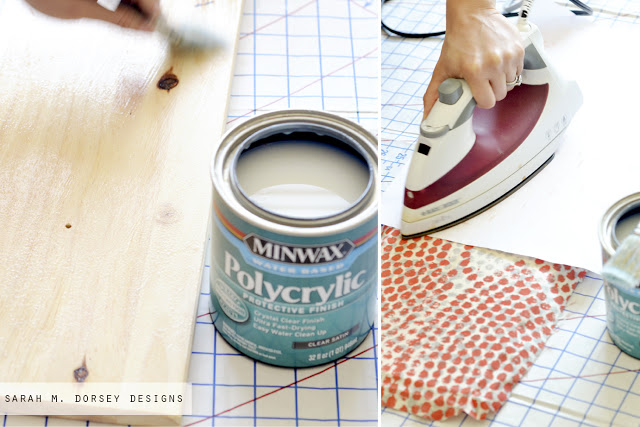
First I used heavy starch to make the fabric stiff; however, it didn’t work very well with this fabric, mine got much stiffer when I used a linen in my fabric wrapped parson’s table. So a linen might work best for getting the fabric really stiff, though this worked fine too once it was ironed on to the wood.
I placed the Rast dresser pieces on top of the fabric, a drapery panel from Target, and cut it out with enough to wrap around to the back. (Make sure to be mindful of the pattern direction, I had to redo one drawer front …) I brushed water based polyurethane (satin finish) and then ironed. I also placed a piece of white paper on top to protect the iron from the poly (use your craft iron, you will probably still get some on your iron … like me 🙂
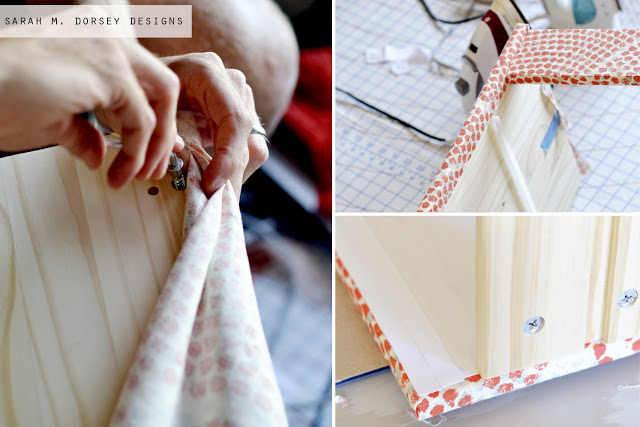
We ended up wrapping the pieces individually, which meant the sides the top needed to be attached first with the fabric between the top and side since the screw holes are exposed and then insert the screws, and then apply poly and iron. It would be quicker to assemble the entire outside and then wrap that verse the individual pieces, so also consider doing it that way. I don’t think that it would of looked very different, but would save time 🙂
I decided to line the inside of the drawers with extra white fabric and trim that I had, I think it gives a more polished finish!
To seal it, I applied a few layers of poly and then a layer of Briwax clear wax on the outside of the fabric to seal and protect it, like Martha Stewart’s tutorial suggested.
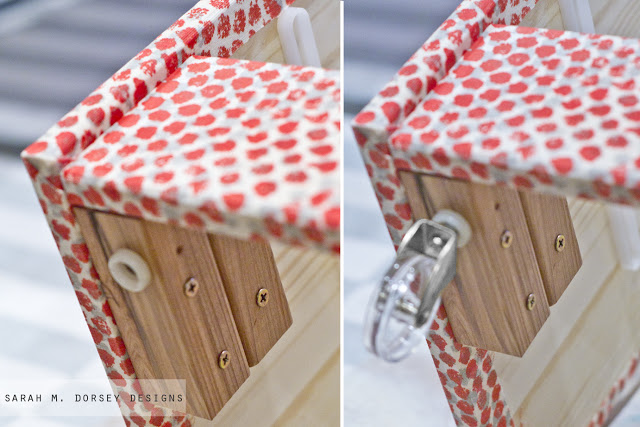
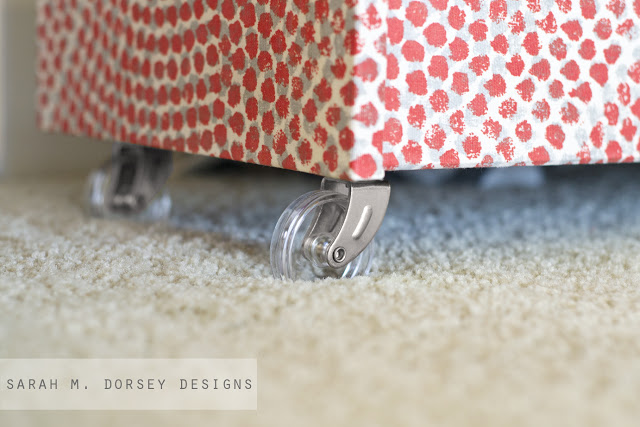
Before assembling the dresser, David drilled new holes to make the plate below the drawers flush instead of inset. We installed supports for casters out of extra 2x2s and followed the instructions to install the casters. We found brass and clear plastic casters from Ace Hardware, love them!! I then applied silver rub n buff to match the ring pulls.
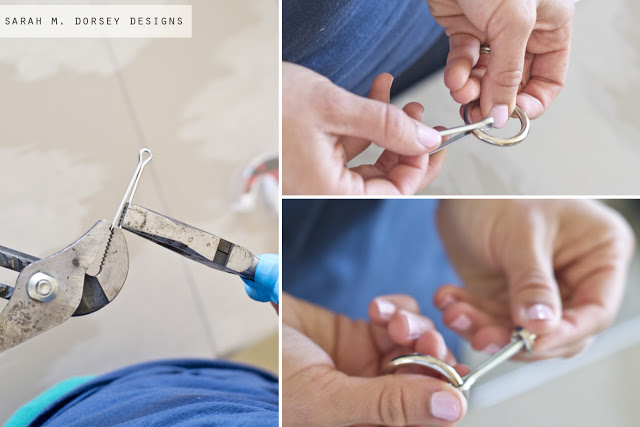
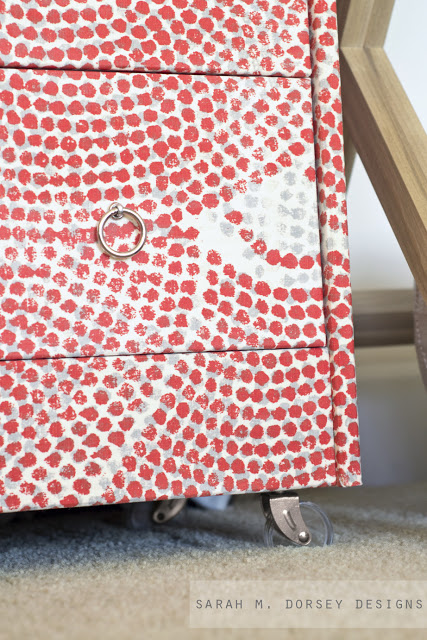
I made my DIY ring pulls out of a cotter pin, inset washer, and 1″ ring. The silver cotter pin was harder to open than the brass so I used pliers to open them instead of by hand. The cotter pin is inserted through the hole and then bent back on the inside of the drawer. (prior to applying the poly, I cut through the fabric at the existing hole with an xacto knife on both sides. I started on the back, where I could see the hole and the stuck the cotter pin through to find the other side, and then cut the front with the xacto knife) These ended up being only .96 each!! Such a good price!
How great are these clear casters? I really loved the brass with the clear, but silver works best with the fabric so I applied a little silver rub n buff.
The flowers are from a friend’s wedding this past weekend, love hydrangeas!
and I borrowed the acrylic tray from the driftwood herringbone table.
Cost Breakdown:
Rast Dresser: $35 (Ikea)
Fabric: $25 (Target)
Ring Pulls: $6 (Parts from Ace Hardware)
Casters: $9 (Ace Hardware)
Total $75
Not the cheapest diy, but for unique fabric and custom hardware, I’ll take it!
Have you tried a Rast dresser hack or fabric wrapped furniture project yet? I’m officially obsessed and can’t wait to do more!!
I had Centsational Girl's dresser on my list for my night stand inspirations and now your's will go on that list too. I'm so in love with the fabric and the clear casters. It turned out fabulous!!!!
aww thanks Julia!:) I know Kate's dresser is amazing!
this is SO cool!!!! what a unique take on a dresser!
Thanks Cassie! A little different for me, but I'm liking the change 🙂
Do you have any issues with the drawers opening and closing? I've been planning on covering the fronts of my drawers but that is my concern.
Jyll
theunforeseeablefuture.blogspot.ca
Hi Jyll, The drawers open and close well! There was plenty of room on both sides, so a little bit of extra fabric didn't get in the way 🙂
that's pretty awesome! i really like the end result of this!
Thanks Erin!! 🙂
I love this idea!! So cute, I need to try this!
Hi Staley, Thanks so much!! 🙂
Sarah! I love this! I have a dresser in our guest room that I have been wanting to cover with fabric. I am pinning this! Thanks for your instructions 🙂 xo Kristin
Hey Kristin, thank you! Yes you must try it! xo sarah
I think this is one of my favorites Sarah. Love it!
aww thanks so much Elizabeth!! 🙂
LOVE IT! I think I have to redo my rast hack with fabric now. How did you get the pulls through the fabric? Had you already pre-cut a small hole prior to applying the poly?
Hi Laura, thank you!! 🙂 Before the poly, I cut a little hole through the fabric through the back of the drawer with an xacto knife, since I could see it. It wouldn't go through the whole way so I poked the cotter pin through to find the hole on the front and then cut the front 🙂
Wow. This is awesome! I never would have though to cover furniture with fabric but this totally works. My goodness that Rast is versatile.
Yes, the rast is SO versatile!! Such a great little piece of furniture!
Sarah!?! This is so gorgeous!!! I love how you made the hardware and absolutely love how you think outside the box! Fabulous makeover and I'm pinning this for later!!! LOVE. 😉 Jesse @ Scout & Nimble
Thanks Jesse!! 🙂 and thanks for the pin!!
This is freaking great – stop being so awesome! 😉
haha 🙂 Thanks Rachael! 🙂
I love how you made the fabric all line up. That is impressive. Love the pattern too. What a great hack!
Love this! I just bought those curtains for our bedroom – love the coral color. Now I'm inspired to do an IKEA hack!
Aren't they the best? I grabbed them at Target as soon as I saw them, they are SO awesome!! 🙂
LOVE THIS! the dresser looks awesome! and I am obsessed with Hyrdrangeas right now.. I have them in every room of the house.
Me too definitely one of my favorite flowers!!
I have never seen fabric sold at Target! Am I the only one?
Hi Rachel, it is a drapery panel, here's the link 🙂 http://www.target.com/p/threshold-shell-print-window-panel/-/A-14370531?ref=tgt_adv_XSG10001&AFID=Google_PLA_df&LNM=|14282022&CPNG=Home+Decor&kpid=14282022&LID=PA&ci_src=17588969&ci_sku=14282022&gclid=CN2_3pCL7rcCFSzhQgodQCQAfQ
love the hack! so colorful and cute! those clear casters are amazing!
Thanks Emily! 🙂
Amazing job Sarah! I love the pattern of the fabric. So awesome! Thanks so much for sharing. Ill def be pinning this:)
Thanks so much for the pin Shavonda!! 🙂
That's gorgeous! I love it.
Thank you!! 🙂
Beautiful results! Great fabric and the casters add the perfect touch. Love those ring pulls 🙂
Thanks Jen! 🙂 It took me forever to pick the "legs" but I think worth it! Looking forward to seeing your beverage cart! 🙂
I love this so much! What a great choice of fabric. A huge thank you as well for the mention. I love that you included me in your list of favorites! 🙂
Thanks so much Emily! 🙂 You're very welcome!! I love SO many of your projects! You rock!! xo sarah
LOOOOOOVE!!!!! I really want to do this project. I will drive my husband crazy trying to decide on which fabric. It looks amazing! Well done!
Thank you Jennifer! 🙂
I love it! Do you iron while the poly is wet? That may be a dumb questions but I can't figure it out 😀
Thank you! Yes, I did apply while the poly was wet, if it dried up before I could place the fabric, I applied a little more. I'll add that to the post too, good question 🙂
Thank you for mentioning my project! Your's turned out great!
xx, Kelly Boudreau
You are very welcome!! 🙂 LOVE your rast dresser makeover!!
How much fabric by the yard (54") would you need for this? Did you use the entire drapery panel or did it use more since you were trying to match the pattern?
Hi Mary, I have about 1/2 yard left over. I didn't use extra fabric lining up the fabric, my pattern worked well just cutting and lining it up. I would guess that you'd need about 2.5 – 3 yards. Hope this helps! 🙂
Hi…love ur dresser!! I'm wondering where you got the curtains tgat are hanging behind the dresser. Love those as well.
Hi Andrea! They were a DIY, here's the link! http://sarahmdorseydesigns.blogspot.com/2013/03/and-my-knockoff-project-was.html?m=1
I can't get over this. BEAUTIFUL!
can you imagine it getting dirty… how would you clean it? 🙂
It's sealed with wax – so easy to wipe!