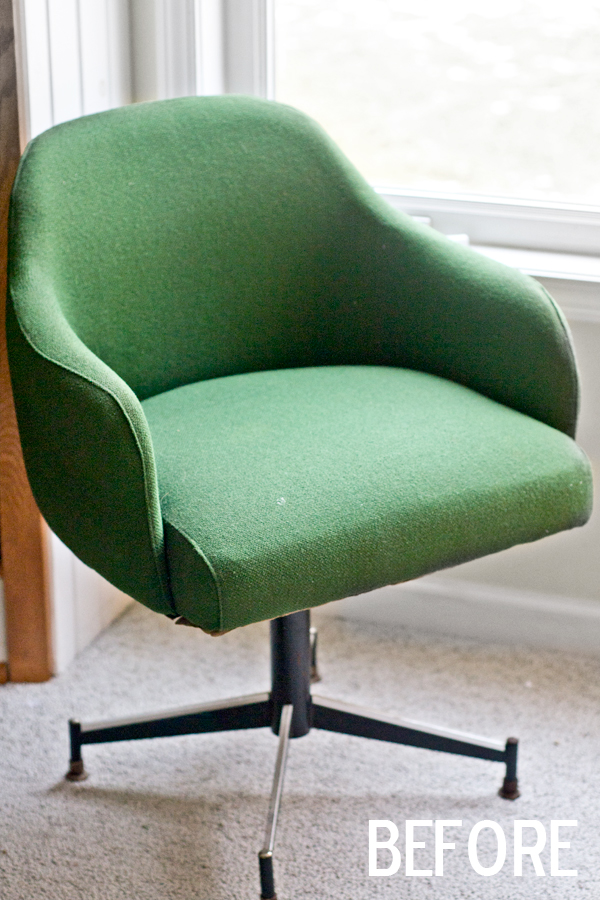
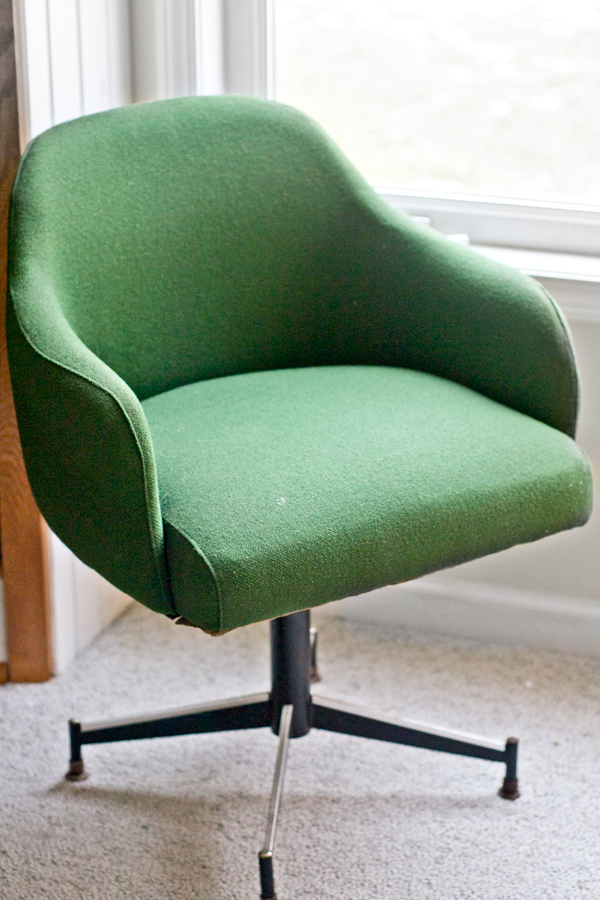
When I first saw this chair in Habitat Restore, I immediately thought of Emily Henderson’s chair makeover for Oh Joy’s Studio – the shape is almost identical!
I didn’t need another office chair at the time, so I passed. BUT when I got home I couldn’t stop thinking about it, so I went back later that day – luckily it was still there! (plus I found an amazing pendant that was hiding!)
It was $20 or $25, so a great deal!! The fabric was faded and stained, so needed to be replaced (plus I HAD to try Emily’s solid and pattern fabric combination).
I found the amazing fabric at G Street fabric in Rockville, MD (funny side note, it is located underneath a gym (we were there the day after Christmas – so you know it was busy!) It was SO loud from people dropping weights, etc., I afraid the ceiling was going to cave in) But so worth it because I found this ikat chevron and grayish turquoise chenille in the remnant section. (Sorry, no markings or tags on the fabric – if anyone knows, let me know!)
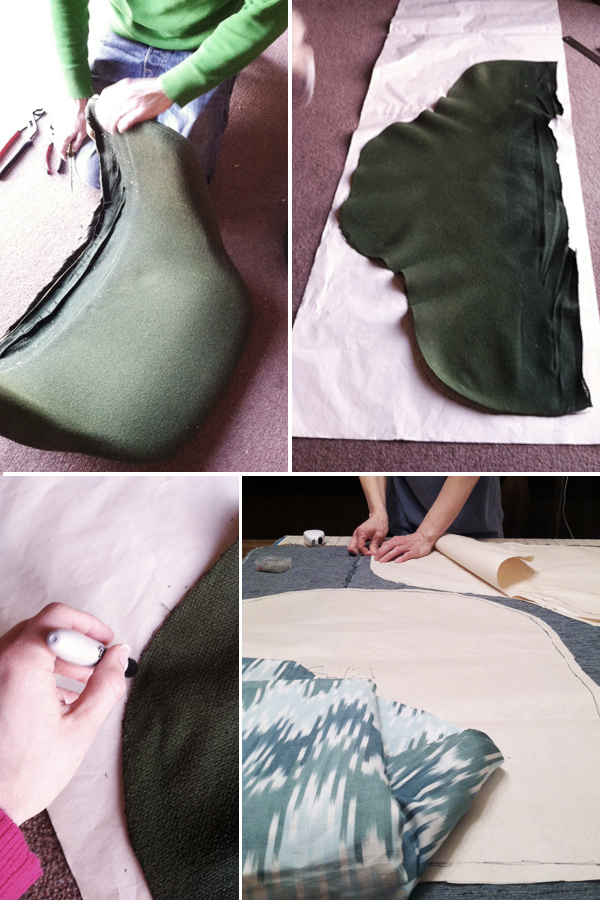
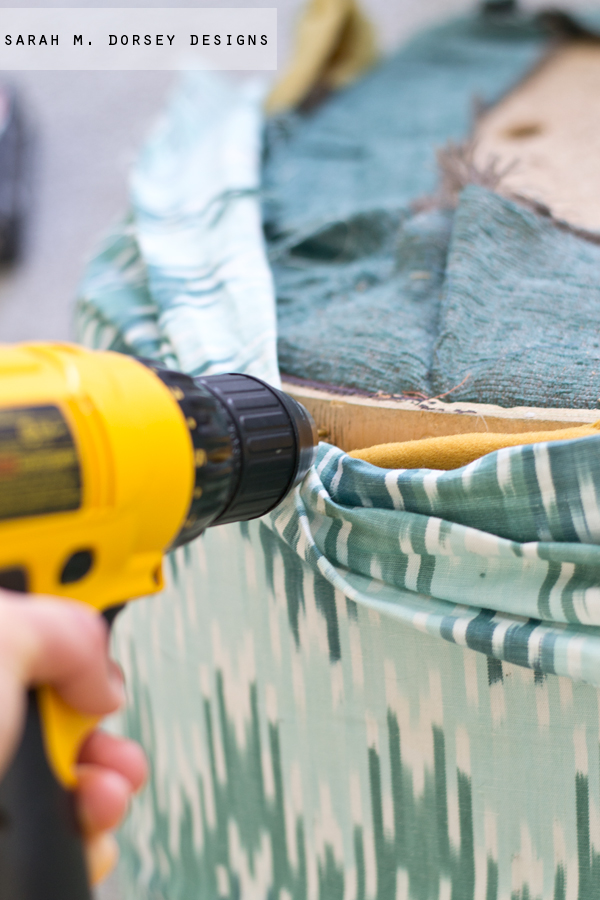
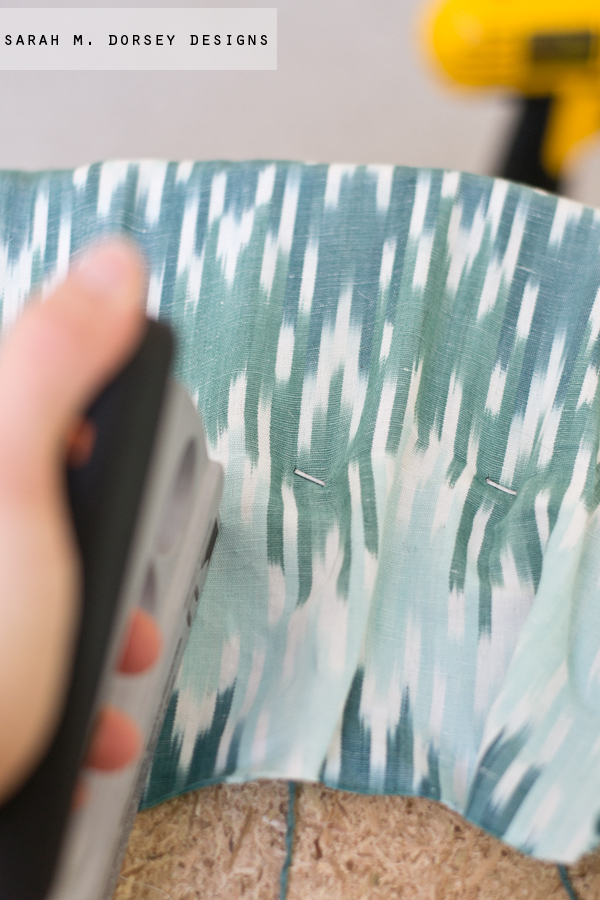
I won’t be giving a full tutorial, but hopefully the photos will give you good idea of our process in case you’d like to try it!
First, I tore out about 1,000 staples, there were layers and layers. The staples connecting the back to the seat were about 2″ long, so David clipped them and then used a hammer to loosen and then pull them. I took out all of the seams and cut along the stitch line (since the fabric wasn’t even outside of the stitch line), then I laid the fabric on kraft paper.
I traced the fabric and then added .5″ for my seam allowance, drawing a second line and then cut it out. I enlisted the help of my Mom since she’s a whiz with the sewing machine. For the back, Mom doubled the fabric and folded the template in half to make sure it was even on both sides, pinned and then cut. Finally, Mom sewed the pieces back together, exactly how they were.
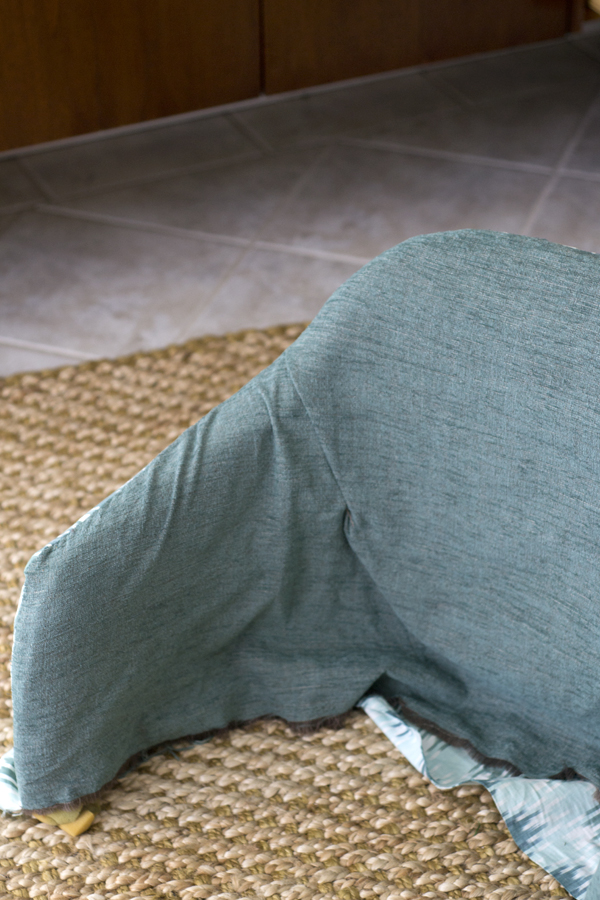
(Sorry for the photo quality, the battery in my good camera died)
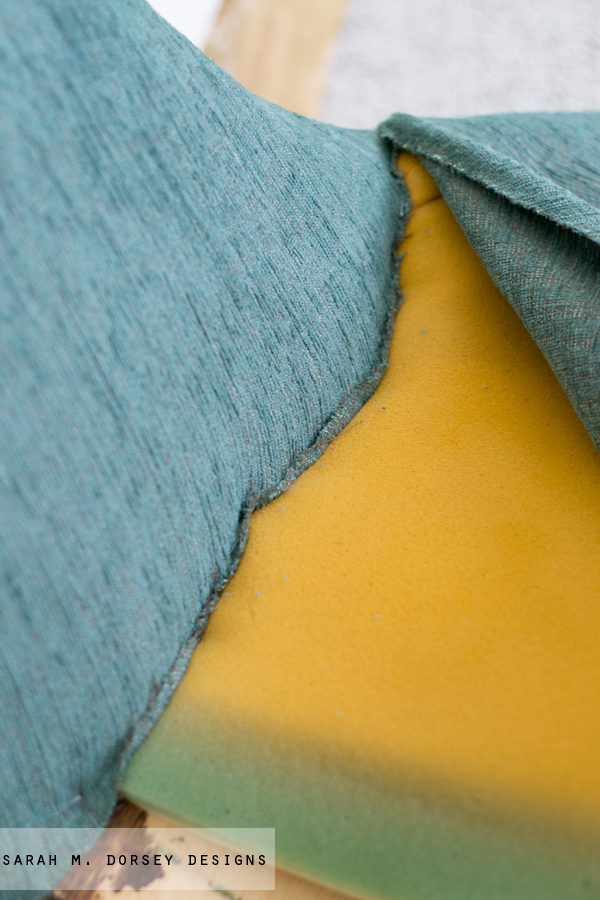
As you can see, there was too much fabric to make up by just pulling. The original back never got flat (see photo above) so I’m thinking that it was really stretched. I couldn’t get the fabric to lay flat, so ..
I folded it where it naturally fell and marked it with tape I removed it from the back, laid it flat and then cut down the center (of where it naturally folded) (stopping about .5″ from the top seam).
I stapled on one side, and then folded the other side over and stapled at the bottom. I put a little permanent fabric glue in the seam to prevent it from gapping. Also, you can see here that we kept the original foam, it slide over the back like a glove, so it would have been hard to replace.
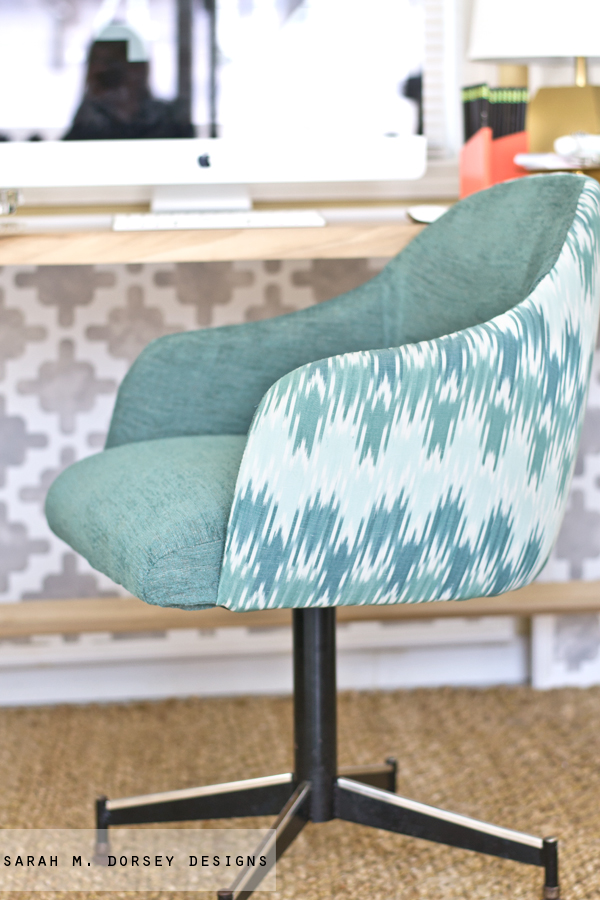
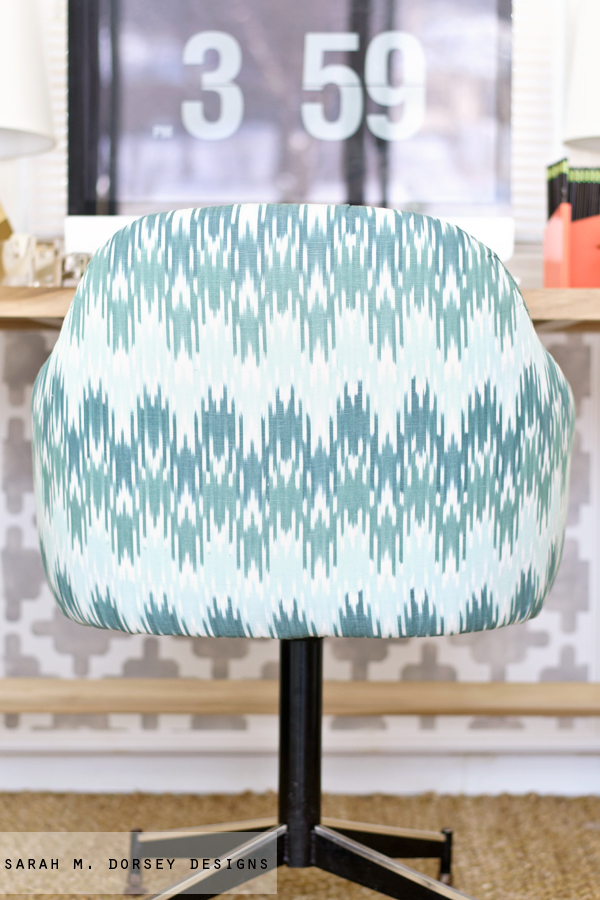
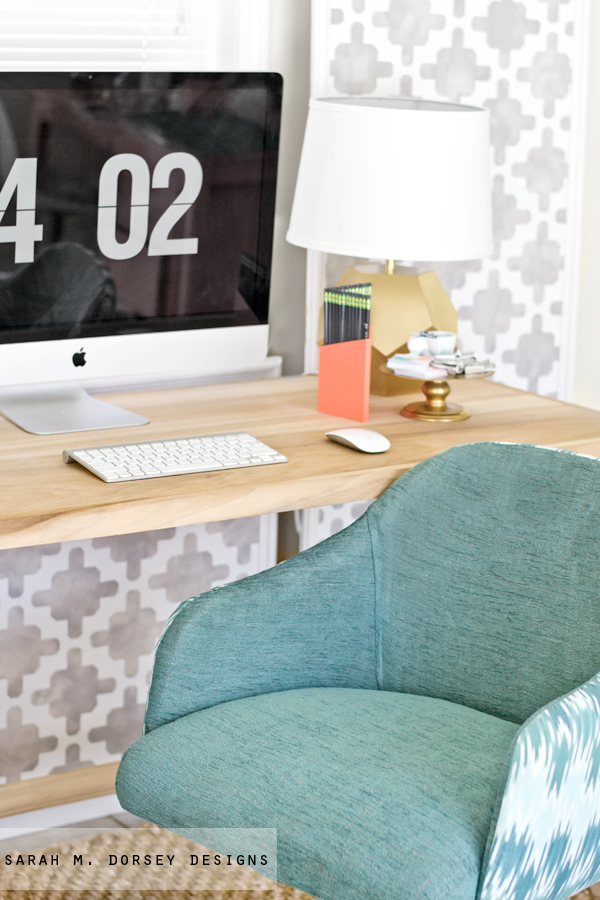
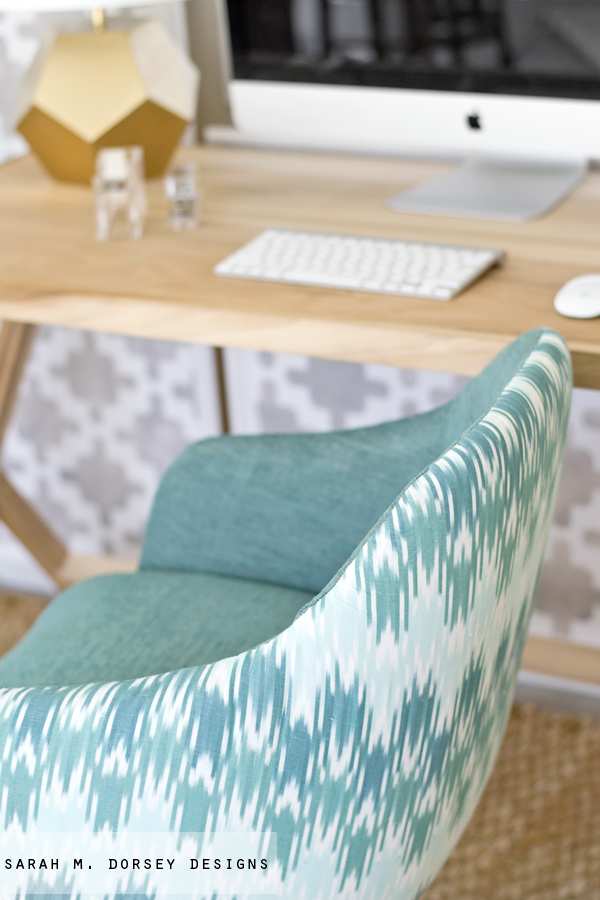
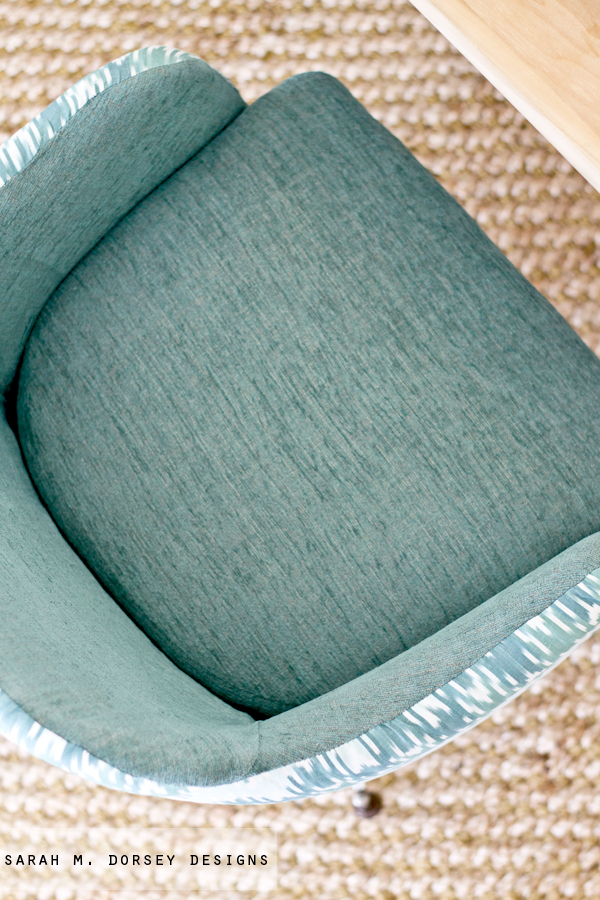
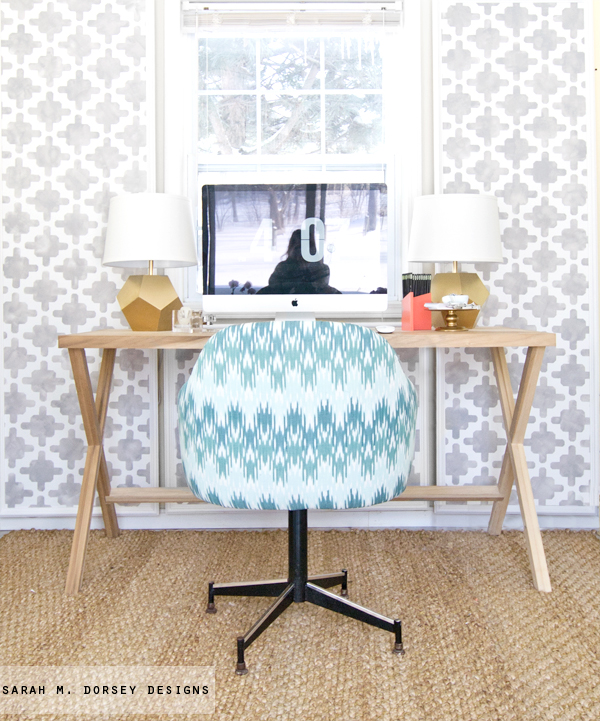
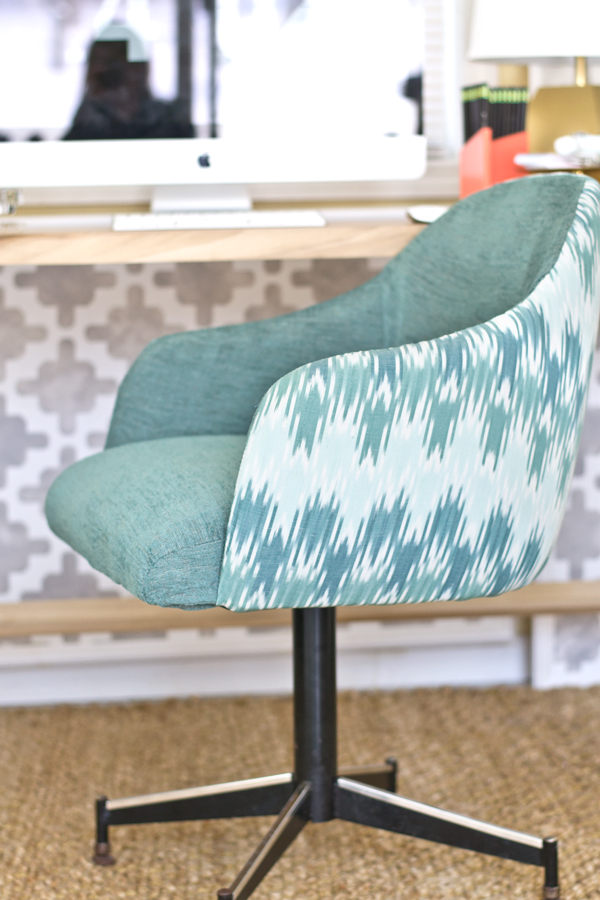

Gorgeous fabric combo! Love it!
I love the mix of fabrics in your room!
Sarah, I always adore your work, especially your upholstery projects! Of everything DIY I've done, I've yet to do an upholstery project. I've got two chairs in the garage waiting for me to get the guts up. You're motivated me time and time again to give them a go! Time to shop for some fabric!
What a wonderful way to bring something back to life!
that turned out fabulously! great work!
You are a rock star!!
It looks amazing! I love the colors you chose.
Champagne Lifestyle on a Beer Budget
this gives me hope for my chairs! And I love the fabric combo you chose 🙂
Ok the whole desk area is awesome! Seriously love all the patterns!! Great job on the chair!
A-mazing!! The fact that I can't sew really keeps me from attempting projects like this. Looks gorgeous!!
I really like the texture of the fabric on the seat.
Looks good! You are so good at transforming things.
Nice job!
So so stunning!
Beautiful color combo here! Big fan of the solid/pattern combo. Are you secretly an office chair hoarder?? 🙂
love the shape of this chair and the fabric you chose!
It's gorgeous!! I'm in love with the fabric you chose. Again, your talent is just amazing! 🙂
Oh Sarah it looks amazing! The colors in that fabric are so lovely. Well done!
I am always so inspired by your chair reupholstery projects. You have a gift for turning something that most would overlook, into a show stopping piece. That fabric is amazing!
And lets chat about that light fixture, it is so great. I may just be a smidge jealous of all of your fantastic finds!
You are a reupholstery magi!! Honestly you can do no wrong girl. Another absolutely amazing project.
Pretty color combo! I'm amazed by your upholstery skills!
Holy smokes…that is a fine looking chair:)
Impressive, Sarah!! I always love that custom look with two fabrics. Love the photo showing the patterns and your diy lights!! Thanks for sharing with everyone at Best of the Nest!!
I think we can dub you the queen of chair makeovers! You are fearless. 🙂 Thanks for linking up with us at Best of the Nest!
Amazing chair!!! I didn't read through all the comments. I read where you got the fabric. In case I missed it, do you have any idea the manufacturer/name/color? Thanks!
I bought this chair from Sweet Clover for a client in Urbana. Too funny! It's a gorgeous chair!