Hi Everyone! I hope that you had a great long weekend!! Today I have a VERY special guest, David! A lot of you have heard me talk about him and sing his praises. David is the brains behind figuring out a lot of our projects, so today I thought I would ask him to share how we (mostly him) refinished our Eames Shell chairs.
First here’s a little background info on the chairs.
– November: I ordered a pair of Herman Miller/Eames shell chairs from Ebay and was SUPER excited when they came!
– Late November: I picked out a fabric to reupholster them ..
– December: Still researching reupholstering … a little less excited
– January: Decided to get a quote from a shop in LA who specializes in Eames refurbishing (way too high for what we’re looking for). Quote from a local reupholster – we ended up running out clutching to our chair after they dropped one on the floor and wanted to staple through the fiberglass.
– Late January: Decided that reupholstering them was too hard, sand off the foam, and expose the bare fiberglass.
– February-June: Sat in garage partially finished
In between and after there was a lot of sanding. David will go into the specifics of the sanding process, but it wasn’t fun … Also, just a reminder that this is how we did things, since we didn’t have all of the correct power tools. So there would be a faster, easier way to do it with the right tools. I guess the excitement of the chairs overcame us 🙂
David will share our process!
—
Hey this is David, Sarah’s husband and diy project partner. Last weekend, we finally wrapped up the eames chairs and Sarah ask me to share the process with you all today.
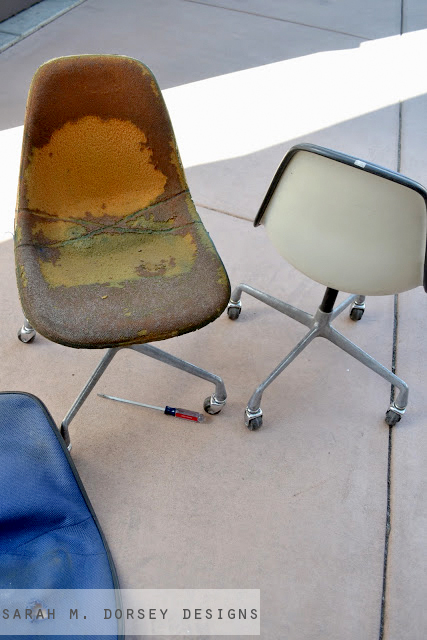
Sarah picked up the chairs from a seller on ebay who distributes a lot of mid-century modern furniture. The fiberglass was in good shape the aluminum bases were salvageable so we were excited to get started.
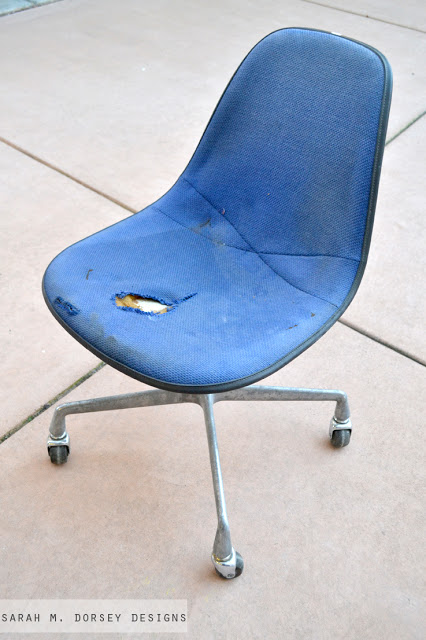
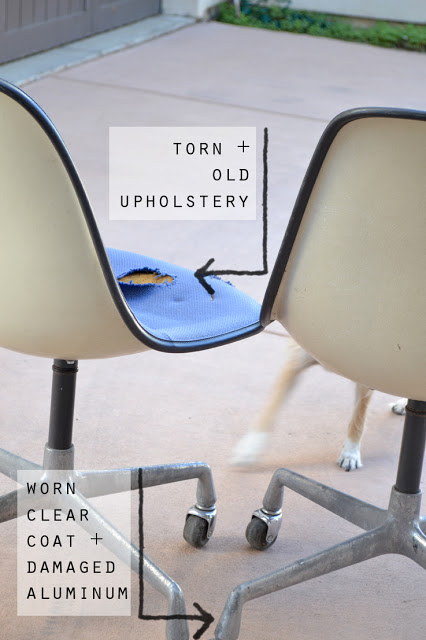
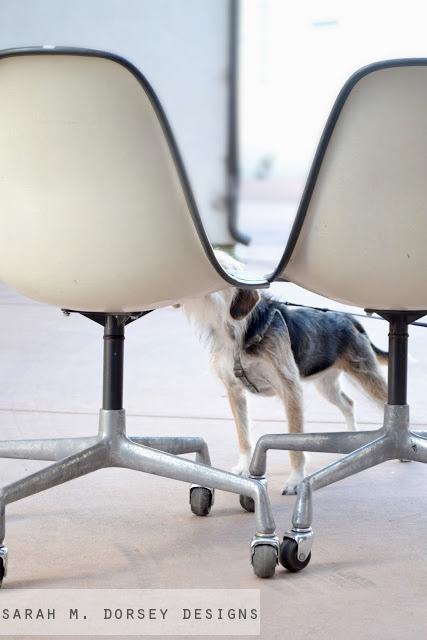
Unfortunately, the upholstery was shot. Annabelle is always obsessed with smelling any nasty upholstery and foam that comes on our project furniture…
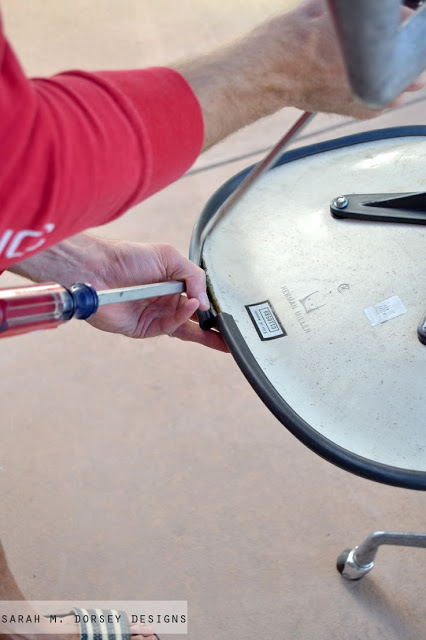
First we removed the original upholstery. It is sewn to a plastic band that is formed to clamp the edge of the fiberglass around the whole chair. Starting a the joint in the middle of the seat, cut the first few threads to get it started and then begin prying it off working around the side. once around one side, it will pull off exposing the foam.
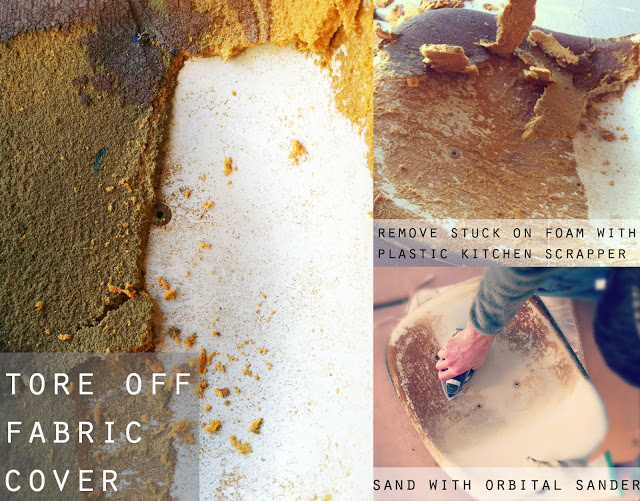
Using a plastic kitchen scrapper, we scrapped off the majority of the foam.
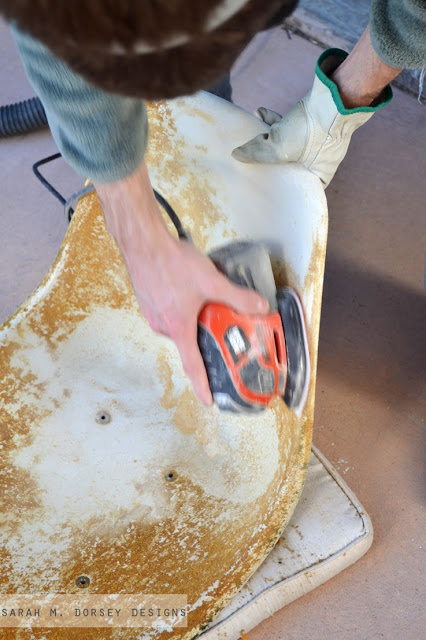
Now with the just the old glue remaining, its time to start sanding. With glue from the ’70s and fiberglass, a respirator is a must (and long sleeves/pants). Using our orbital sander, I started with 120 grit and sanded off most of the glue. When the glue was almost gone, I switched to 220 grit and finished removing all the glue and worked on any spots where there was any scratches. I also sanded off the remaining clear on the back and bottom of the chair with the 220. I then went over the whole chair by hand with 320 grit to make sure there were no viable scratches from the sanding.
We visited a local shop that makes surfboards out of fiberglass to see what they use to seal the boards. They used Wet Look sealer by Behr from Home Depot. We tried it ourselves, though it went on shiny, it didn’t dry shiny. Sanding more in between coats may have brought out the shine more, but after sanding the entire piece, we were sanded out. For now we will leave on the sealer and when we get back to Maryland, we are going to apply automotive clear glossy coat to the fiberglass (by a friend that we trust).
Whew, after all of the sanding to finish the back, it was time for more sanding to restore the bases…
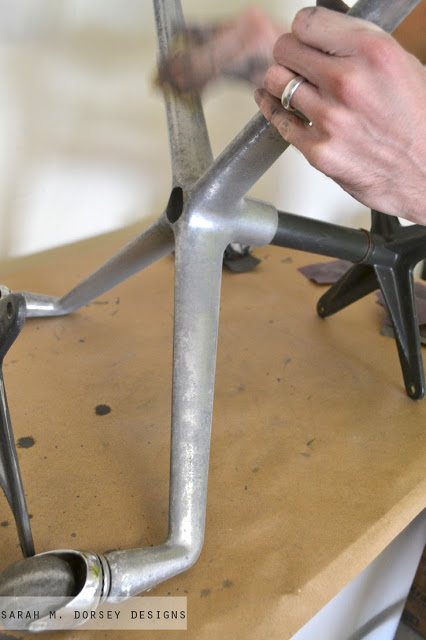
The original clear coat was oxidized and the aluminum was full of dents and scratches. The first step was to remove the remaining clear and sand out all of the scratched and dents using a combination of hand sanding and the orbital sander with 120 grit.
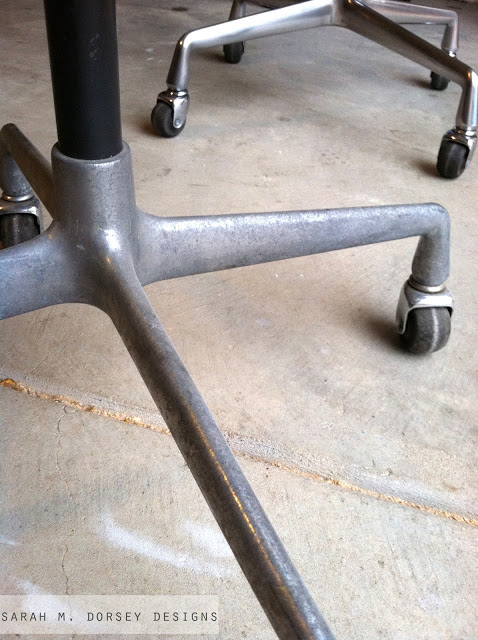 |
| front has no sanding, back is almost finished |
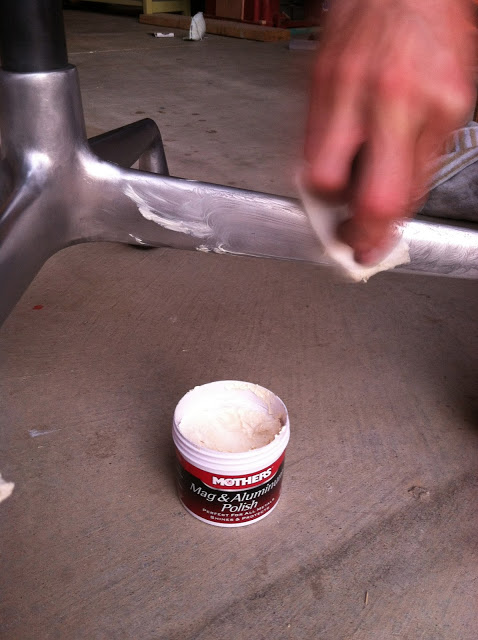
Once all of the dents and scratches are out, its time to move up to a finer grit. I used 120, 220, 320, 400, 600, 800 (wet), and then 1500 (wet). We found some speciality metal sandpaper (for the higher grits) at a local hardware store. Whew! That is a lot of steps, Sarah helped at the end to make it go faster. Using more steps of sandpaper means that it will have a glossier, more flawless finish.
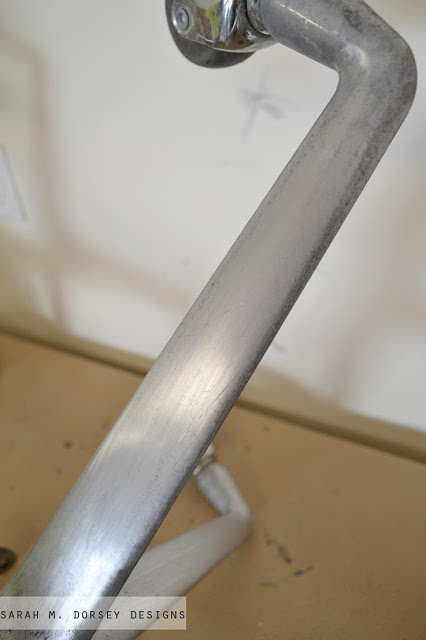 |
| in between sanding, still a lot of scratches
|
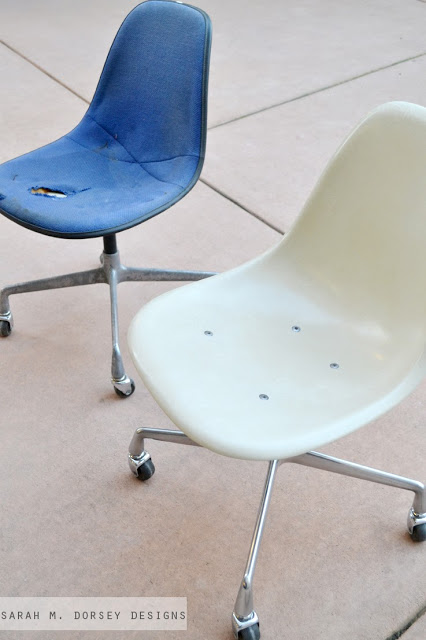 |
| before and after |
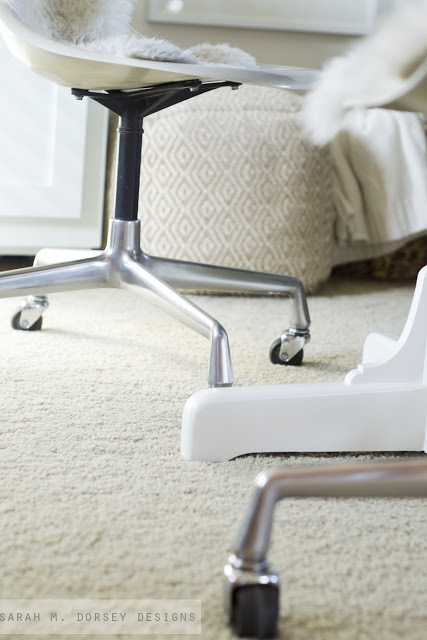
All in all, restoring these chairs is a lot of work but we saw at as a perfect opportunity to purchase these iconic chairs on the cheap and challenge ourselves with completely different type of project.
p.s. (this is Sarah) I may make a cushion for them too … I ordered fabric, so fingers crossed, I can figure it out!

Nice! I have two eames chairs sitting in the garage waiting to be finished sanding too…will definitely put your tips to use! Love how these turned out!
Whew! That was some process. At least you can sit back and look at them now and know all that hard work gave you something beautiful, and like David said, iconic. You'll have them forever, I bet!
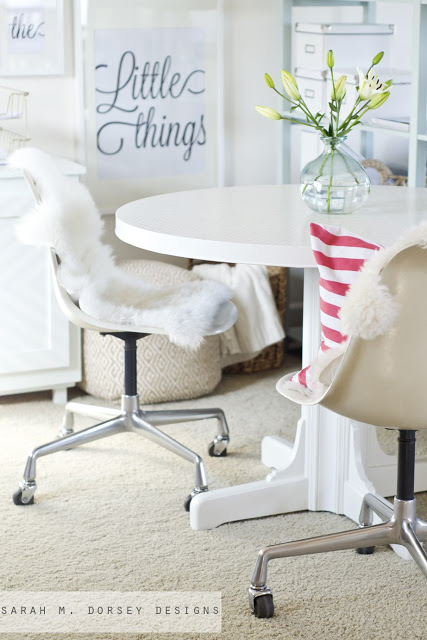
I would like to see a picture without the fake fur please 🙂 Nice job!
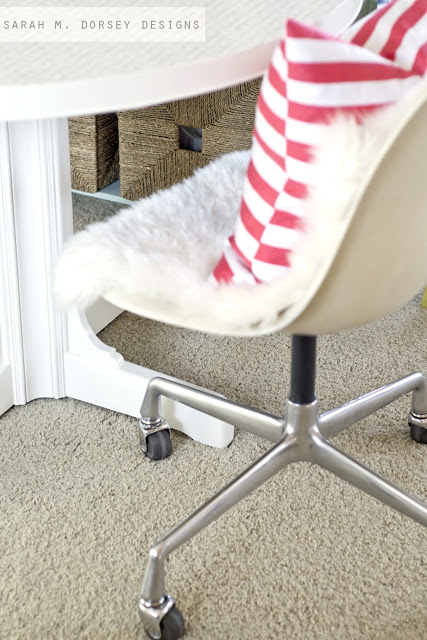
Hi Jeanna – I'll take some next time with the pillow/cushion, look for those soon (hopefully 🙂 Ikea's Rens Sheepskin was a great way to add texture so the white wouldn't blend in with our rental walls
wow! they look so amazing now- a lot of work but worth it!
They look great Sarah! The process was totally worth it. You really brought them back to life and kept the integrity of them. Awesome job you guys!
I had no idea what was underneath! They are *so* worth the effort though! Coveting…xo Kristin
wow, very impressive! i can tell this took a lot of effort and the outcome looks amazing!
I know… I tell you all the time BUT YOU ARE SO AMAZING. They turned out beautiful and I love your little furry chair inspector!
Good god you guys have some great perseverance. And it was soo worth it!!
I know … mostly David! I'm ready for some simple projects next!! Too bad I have a lot to check off my list – luckily not this time intensive though!
Ooooh, nice! I can't wait to see what fabric you ordered for the cushions!!
Wow. That IS a lot of work!
They are amazing…definitely worth all of that hard work!
Great to hear the process behind those chairs… Big projects take me months, so it's so nice to hear I'm not the only one… I have a mid-century credenza that still needs to be refinished….
Your chairs look lovely! Well worth the wait.
Oh wow! Those chairs are gorgeous…had no idea they took all that effort and energy! I totally have a garage full of projects that are still waiting to be finished…like waiting months…glad I'm not the only one! 😉
Thanks Jesse! We had no idea what was involved when we bought them … things probably would of turned out differently! You should see my garage now, no room for cars! I'm in the process of trying to clear it out now before we move 🙂
Hi Sarah,
Who does your photography? It seems like David does. Are you guys using a good camera or what? Your photos always look so good!
Just curious…
Hi Daniel – I take all of the photos except for the ones that I'm in. We have a Nikon D3100 and I typically use a 50 mm lens, which is great for tighter shots. I'm looking to upgrade to a better wide angle lens soon!
Hey Sarah! How did you apply the ikea carpet to the chair? thanks!!