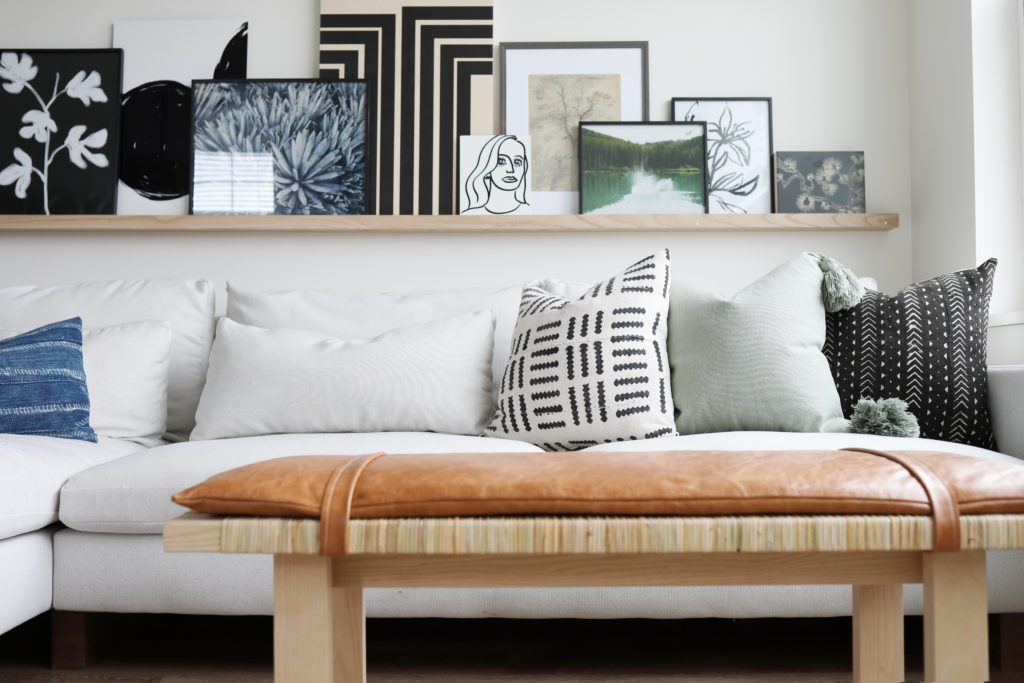
I’m sharing our first DIY tutorial from our apartment in CT! Today, I’m sharing how we made a leather pillow top for Ikea’s Stockholm bench. It’s simple, customizable, and easy enough to do in an afternoon!
Materials:
- bench (I used this one)
- leather (the leather hide store)
- Batting or 2″ foam
- heavy duty sewing machine (I recently got a new sewing machine and it’s made all the difference! My old sewing machine didn’t do well with thick materials) If you don’t have a sewing machine, a local seamstress could probably make the pillow top for you inexpensively
- thread to match your leather or contrast, I used white
- 12″-14″ invisible zipper (to match thread)
- scissors, tape, marker or pen, measuring tape
- cutting mat (something with a grid to keep lines straight)
- velcro with sticky back
Cut List (for this bench):
- 40″x 17″ (x2)
- 33″ x 2″ (x2)
You’re basically making a long pillow! I decided to keep it simple, and not do a box cushion 1. to make it easier 2. give it a more relaxed look!
First, cut your leather. You’ll want to make sure that your cuts are straight so that the piece is square. I didn’t do this, but it would have made it much easier (I don’t have my square here)! Use a square (like this) to draw the first line – then measure off of straight line with a ruler. Make a few dots to note size, and connect those with a line (using a ruler). Once your first piece is cut, use that as a guide to cut out the second piece, so it is exactly the same. Remember to lay the two pieces together how you will be sewing when tracing (i.e. back to back)
Install the zipper on one of the 17″ ends – I followed this tutorial – It’s been a while since I installed a zipper, so I read through it a few times. It’s pretty simple once you get it though! Make sure you have the zipper and your leather are both the correct way and when you get to the end with the zipper pull, be sure to move it to the center so that you can continue to sew straight.
Next, sew all sides to enclose the pillow (the wrong side of the leather will be on the outside). Starting on the right side of the sewn zipper, sew the long side (I use the foot of the sewing machine as a guide, if you use something else, but be sure to take that into account for seam allowance when cutting) At the corners, keep the needle in the leather and turn the fabric 90 degrees to make the turn. Once you’ve sewn around the remaining three edges, open up the zipper and turn the leather right side out. Tip: trim the corners with scissors, so they square up easily.
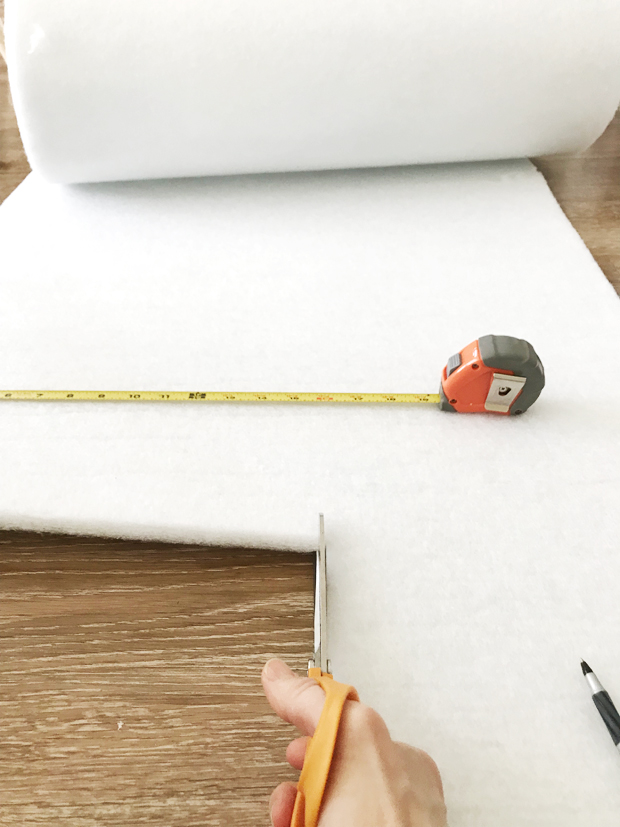
For the insert – you have a few options – I used three layers of 1/2″ dacron fill (a dense batting) 1″ foam wrapped in thinner batting would also work. Mine measured 17″x40″ – I did cut it larger and trim it down after test fitting.
Next, I made two straps to secure the pillow to the table. Each strip of leather measured 33″ x 2″. I simply folded it in half (right side out) and sewed down one side (using the foot as a guide) I left the edges raw.
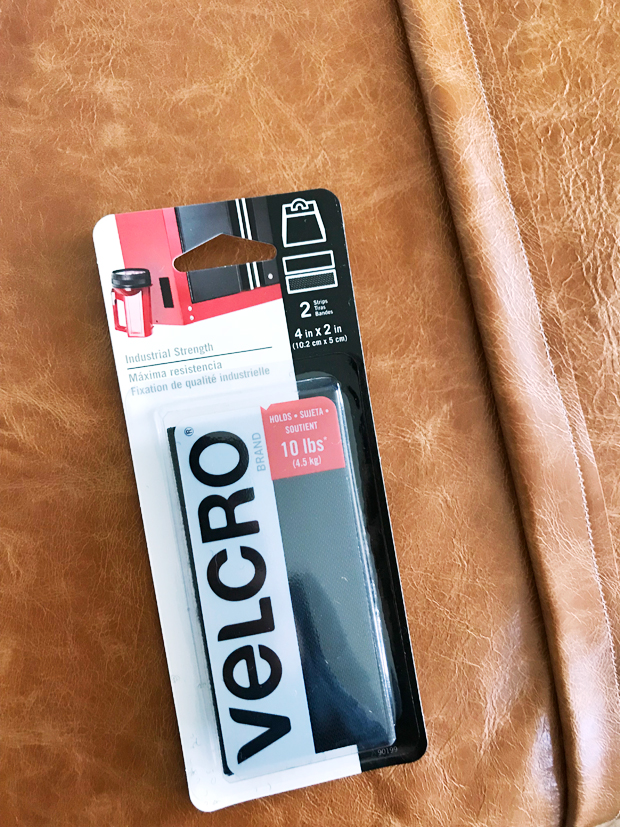
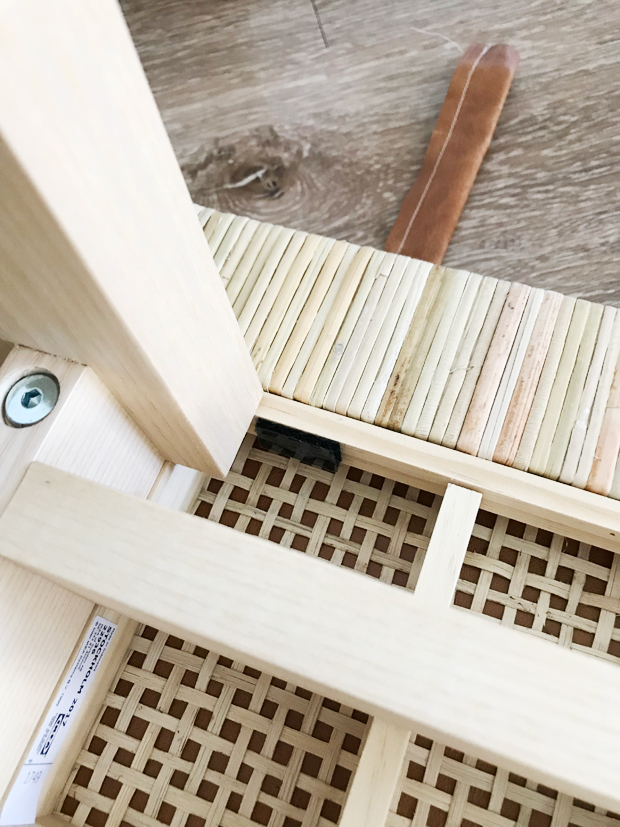
I placed the top on the table, put the strap (raw edge out) on top and flipped the table over. Using the inside of the leg as a guide, I placed a piece of velcro (cut about the width of the wood) removed the sticker from both sides, attached the strap on one side, pulled tight and then attached the other side.
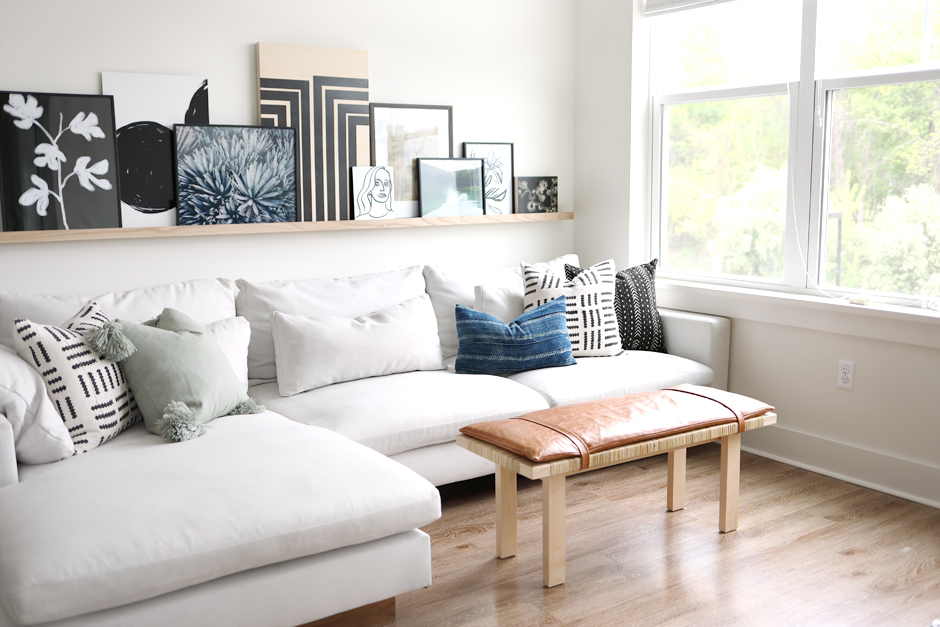
We added a DIY picture ledge inspired by Chris Loves Julia and DIY Playbook! Printables from Home Love Network and Jenny’s Print shop. All printed through Mpix! I did an combination of standard prints, wood prints, and metal prints. I’m always so impressed with the packaging, quality and quick turnaround of Mpix!
I love it tucked under our DIY console too (just for fun, I added this wallpaper, love it here, I think I need to install it!)
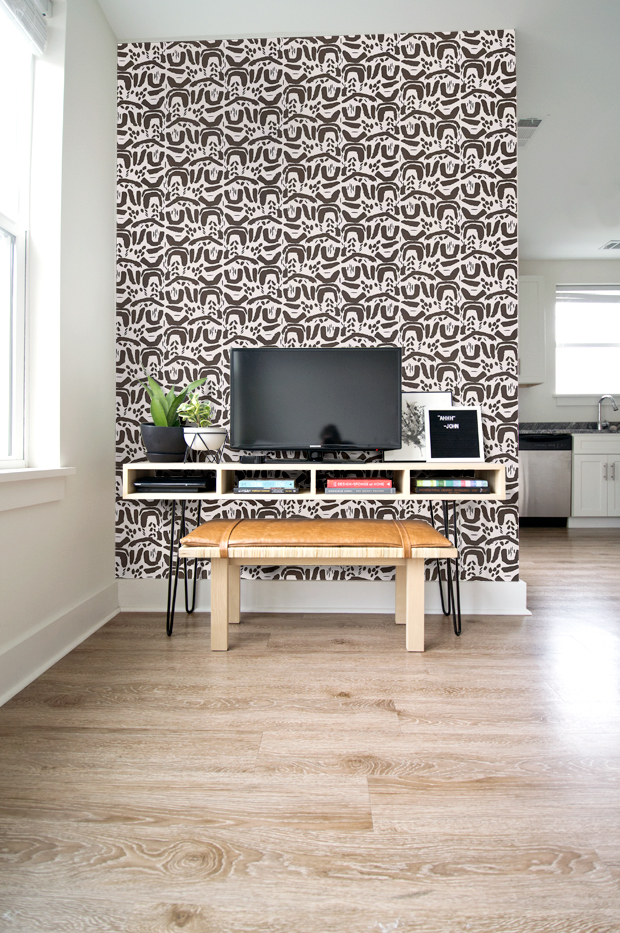
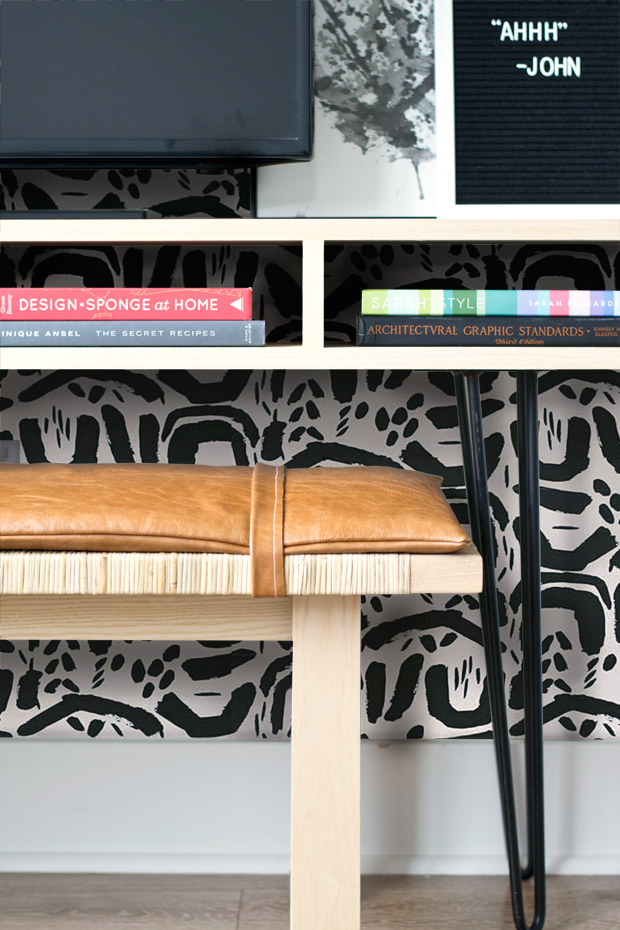
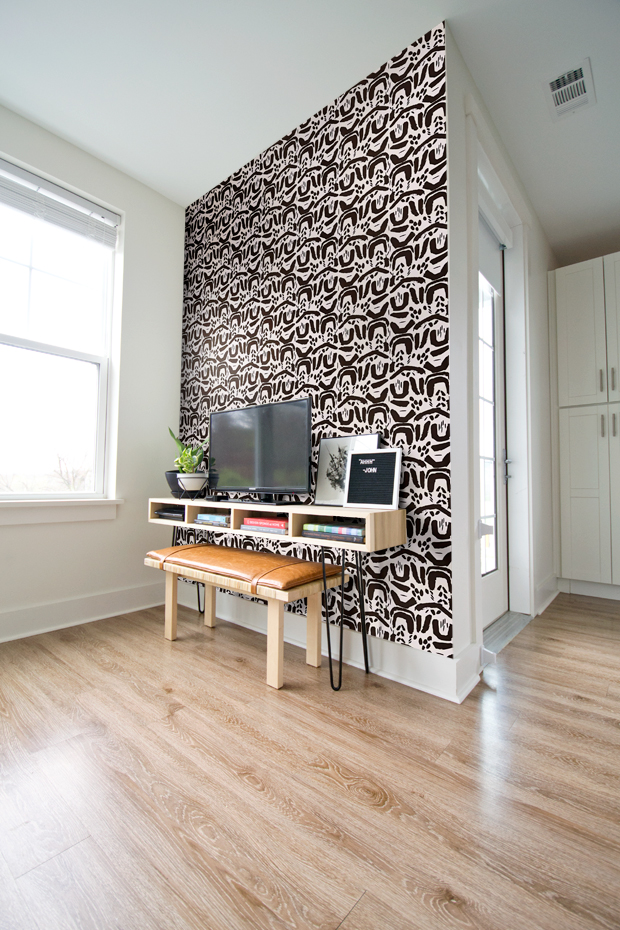
The weight limit is only 22 lb, so it’s not recommended to be used as a bench that you sit on, but perfect for propping your feet up!
What do you think? Should we install the wallpaper here!? Now, I just need to add a rug and draperies!
our super comfy sofa | pillows 1 | pillows 2 | sofa table
Hi Sarah!! I always enjoy your DIYs. Can you tell me what color leather you chose? When I click the link, it shows a bunch of options. Can’t wait to try a version of this, and I might buy that sewing machine!
Hi Sarah! Thanks so much for reading!! It’s called Nevada Distress – I couldn’t find on their site (it’s from a few years ago), but maybe email to ask? leatherhidestore8@gmail.com (Tell Anne I sent you!) Also, I just got this K487 Coppermine and it is very pretty too!
It looks so so good! I didn’t even know it wasn’t recommended as a bench. It would look so nice as a bench too.
Thank you Julia! I sat on it and it seems pretty sturdy – it’s probably just for liability, but you could probably reinforce the wood underneath to be safe! Hope you are well 🙂
Hi Sarah, Your living room looks amazing. Could you please comment the link for your white couch/sofa. thank you
Thank you! It is the Harmony from West Elm!